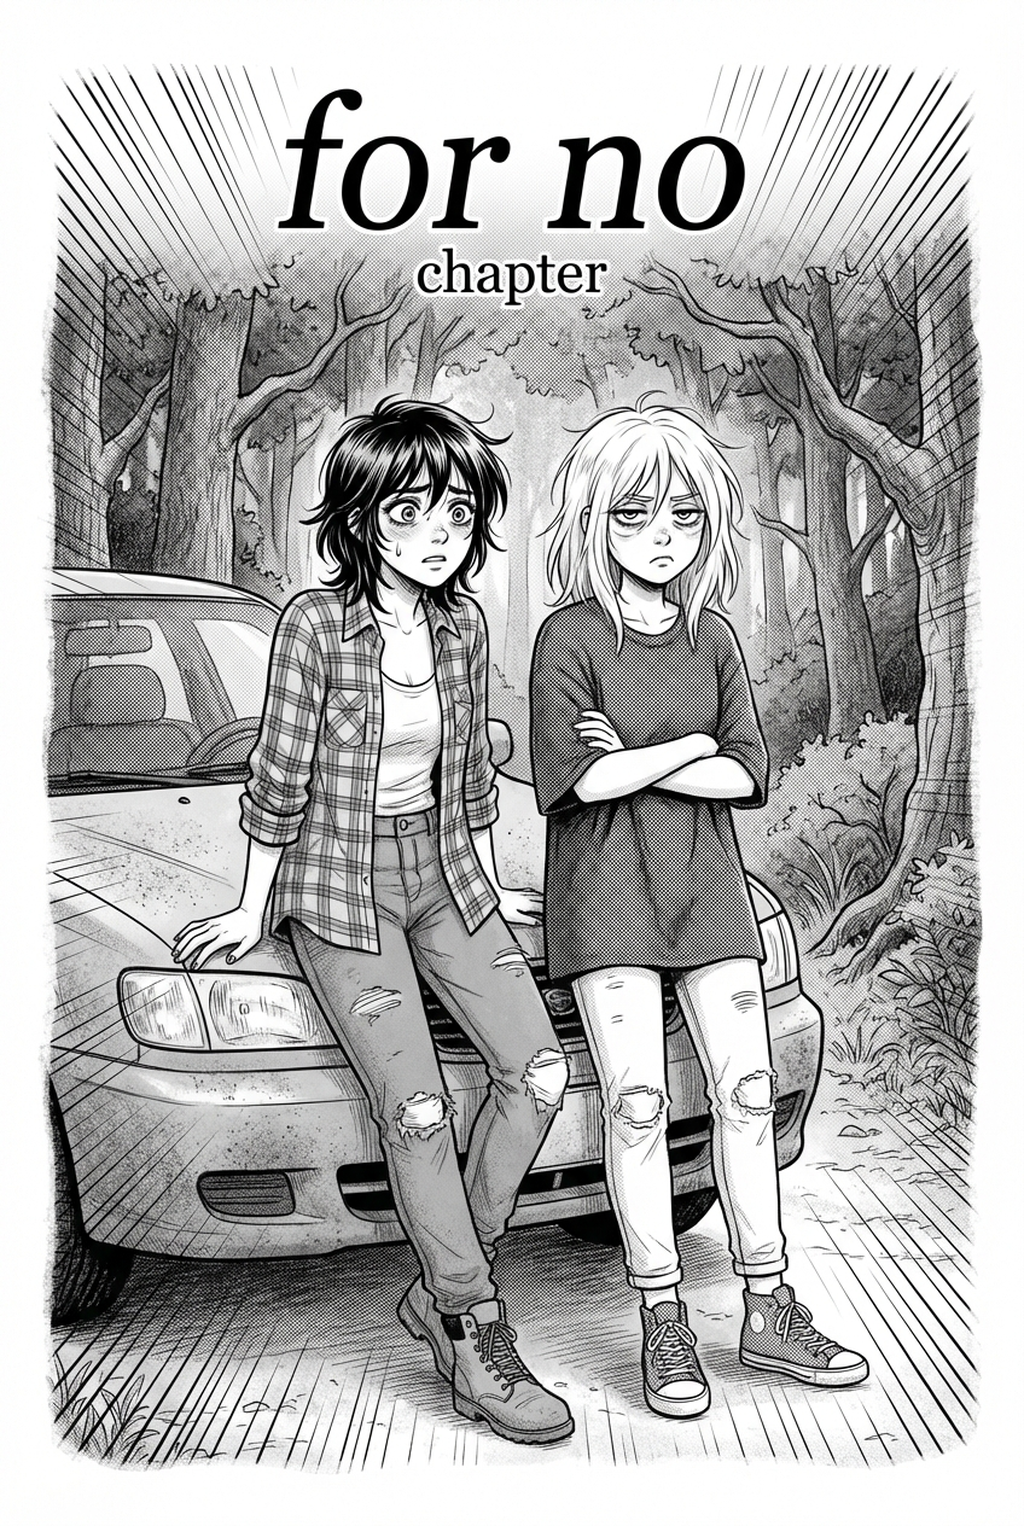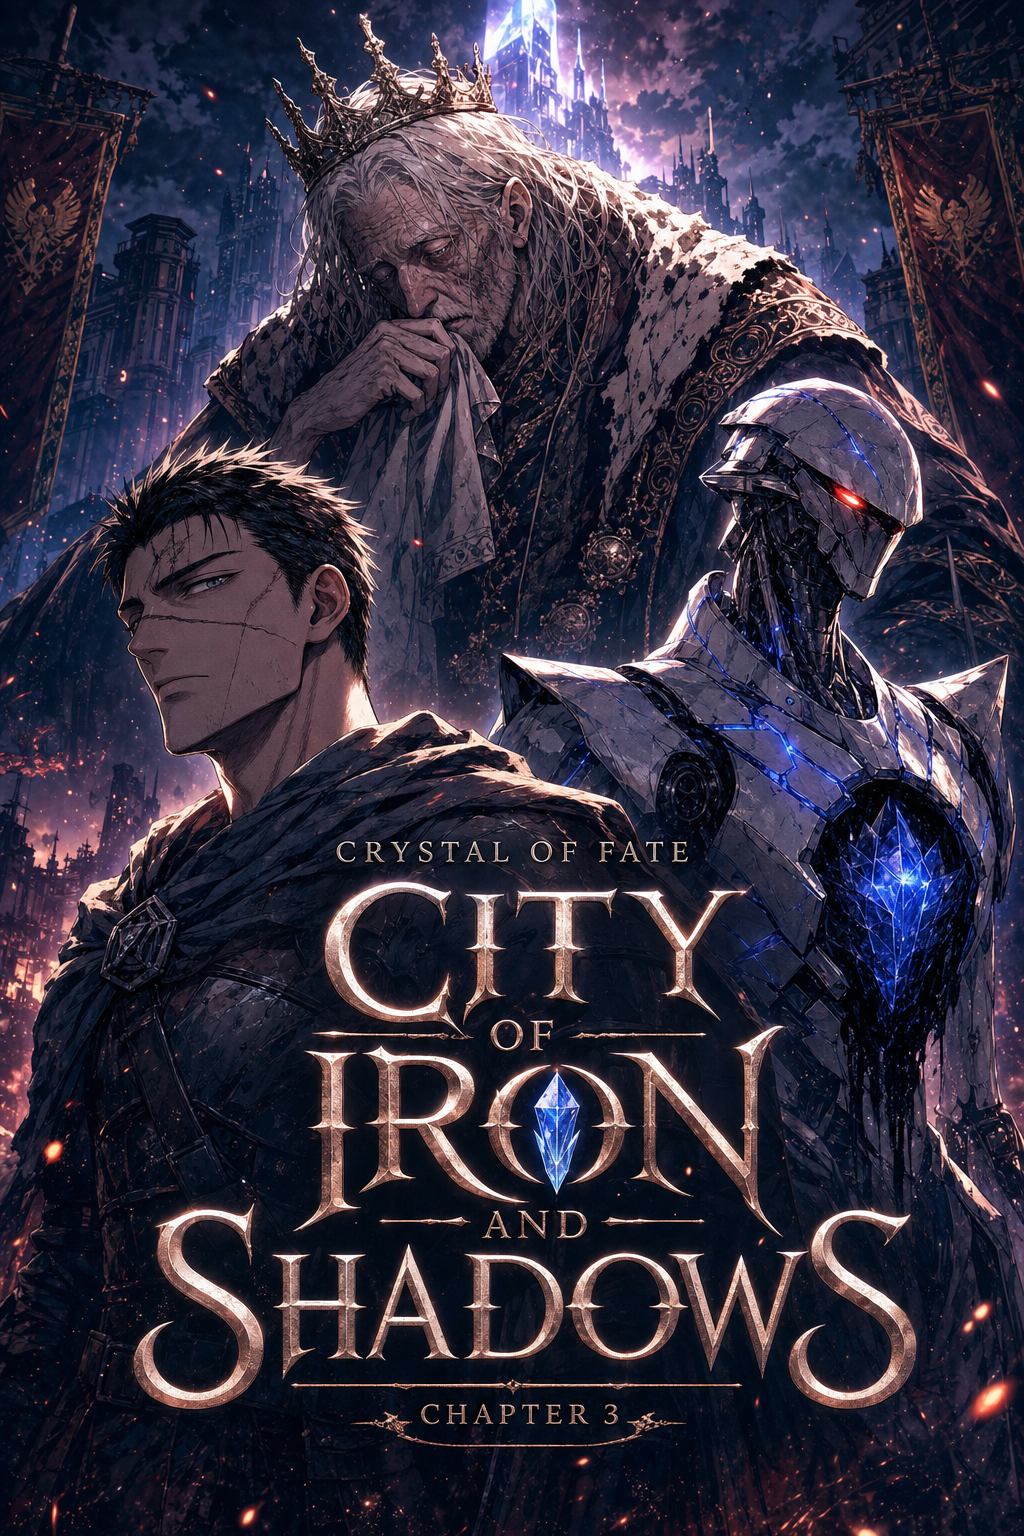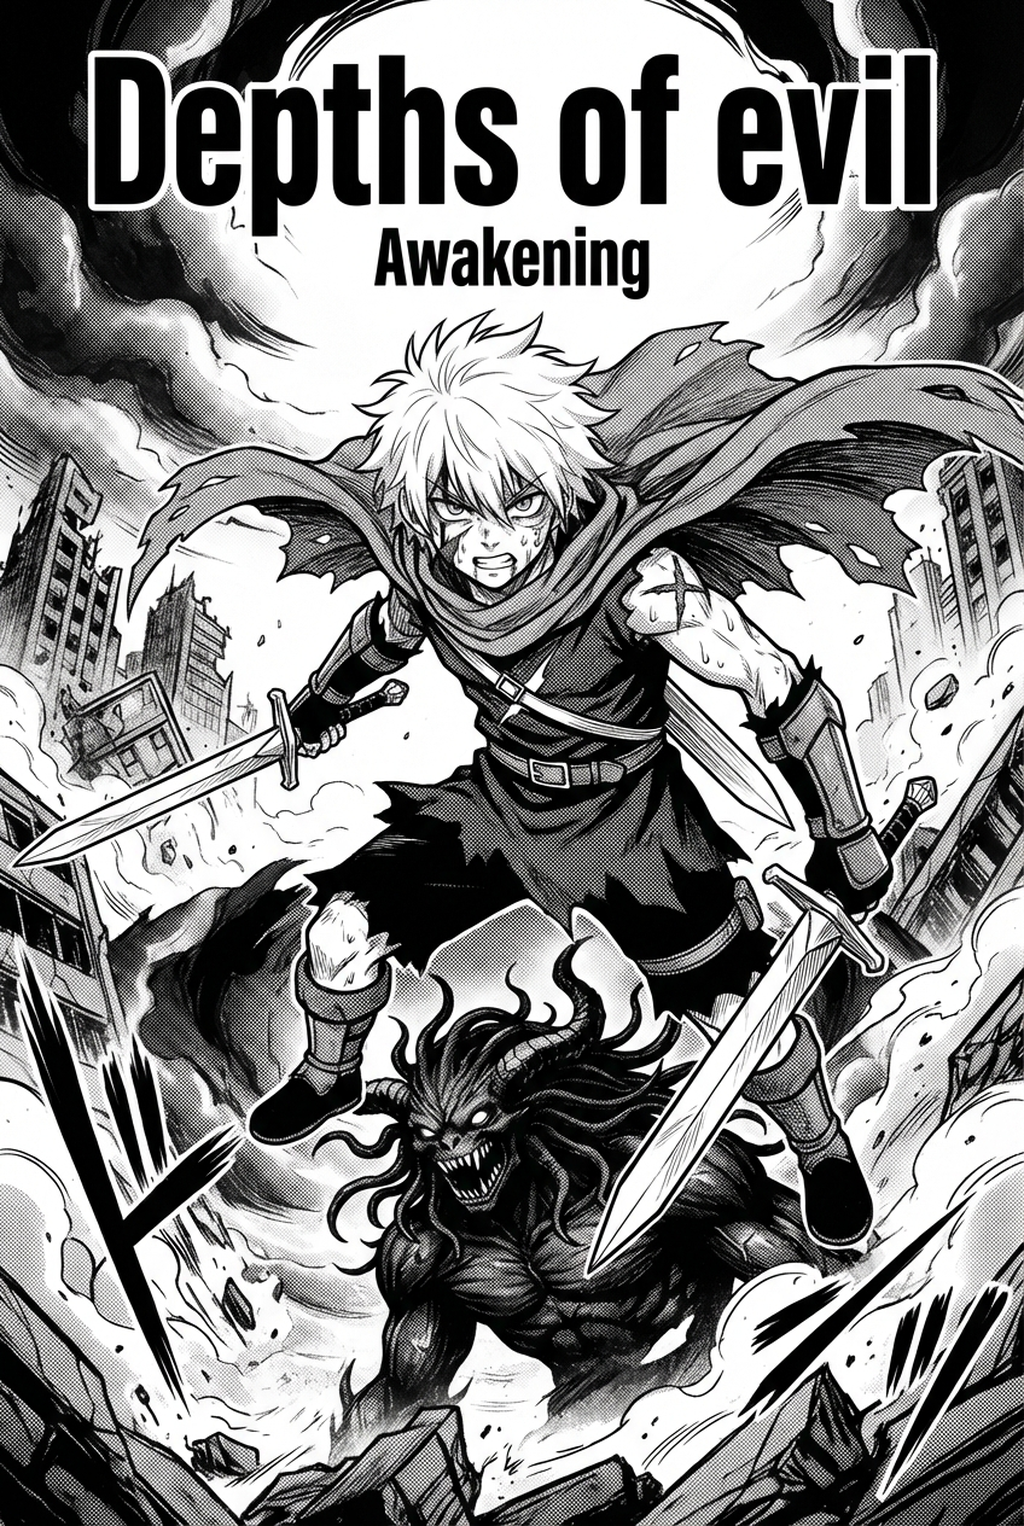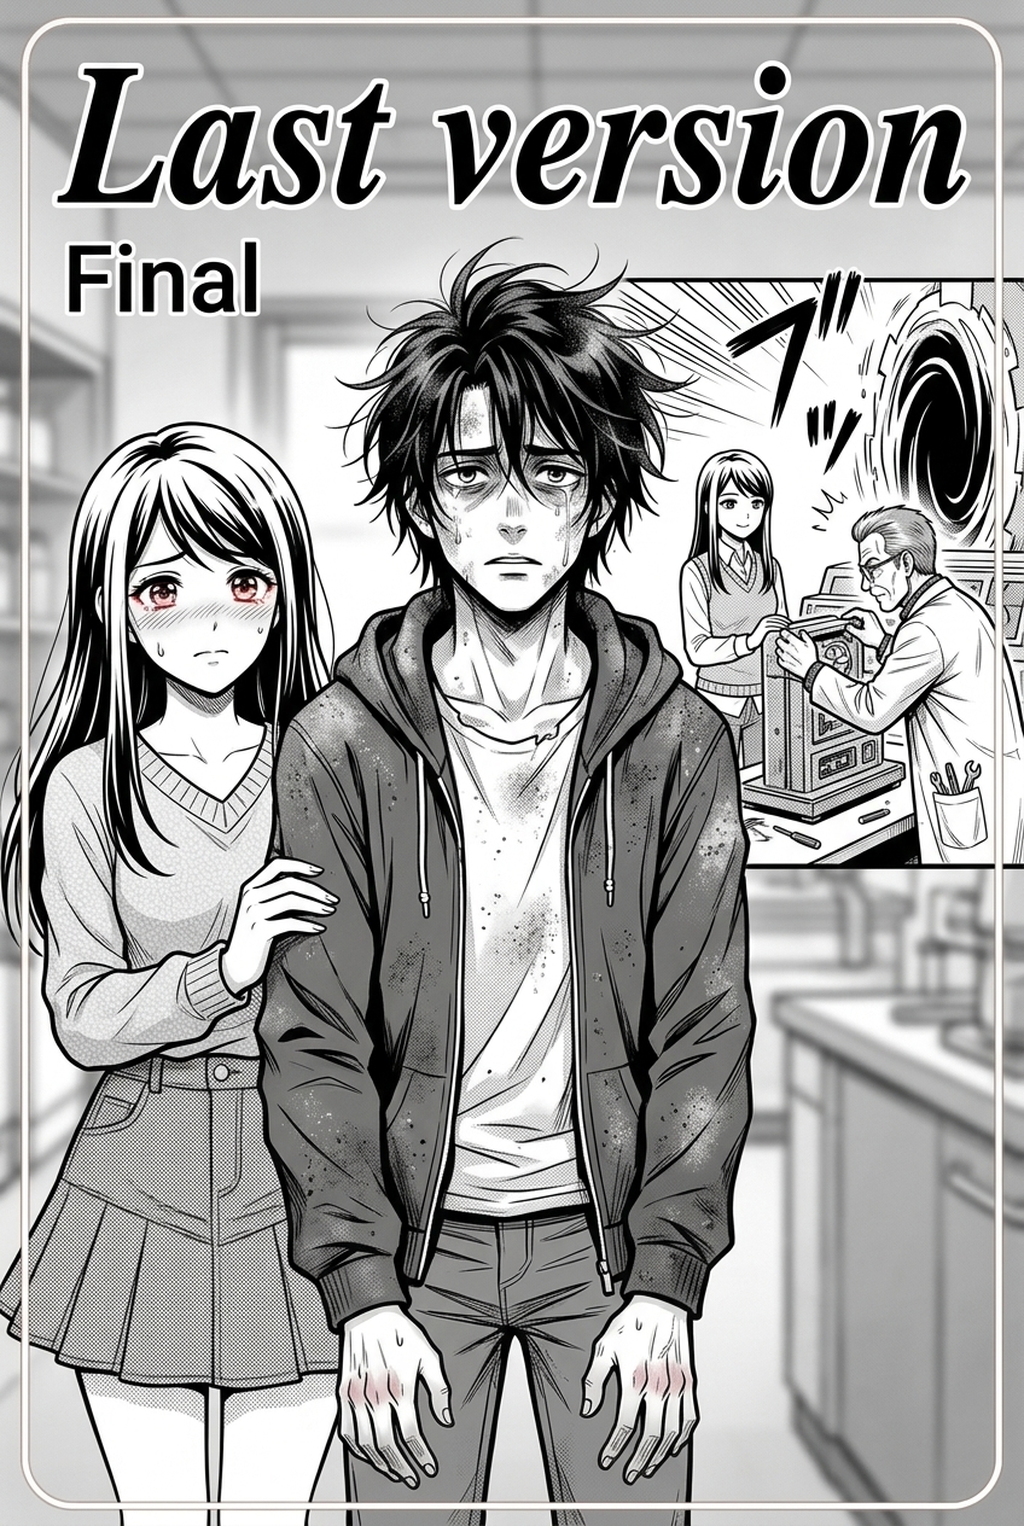
AI Manga Character Designer: Why Visual Integrity Defines the Workflow
Maintaining character model integrity across hundreds of panels is essential to prevent "character creep," where proportions shift unintentionally over time. Consistency serves as a vital source context for readers; if a character's features fluctuate, the reader loses the emotional connection to the narrative.
The time spent manually re-drawing character details can lead to burnout, potentially delaying storyboards and overall page output. When you rely solely on manual memory to reconstruct a design, the variance in line length or facial symmetry often forces a "review owner" to demand a complete redo of an entire sequence, stalling your release schedule.
How Mangaka Stabilizes Your Character Models
Mangaka accelerates the production cycle by generating consistent character reference sheets from a single text description, anchoring the style in a stable source file. By using AI as a design partner, you can lock in specific traits—like unique eye shapes or specific garment folds—ensuring the character looks identical from chapter one to chapter fifty.
The tool allows you to iterate on character variations faster, enabling you to focus on panel composition rather than repetitive sketching. Because the underlying model remains fixed, you spend less time cleaning up line art for consistency and more time refining the emotional beats of your storyboard.
Once you generate a base model, you can export these as consistent references to verify your page layouts against the source file. For instance, if you have a 12-page chapter, you can cross-reference your rough sketches against the generated model sheet to confirm that the character’s clothing accessories remain on the correct side of the body in every frame.
Use Cases for AI Manga Character Designer
Strategic contrast is the most effective way to signal personality archetypes and guide the reader's focus. Sharp, angular lines should be reserved for antagonists, while soft, rounded shapes build an immediate sense of approachability for protagonists. Avoid overly complex patterns that are difficult to ink consistently in high-frequency scenes, as these often lead to "inking fatigue" or accidental smudging. Instead, use bold, singular details—like a scarf, a specific emblem, or a unique collar—that remain readable even when rendered at small sizes within a dense 6-panel page layout.
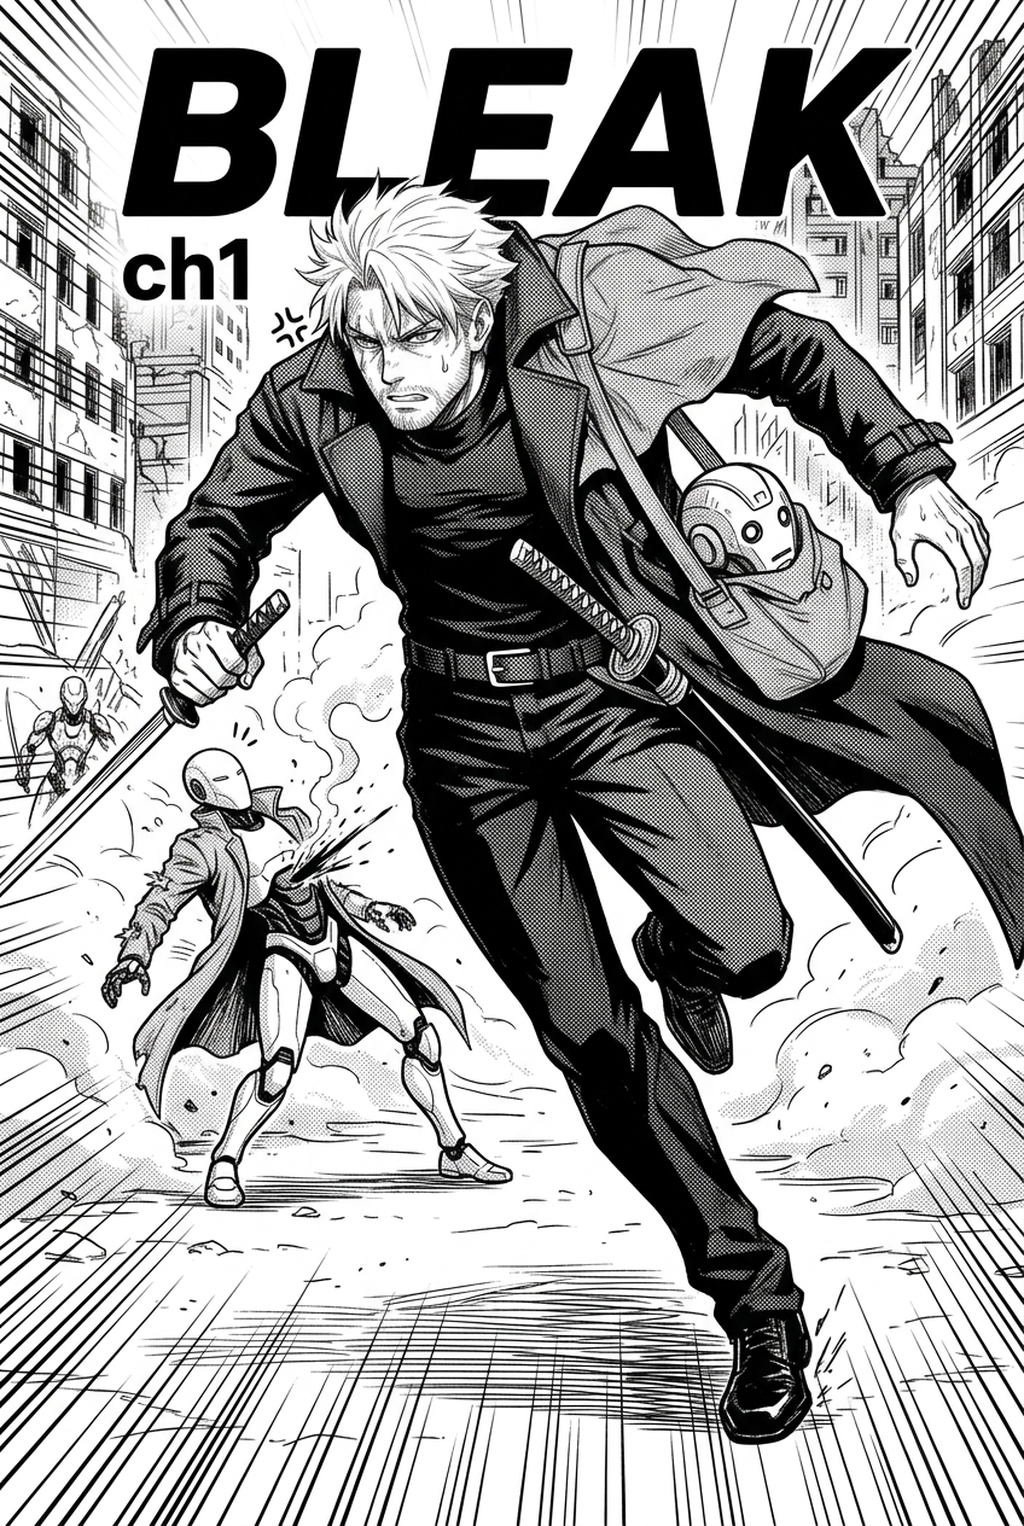
When storyboarding complex fight scenes, integrate your consistent character models to ensure spatial relationship logic holds up. If a character carries a weapon on their left hip in the model sheet, that detail must remain identical across every movement, or the reader will become confused by the reversed perspective.
Getting Started with Your Design Workflow
Begin by defining a "character DNA" list—a text-based set of visual requirements—which serves as the master creative brief for your design workflow. This list should include details like hair length, eye color, clothing style, and any defining scars or tattoos.
Creative Brief and Source Input
Creative Brief and Source Input. Utilize Mangaka to convert these text-based definitions into reliable, multi-angle reference sheets. Once you have generated the sheets, test your design by placing the model into three distinct action panels to confirm the design holds up under different motion constraints. If the character's core "anchor features" remain stable during these stress tests, you are ready to begin full-scale production.
- Before Export. Creators should compare the generated line art with the original sketch and confirm that facial expressions, props, speed lines, and speech-bubble space still support the scene. A repeatable review pass should cover character consistency, panel readability, background clarity, and whether the final file is ready for coloring, lettering, or editor feedback. - For Longer Projects. Creators should save approved examples of line weight, face detail, clothing folds, and background density. Those references keep later chapters closer to the intended style. For collaboration, creators should mark which panels are final and which panels still need redraws. Clear status labels prevent an assistant, editor, or colorist from polishing the wrong version. - For Publishing. Creators should review the page at the actual reading size before export. Small screens expose crowded dialogue, weak silhouettes, and line details that looked fine while zoomed in. This keeps the review focused on story intent, line weight, panel readability, and the export quality behind the final AI Manga Character Designer output.
Generation Review and Export
Creators can evaluate character design for manga with character design for manga mid-workflow when they need the product path tied directly to review, refinement, and export. A real test should use the same sketch, character goal, or panel sequence that would otherwise need manual cleanup after generation. Before export, creators should compare the generated line art with the original sketch and confirm that facial expressions, props, speed lines, and speech-bubble space still support the scene.
A repeatable review pass should cover character consistency, panel readability, background clarity, and whether the final file is ready for coloring, lettering, or editor feedback. For longer projects, creators should save approved examples of line weight, face detail, clothing folds, and background density. Those references keep later chapters closer to the intended style. For collaboration, creators should mark which panels are final and which panels still need redraws. Clear status labels prevent an assistant, editor, or colorist from polishing the wrong version.
The Bottom Line
Great AI Manga Character Designer workflow is a blend of iconic aesthetic choices and the strict technical rigor of model consistency. By leveraging modern AI tools, you can reduce the manual drafting burden, ensuring your story stays on track while maintaining professional visual standards. Start building your visual foundation by visiting character design for manga and generating your first consistent character reference sheets today.
Related articles
Essential Character Design Tips for Better Manga Panels 2026
Essential Character Design Techniques for Modern Manga 2026
Effective Character Design Techniques for Manga Artists 2026