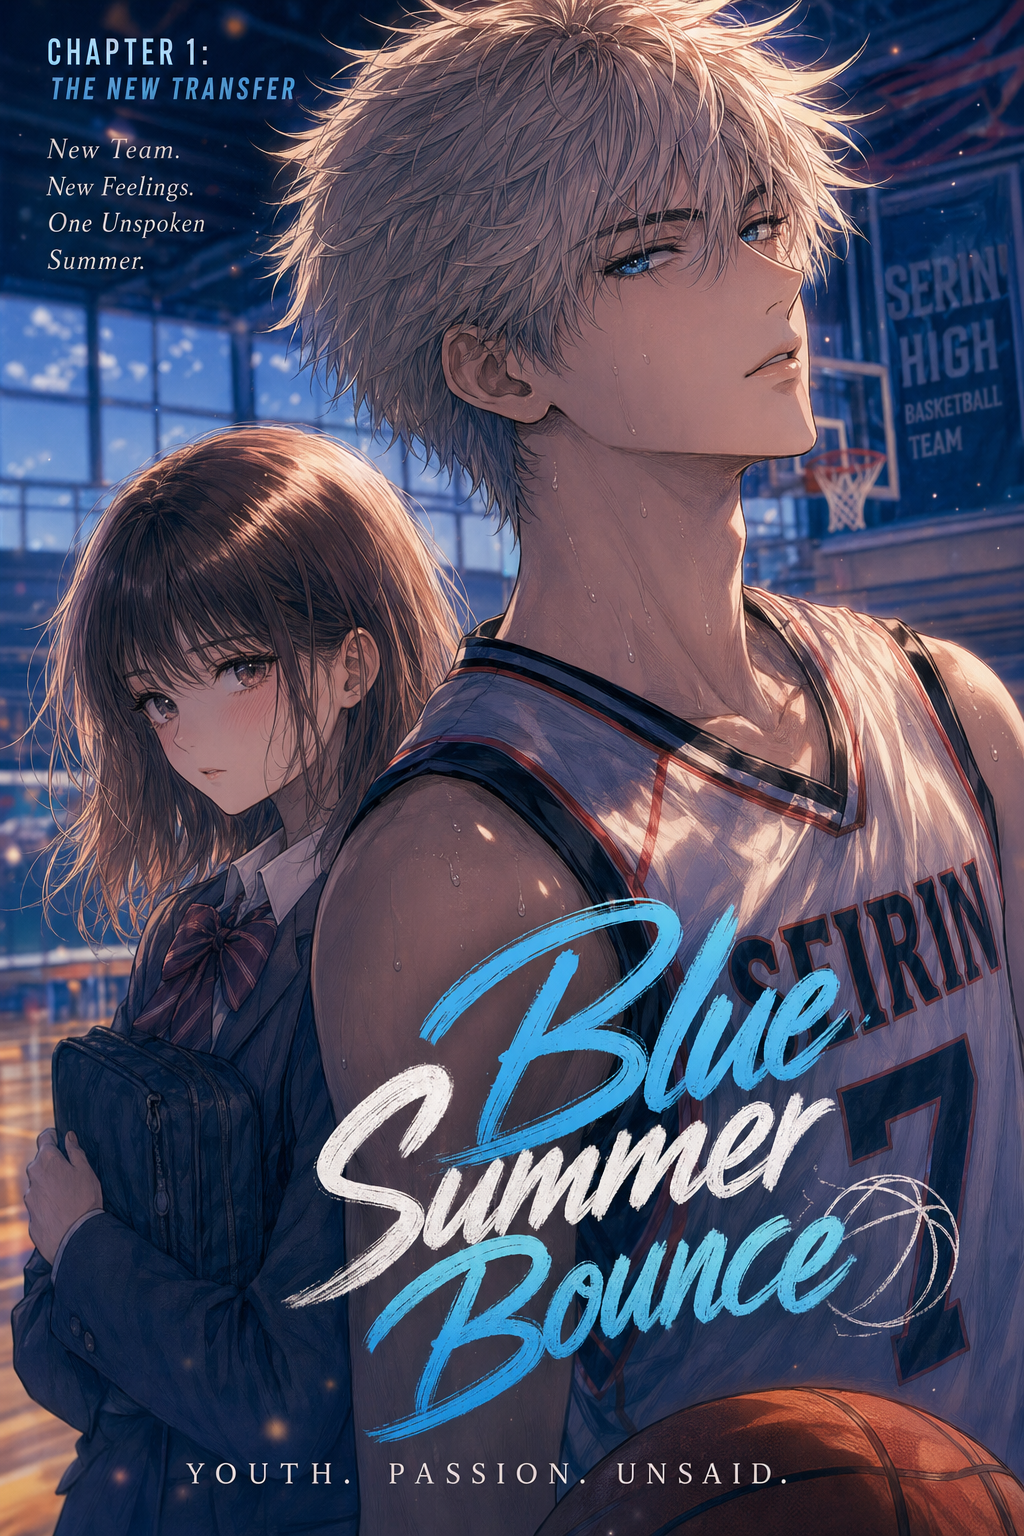
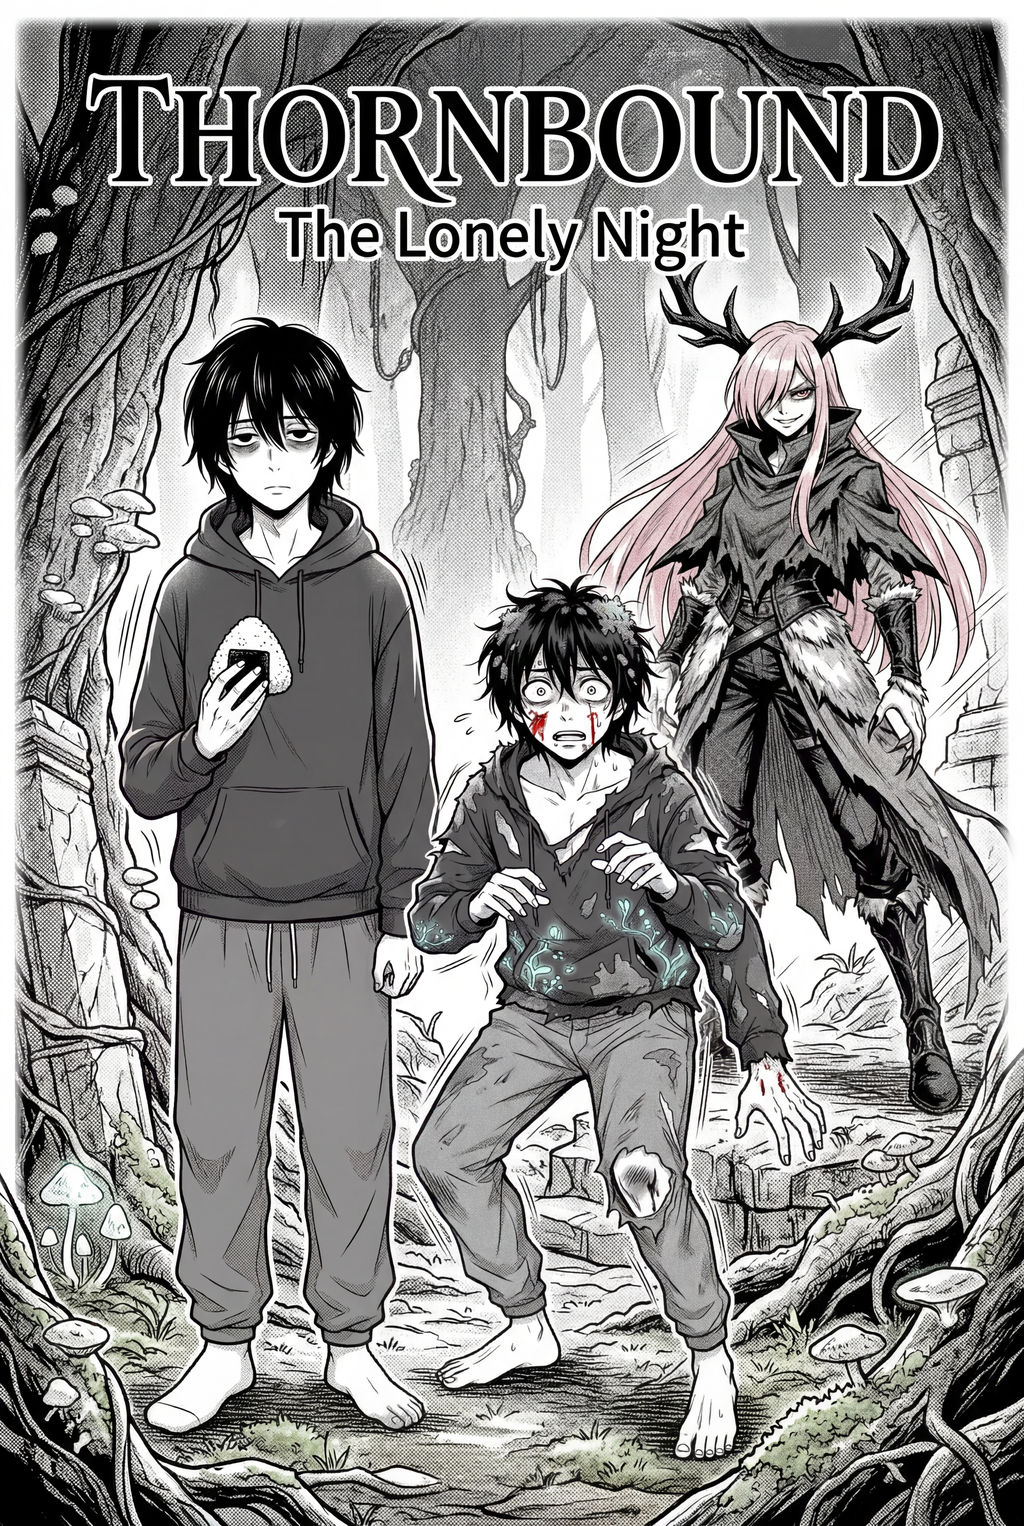
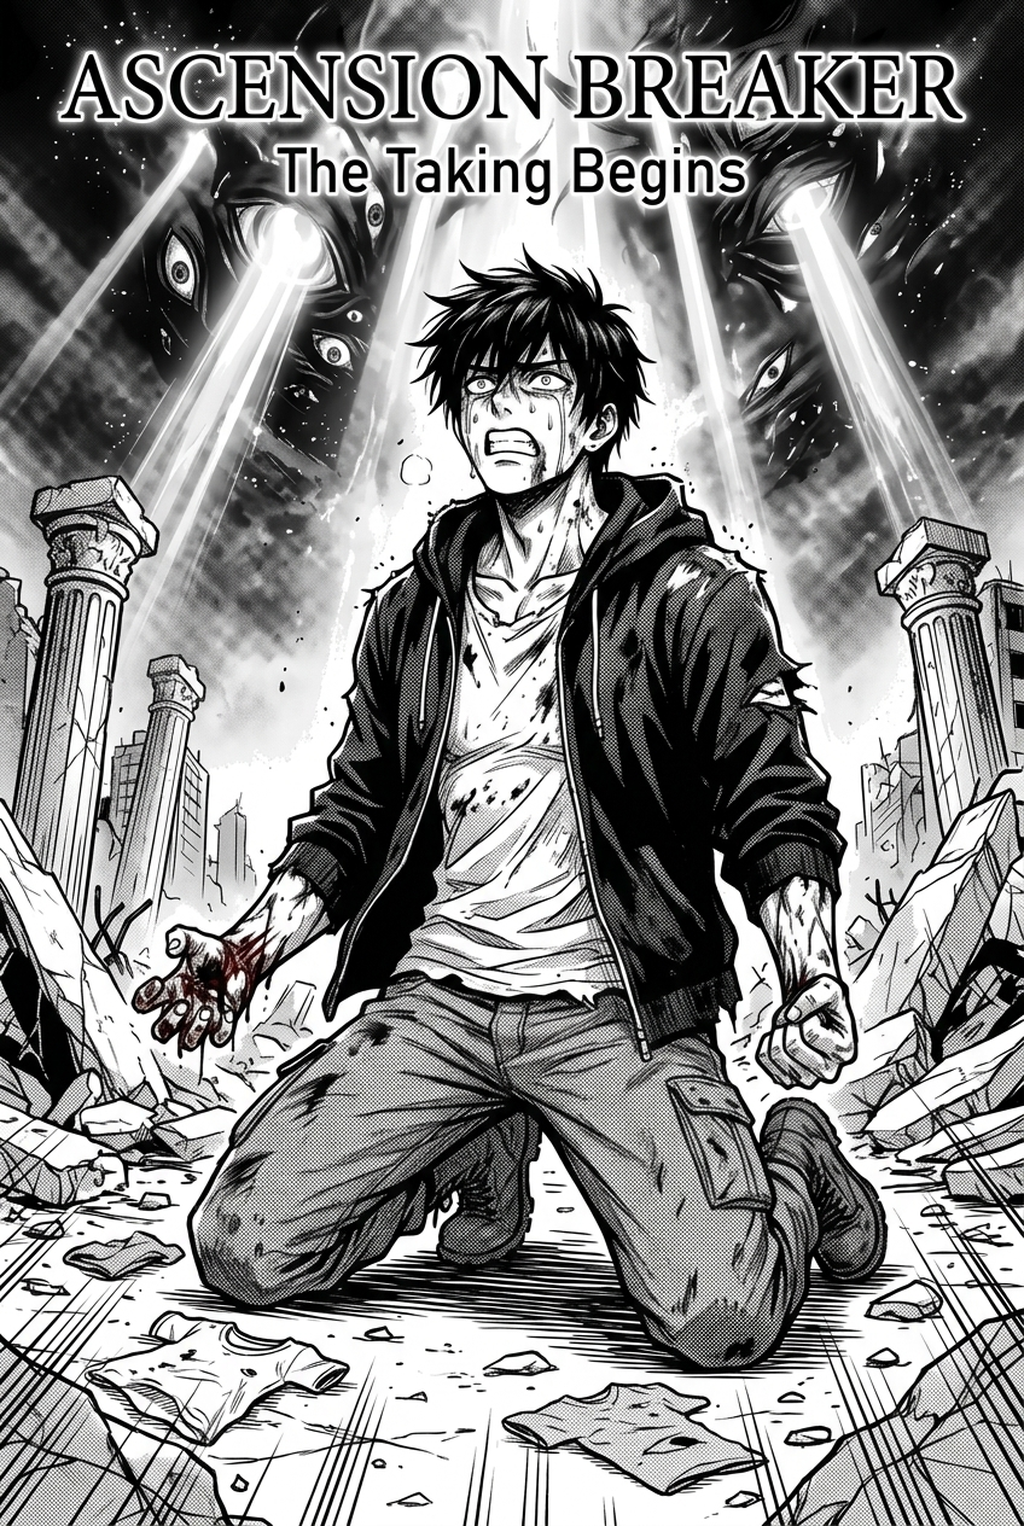
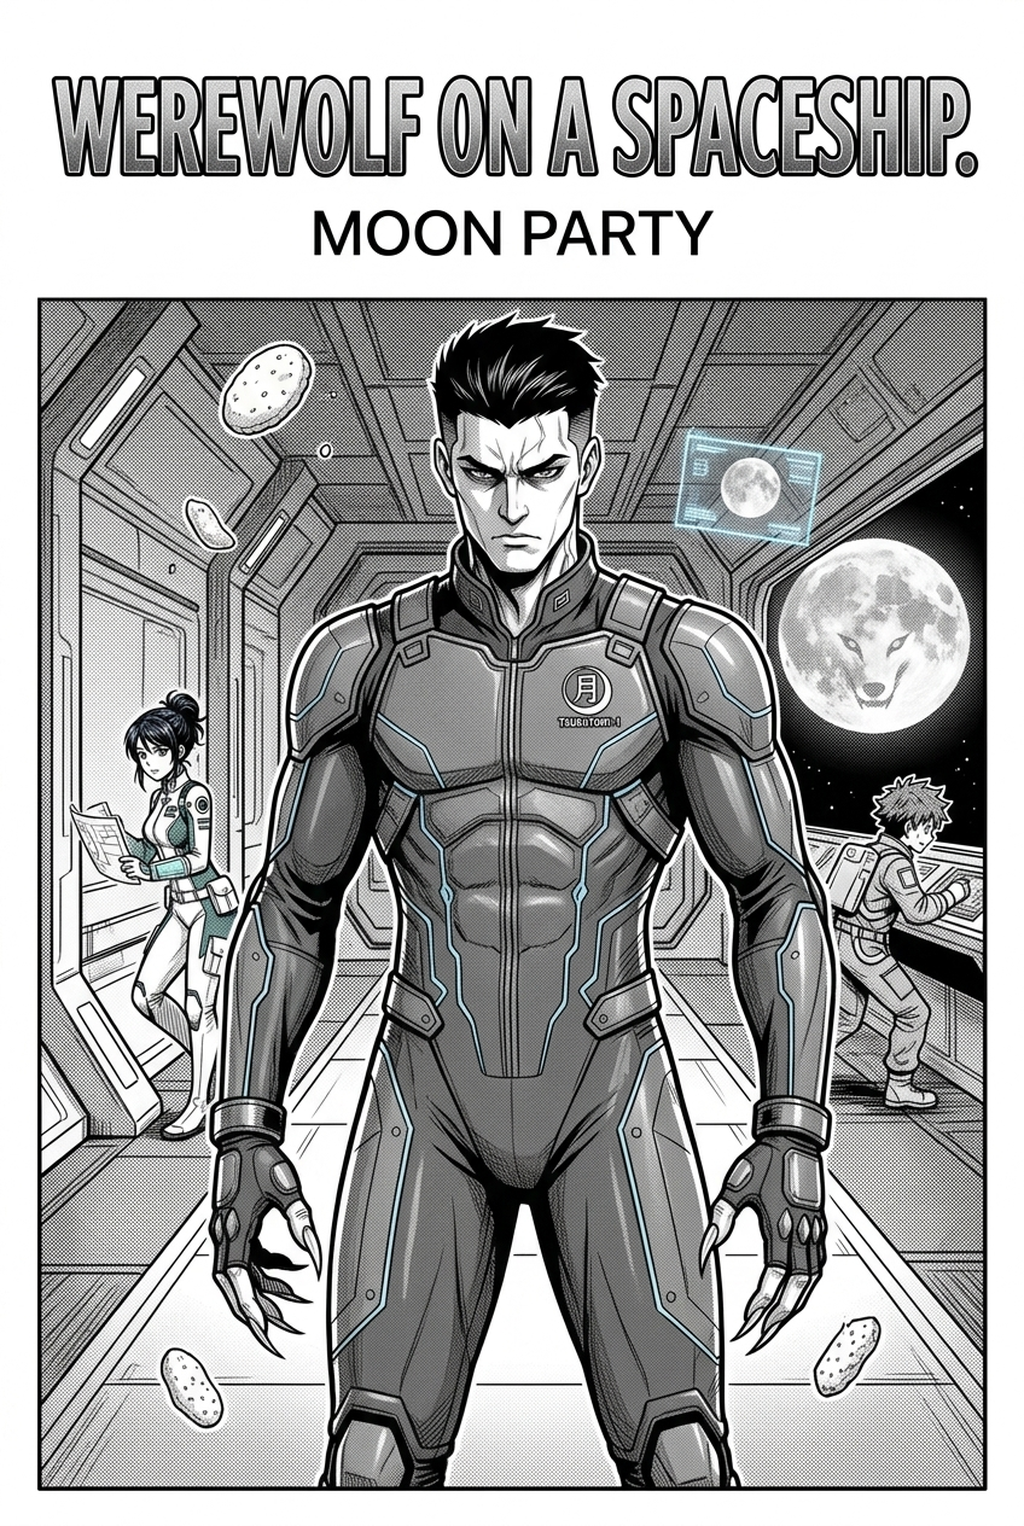
Comic Book Creator App: Draw, Write, and Publish From Anywhere
TL;DR * A phone or tablet is enough to start. A comic book creator app gives you page management, panel layouts, lettering and export in one place, so a chapter can move from idea to finished pages without a desktop. * Pick the app by the job, not the hype. Drawing-heavy work suits a full painting app with a stylus. Script-first work suits a browser studio such as Mangaka.app that generates panels from your script and keeps characters consistent. * Export for the destination before you draw. Webtoon-style scrolls, print-on-demand paperbacks and reader files all need different page sizes, so decide the target first and the rest of the workflow gets easier. Direct Answer: A comic book creator app is software that handles the parts of making a comic that a plain drawing app does not: multi-page projects, panel layouts, speech bubbles, screentones and export to publishing formats. With one on a tablet, phone or browser, an independent creator can write, draw (or generate) and publish a complete comic from anywhere with an internet connection.
! Cover Image: Mobile Comic Book Creator App Interface and Workflow Caption: Figure 1 - The portable comic pipeline: draft, panel, ink or generate, letter and publish from a tablet or phone.
1. Why a Comic Studio No Longer Needs a Desk
For most of the twentieth century, making a comic meant a drafting table, Bristol board, ruling pens and a bottle of ink. The early digital era changed the tools but not the setting: you still needed a desktop computer, a monitor and a tethered pen tablet, which kept production in one room.
That constraint has loosened. Current tablets, large phones and ordinary browsers can hold a layered canvas, respond to a pressure-sensitive stylus and sync a project to the cloud. A creator can rough out thumbnails on a train, letter a page in a café and upload an episode from a hotel room. The work still takes time and skill, but the equipment is no longer the gatekeeper it used to be.
This matters most for people who never had the desk in the first place: students sharing a laptop, hobbyists drawing on a phone, writers who have stories but are not yet confident illustrators. A comic book creator app lowers the entry cost of every stage, and a script-driven studio such as Mangaka.app goes one step further by generating panels from your written script.
This guide explains what a real comic app must do, compares common options, walks through a full mobile workflow, and shows how to publish. If you want to see how the format began before you pick tools, the overview of manga on Wikipedia is a useful background read.
2. What Separates a Comic App From a Sketch App
A general sketching app gives you a canvas and brushes. A comic book creator app gives you the structure around the canvas. When you compare tools, check these four capabilities first, because each one removes a repetitive chore.
Multi-page project management
A comic is a book, not a picture. You need to see every page as a thumbnail, drag pages into a new order, add or delete pages without breaking the rest, and check how facing pages read together. Apps that treat each page as a separate file push this bookkeeping onto you, and it becomes painful around page ten.
Panel layouts that adapt
Drawing four border lines and erasing the overlaps by hand is slow and imprecise. A comic app lets you divide a page into tiers and panels with a swipe or a preset grid, adjust gutters, and mask artwork so lines stay inside their frames. Good tools also let you break a frame deliberately, for example letting a character leap out of a panel for impact.
Speech bubbles and lettering
Dialogue needs balloons that resize around the text, tails that you can aim at the speaker, and different shapes for speech, thought and shouting. Lettering that stays crisp when you zoom or print is far better than text painted onto raster pixels, because you can fix a typo without redrawing the bubble.
Screentones and shading
Manga and many indie comics rely on dot patterns and gradients instead of full colour. A tone tool applies a pattern to a selected area and lets you change its density. Used well, tones create depth, mood and a recognisable print-style look without hours of hand shading.
A fifth capability is increasingly relevant: character consistency. Readers notice immediately when a protagonist's hairstyle or outfit changes between panels. Tools that help you reuse one character design across many panels save a lot of redrawing, and that is a core idea behind Mangaka.app.
Quick checklist for evaluating any app
| Capability | What to test in ten minutes | Warning sign |
|---|---|---|
| Page management | Add five pages, reorder them, delete one | Pages open as unrelated files |
| Panel tools | Cut a page into six panels, one diagonal | You must draw every border manually |
| Lettering | Type two lines, resize the balloon, move the tail | Text is not editable after placing |
| Tones | Apply a pattern, then lighten it | Only a flat grey fill is available |
| Export | Export one page to the format you need | The only option is a screenshot |
| Sync | Open the same project on a second device | Files are stuck on one device |
Run this checklist on your two finalists before you commit to a long project. Ten minutes of testing now saves a painful migration at chapter three.
3. Comparing Popular Comic Creation Apps
No single app is best for everyone. The table below summarises what each tool is generally used for, based on how the vendors describe their products. Features and plans change often, so confirm current details on each official site before you buy or subscribe.
| App | Typical platforms | Strength | Typical user |
|---|---|---|---|
| Mangaka.app | Web browser | AI generation from a script, panel layouts, character consistency, speech bubbles, screentones, export | Writers and solo creators who want pages without drawing every panel |
| Clip Studio Paint | Desktop and tablet | Deep comic tooling: frames, rulers, tones, 3D poses | Working manga and comic artists |
| MediBang Paint | Desktop and mobile | Free-to-start drawing with cloud storage and comic features | Students and beginners |
| Krita | Desktop | Free, open-source painting and animation | Artists who want powerful brushes at no cost |
| Procreate | iPad | Excellent painting feel; comics are manual | Illustrators who like to draw everything by hand |
A practical reading of this table: if you enjoy drawing and own a good stylus, a painting-first app such as Clip Studio Paint or MediBang Paint gives you control over every line. If your strength is story and you want finished-looking pages faster, a script-driven studio like Mangaka.app suits you better. Many creators combine both, generating a layout and then refining by hand.
! Content Image 1: Multi-Page Thumbnail Navigation and Spread Management on Mobile Caption: Figure 2 - Managing page thumbnails and reading pace on a tablet screen.
Which approach fits you?
| Your situation | Suggested starting point | Why |
|---|---|---|
| Writer with no drawing background | Script-driven studio | Panels come from your text, so you can focus on story |
| Artist with a stylus and a tablet | Painting-first app | You keep full control of linework |
| Student on a shared or older laptop | Browser studio or a free app | No heavy install, work saved online |
| Team of two (writer plus artist) | Cloud project both can open | Script and art stay in one place |
| Planning a printed book | App with print-size export | Page size and margins must be right from page one |
4. Step-by-Step: Make a Comic Chapter on a Tablet or Phone
This workflow assumes one short chapter of eight to twelve pages. It works with a painting app, a script-driven studio, or a mix of the two.
- Write a one-page synopsis. Summarise the chapter in five or six sentences: who wants what, what stands in the way, and how the chapter ends. Dictation or a Bluetooth keyboard both work on mobile. If you cannot summarise it, the chapter is not ready to draw.
- Break the synopsis into pages and beats. Decide how many pages you have, then assign each page one clear beat, such as "she finds the letter" or "the argument escalates". Aim to end every page on a small hook, a question or a reveal, so the reader wants to turn it.
- Write the panel script. For each page list the panels, what the camera sees, and the dialogue. Keep dialogue short, since balloons take space. A line such as "Page 3, panel 2: close-up of Mira's hands tearing the envelope" is concrete enough to draw or to feed into a generator.
- Set up the project and page size. Choose the destination first. A vertical scroll, a printed paperback and a reader file each need a different canvas. Create the project at the final size now rather than resizing later, because scaling pages after lettering causes blurry text and misaligned borders.
- Lay out the panels. Divide each page into tiers and frames. Vary panel size to control pace: small, repeated panels feel quick, while one wide panel slows the reader down for an important moment. Leave room inside each frame for the balloons you already know you need.
- Create or draw the art. Draw with a stylus, or generate panel art from your script and keep your recurring characters consistent across pages. Rough in first, then refine the panels that matter most. Reuse the same character reference every time so faces and outfits do not drift.
- Add screentones and shading. Apply tone patterns to shadows, backgrounds and clothing. Keep one tone density for shadows and a lighter one for midtones so the page stays readable at small sizes.
- Letter the dialogue. Place balloons, type the text, aim the tails at the speakers, and check reading order from top-right or top-left depending on your format. Keep important faces and hands clear of balloons.
- Proof on a phone-sized screen. Most readers will see your pages on a phone. Zoom out, scroll through the chapter and look for tiny text, crowded panels and confusing sequences.
- Export and publish. Export in the format your destination needs, upload, and keep the editable project file safe so you can fix mistakes later.
A worked example: one page, start to finish
Suppose your chapter beat is "Mira discovers her late grandmother's letter in a school library book." Here is how a single page might be planned.
| Panel | Camera | Action | Dialogue |
|---|---|---|---|
| 1 | Wide, interior | Empty library, Mira at a table, rain on the windows | Caption: "Third day of the monsoon." |
| 2 | Medium | Mira opens a heavy book, a folded envelope slides out | Mira: "What is this?" |
| 3 | Close-up | Her thumb tracing a handwritten name on the envelope | None |
| 4 | Close-up, face | Mira's eyes widen | Mira: "That's Nani's handwriting." |
Four panels, two lines of dialogue and a caption. The small number of words is deliberate: when text is short, balloons stay compact and the art can breathe. The same plan works whether you draw each panel yourself or paste each description into a script-based generator.
5. Drawing Tools, Stylus and Screen Setup
You do not need expensive hardware, but a few choices make a real difference to comfort and accuracy.
Stylus and touch input
A pressure-sensitive stylus gives you line variation: thin for fine detail, heavier for emphasis. Palm rejection, which ignores your resting hand, is handled by the device and the app together, so test it with your own hand position before you start a long session. If you do not own a stylus, you can still work in script-driven or layout-heavy workflows with touch alone, and use finger drawing only for rough thumbnails. Manufacturers such as Wacom also make pen displays and tablets for people who later move to a desktop.
Canvas settings that avoid problems later
| Setting | Recommendation | Reason |
|---|---|---|
| Resolution for print | 300 dpi at the final trim size | Standard for sharp print-on-demand interiors |
| Resolution for screen-only | Match the platform's recommended width | Avoids upscaling blur and oversized files |
| Colour mode | Greyscale or black-and-white for tones; RGB for colour webcomics | Keeps tone patterns crisp |
| Margins | Keep text inside a safe area away from the edge | Prevents trimming or cropping accidents |
| Layers | Separate thumbnails, line art, tones and lettering | Lets you edit one element without redoing others |
Ergonomics
Long drawing sessions strain wrists and necks. Prop the tablet at an angle, take short breaks and zoom in rather than hunching over fine detail. If you are drawing on a phone, work in short rough passes and save fine lettering for a larger screen when you can.
6. Lettering: Balloons, Fonts and Reading Flow
Lettering is where many beginner comics lose polish, and it is entirely learnable.
Balloon basics
- Speech balloons are rounded with a tail pointing to the speaker's mouth area.
- Thought balloons use a cloud-like edge and small bubbles in place of a tail.
- Shout balloons use a jagged border and often larger, bolder text.
- Captions are rectangular boxes for narration, time and place.
Rules that keep pages readable
- Place the first balloon of a panel in the top part so it is read first.
- Do not let a tail cross another character's face.
- Keep line lengths short and balanced, centred inside the balloon.
- Leave consistent padding between the text and the balloon edge.
- Use one clear font for dialogue and reserve variations for sound effects or emphasis.
Hindi, English and mixed-language dialogue
If your audience reads more than one language, plan for balloon size early. Scripts differ in line height and width, so a balloon that fits a short English line may be too small for the same sentence in another language. Test your longest line first, and keep a spare layout version if you plan to release in two languages. Check font licences before publishing, particularly for commercial work.
! Content Image 2: Vector Speech Bubble Manipulation and Typography Controls on Touchscreen Caption: Figure 3 - Adjusting balloons, tails and text spacing with touch gestures.
7. Using Mangaka.app in a Mobile-Friendly Workflow
Mangaka.app runs in the browser, which means there is nothing heavy to install and your work is available wherever you sign in. It is built around a script-first idea: you provide the story, and the studio helps turn it into pages.
What the studio provides
| Stage | What Mangaka.app helps with |
|---|---|
| Writing | Turn your script into panel-by-panel artwork through AI generation |
| Layout | Panel layouts you can arrange to set page rhythm |
| Characters | Character consistency so recurring cast members stay recognisable |
| Lettering | Speech bubbles for dialogue, thoughts and shouts |
| Shading | Screentones for manga-style depth |
| Delivery | Export of finished pages |
A realistic way to combine tools
You do not have to choose between generating and drawing. A common approach is to write the script, generate the first version of each panel, adjust layouts and bubbles, and then export. If you want a hand-drawn look in key scenes, you can export pages and refine them in a painting app such as Krita or Clip Studio Paint . To try the script-to-panels flow, open the Mangaka.app editor with a short scene of four to six panels.
Tips for getting consistent results
- Write each character's key features (hair, clothing, age) once and reuse the same description in every panel script.
- Keep panel descriptions to one clear action each.
- Generate a full page before polishing any single panel, so you can judge pace first.
- Save your character descriptions in a separate note for future chapters.
8. Exporting for Different Destinations
When your chapter is drawn, toned, and lettered, the final task inside your comic book creator app is export. Choosing the wrong export format or dimensions can undo hours of careful drafting by introducing compression artifacts, blurry fonts, or clipped panels. Before tapping export, review where your readers will actually view the comic.
Common Publishing Destinations and Formats
| Destination / Platform | Primary Format | Typical Resolution / Sizing | Key Export Setting |
|---|---|---|---|
| Vertical Webcomic (WEBTOON) | Sliced JPEG / PNG | 800px width per slice; max height per slice around 1280px | RGB color mode; compressed to meet upload file-size caps |
| Indie Webcomic Community (Tapas) | Sliced JPEG / PNG | Up to 960px width; vertical stack | Web-optimized RGB; progressive JPEG compression |
| Print-on-Demand (Amazon KDP) | Single-file multi-page PDF | 300 DPI at physical trim dimensions (e.g., 6 x 9 inches or standard graphic novel trim) | CMYK or Grayscale PDF; embedded vector fonts; 0.125-inch bleed margin |
| Japanese Online Creative Portals (pixiv) | High-res JPEG or multi-image post | Standard B5 / A5 canvas or 1200px+ display width | Clean RGB; high visual fidelity for digital portfolio feeds |
| Manga Readers & Archives | .CBZ / .CBR (Comic Book Zip) | 1600px to 2400px height per page | Sequential numerical naming (001.jpg, 002.jpg) inside zip container |
| Digital Reading Apps / Global Manga Portals (MANGA Plus) | Specialized reader archives / API uploads | High-definition portrait spreads (typically 2048px vertical) | Lossless WebP or high-bitrate JPEG |
Checking Your Export Before Uploading
- Verify page numbering and order: Ensure your export naming convention sorts correctly in standard file explorers. Double-digit padding (
page_01.jpg,page_02.jpg) preventspage_10.jpgfrom sorting directly afterpage_1.jpg. - Inspect zoomed text: Open the exported file on a mobile handset and zoom in on small captions and dialogue. If the vector fonts were rasterized at low resolution, letter edges will appear blurred or pixelated.
- Check bleed and crop marks for print: If submitting to Amazon KDP or a local print shop, make sure important dialogue balloons and character eyes sit at least 0.25 inches (6 mm) inside the trim boundary to prevent accidental cutting at the bindery.
- Test file size limits: Webcomic portals like WEBTOON enforce strict file size limits (such as 2MB per slice). Use efficient compression or lossy WebP where supported to keep files lightweight without degrading line art.
! Content Image 3: Global Digital Distribution and Print-on-Demand Ecosystems Caption: Figure 4 - Exporting and distributing graphic novels across digital portals and print-on-demand networks.
9. Overcoming Practical Mobile Bottlenecks
While modern smartphones and tablets are powerful, producing a complete serialized graphic novel on mobile hardware introduces physical and technical challenges that creators on desktop towers rarely encounter. Anticipating these bottlenecks keeps your production on schedule.
Screen Real Estate and Touch Ergonomics
Drawing on a 6-inch phone or even an 11-inch tablet screen restricts your field of view compared to a 27-inch desktop monitor. When zoomed in to ink fine eyelashes or cross-hatching, it is easy to lose track of the overall panel composition.
To overcome this constraint, use split-screen or secondary preview windows whenever your software supports it. Keep a small thumbnail navigator in the corner of your workspace to monitor the macro-composition while your stylus operates at 400% zoom. Furthermore, utilize hardware gestures—such as two-finger pinch to rotate and double-tap to undo—to reduce reliance on cumbersome UI menus that eat into active drawing space.
Cloud Storage, Battery Management, and Bandwidth
A 24-page comic project with multi-layer high-resolution canvases quickly balloons into several gigabytes of data. When working on mobile networks, automatic cloud sync can drain your battery rapidly or consume expensive mobile data quotas.
- Configure selective syncing: Set heavy canvas backups to upload only when connected to unmetered Wi-Fi networks.
- Maintain local version snapshots: Export periodic flat image backups to your device's local memory before performing major structural edits or layer merging.
- Hardware thermal throttling: Heavy rendering, generative processing, and continuous screen brightness generate heat. If your tablet becomes warm, processors throttle performance, causing stylus lag. Take regular 10-minute pauses to let your device cool down.
Layer Budgeting on Limited RAM
Mobile operating systems enforce strict per-application RAM limitations. An iPad or Android tablet with 6GB or 8GB of total memory may limit a drawing app to 3GB or 4GB of usable memory. If you create a 600 DPI A4 canvas with 50 layers, the app will either limit the maximum layer count or crash unexpectedly.
| Canvas Specification | Estimated RAM Consumption | Safe Layer Budget (on 6GB–8GB Tablets) | Recommended Workflow |
|---|---|---|---|
| Webtoon Strip (800 x 1280px per slice) | 50 MB – 150 MB | 40+ layers without issue | Full flexibility; keep sketches, inks, flats, and FX on separate layers |
| Standard Web Comic (1600 x 2400px @ 72/150 DPI) | 200 MB – 500 MB | 25 – 35 layers | Merge flat colors and sketch layers once inking is locked |
| Print Graphic Novel (6 x 9 in @ 300 DPI) | 600 MB – 1.2 GB | 15 – 20 layers | Consolidate background panels; use layer folders efficiently |
| High-Res Manga B5 (257 x 364mm @ 600 DPI) | 1.5 GB – 3.0 GB | 8 – 12 layers | Keep line art strictly 1-bit monochrome; merge screentones into a single tone layer |
Best Practices for Battery Life and Stylus Calibration
When spending several continuous hours working on a comic book creator app away from a desk charger, battery drain and stylus drift can disrupt your creative concentration. High screen refresh rates (such as 120Hz ProMotion or OLED gaming displays) coupled with maximum brightness can drain a mobile battery in under three hours of intense rendering.
To optimize your mobile workstation for full-day production:
- Calibrate display brightness and refresh rate: Reduce screen brightness to 50% or 60% and consider locking your display refresh rate to 60Hz during storyboard thumbnailing and scriptwriting, reserving high refresh rates exclusively for detailed inking passes.
- Inspect stylus tip wear and tilt offset: Stylus nibs wear down from friction against textured matte screen protectors. A worn, flattened nib causes parallax errors where the digital ink stroke trails slightly behind the physical contact point. Replace stylus tips regularly to maintain accurate line control.
- Utilize streamlined canvas undo history: Many mobile apps store hundreds of undo states in active memory. Restricting undo history depth to 30 or 50 steps significantly frees up operating RAM and prevents thermal throttling.
10. Frequently Asked Questions (FAQ)
What is the best comic book creator app for beginners?
Mangaka.app and MediBang Paint are ideal for beginners due to their low learning curves, free cloud storage tiers, and pre-built comic templates that handle paneling and speech bubbles automatically.
Can I make a commercial comic book entirely on an iPad or tablet?
Yes. Modern tablets equipped with apps like Mangaka.app or Clip Studio Paint offer identical resolution, layer depth, and vector export fidelity as high-end desktop workstations, making 100% mobile commercial production entirely feasible.
Do mobile comic creator apps support pressure sensitivity?
Yes. Professional mobile comic apps fully support active stylus hardware (such as the Apple Pencil or Samsung S-Pen), providing thousands of levels of pressure sensitivity and tilt angle detection for natural ink lines.
What file format should I export for digital comic distribution?
For digital comic readers, export as .CBZ (Comic Book Zip) or high-resolution PDF. For vertical webcomic platforms like Webtoon, export sliced 800px wide JPG or WebP images.
How do I prevent my hand from accidentally drawing on the touchscreen?
Professional comic apps include active palm rejection technology that recognizes the unique capacitive touch signature of your stylus, ignoring input from the side of your hand resting on the glass screen.
Can I collaborate with a co-writer or colorist inside a mobile comic app?
Yes. Cloud-native platforms like Mangaka.app allow multiple creators to access the same multi-page project, enabling writers to script dialogue while illustrators ink panels simultaneously.
11. Start Creating Your Comic Today
You do not need an expensive physical studio, heavy drafting tables, or desktop workstations to share your story with the world. Modern mobile hardware and browser-based creative studios have dismantled the technical barriers to sequential storytelling. Whether you are sketching spontaneous character designs on your morning commute or turning a complete chapter script into paneled graphic pages, sequential art is now entirely portable.
Ready to bring your graphic novel to life from any browser? Launch the Mangaka.app Studio to turn your script into dynamic panel layouts, maintain rock-solid character consistency, and export publication-ready pages today.