AI Manga Inker: Professional Ink Styles and Line Weight Dynamics
Professional inking relies on the strategic application of varying line weights to separate foreground figures from detailed architectural backgrounds. You must master the G-pen for sharp, tapering strokes on character outlines and the Maru-pen for delicate, consistent detail work in facial expressions to avoid a muddy look.
- Line Weight Hierarchy: Thick outlines should be reserved for the primary figure's outer contour, while thinner, broken lines define inner textures and shadows to prevent the "floating character" effect. * Shadow Density Control: Excessive cross-hatching often kills the momentum of an action scene; prioritize "tachi-kiri" bleed edges to pull the reader into the panel's internal environment. * Ink-Tone Balance: Maintain a strict separation between your black ink lines and any added grayscale tones or screentone layers to ensure the final output remains legible on high-density mobile screens.
If you struggle with "sketch-ghosting" or inconsistent line stability across a 20-page chapter, you are likely overworking your initial pencil pass. Most professional studios now view the inking phase as a technical optimization task rather than a purely manual drafting chore.
Why Precision Inking Drives Reader Retention
Strong inking clarifies complex action sequences and ensures characters remain instantly recognizable across different chapters. If your ink lines drift in thickness between page 1 and page 20, the reader subconsciously loses trust in the character's physical design, resulting in a fractured reading experience that lowers engagement metrics.
Creators often face the challenge of "proportion drift," where a character’s eyes or jawline subtly shift due to manual inking fatigue over long production cycles. By standardizing your ink settings early, you ensure that every panel, from a wide-shot landscape to a tight-frame reaction, adheres to the established character design document.
Mobile-first platforms require high-contrast, clean lines to prevent visual noise on small displays. Implementing a Clean-up Batching" strategy—where you lock character poses first—allows you to set the visual anchor-point for the remaining environmental details, ensuring the reader's eye never gets stuck on confusing background clutter.
| Feature | Manual Inking | Automated AI Inking |
|---|---|---|
| Line Stability | High (Human) | Absolute (Vector) |
| Batch Processing | Impossible | Immediate |
| Line Weight Control | Variable/Fatigue-prone | Consistent/Presets |
Streamlining Your Workflow with Mangaka
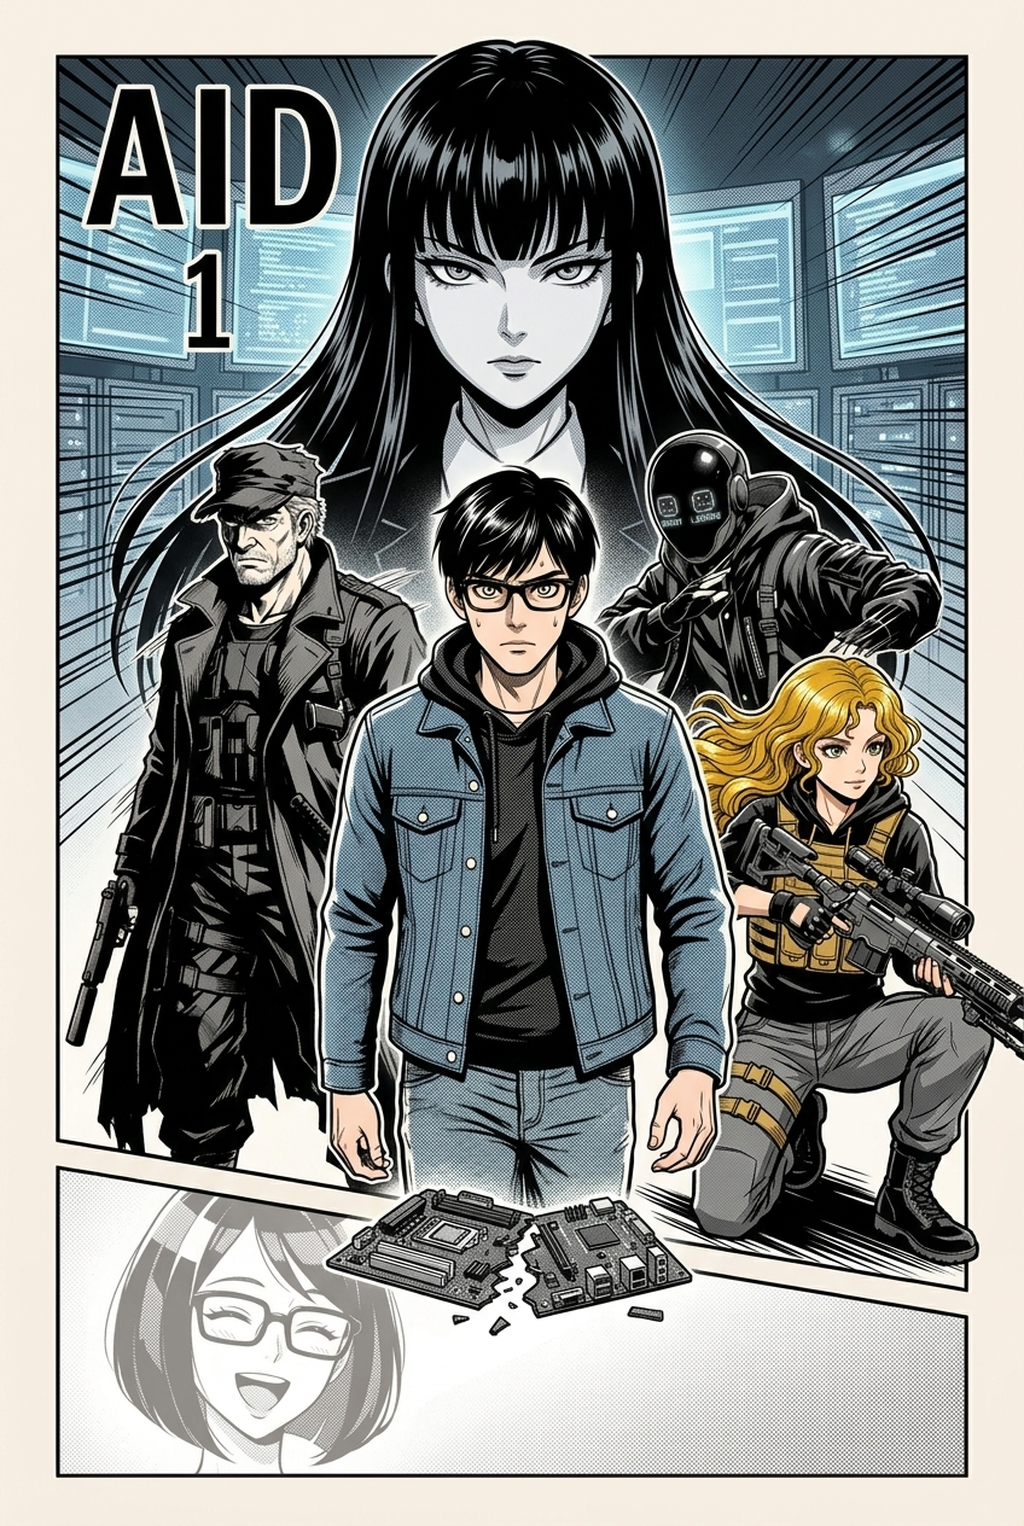
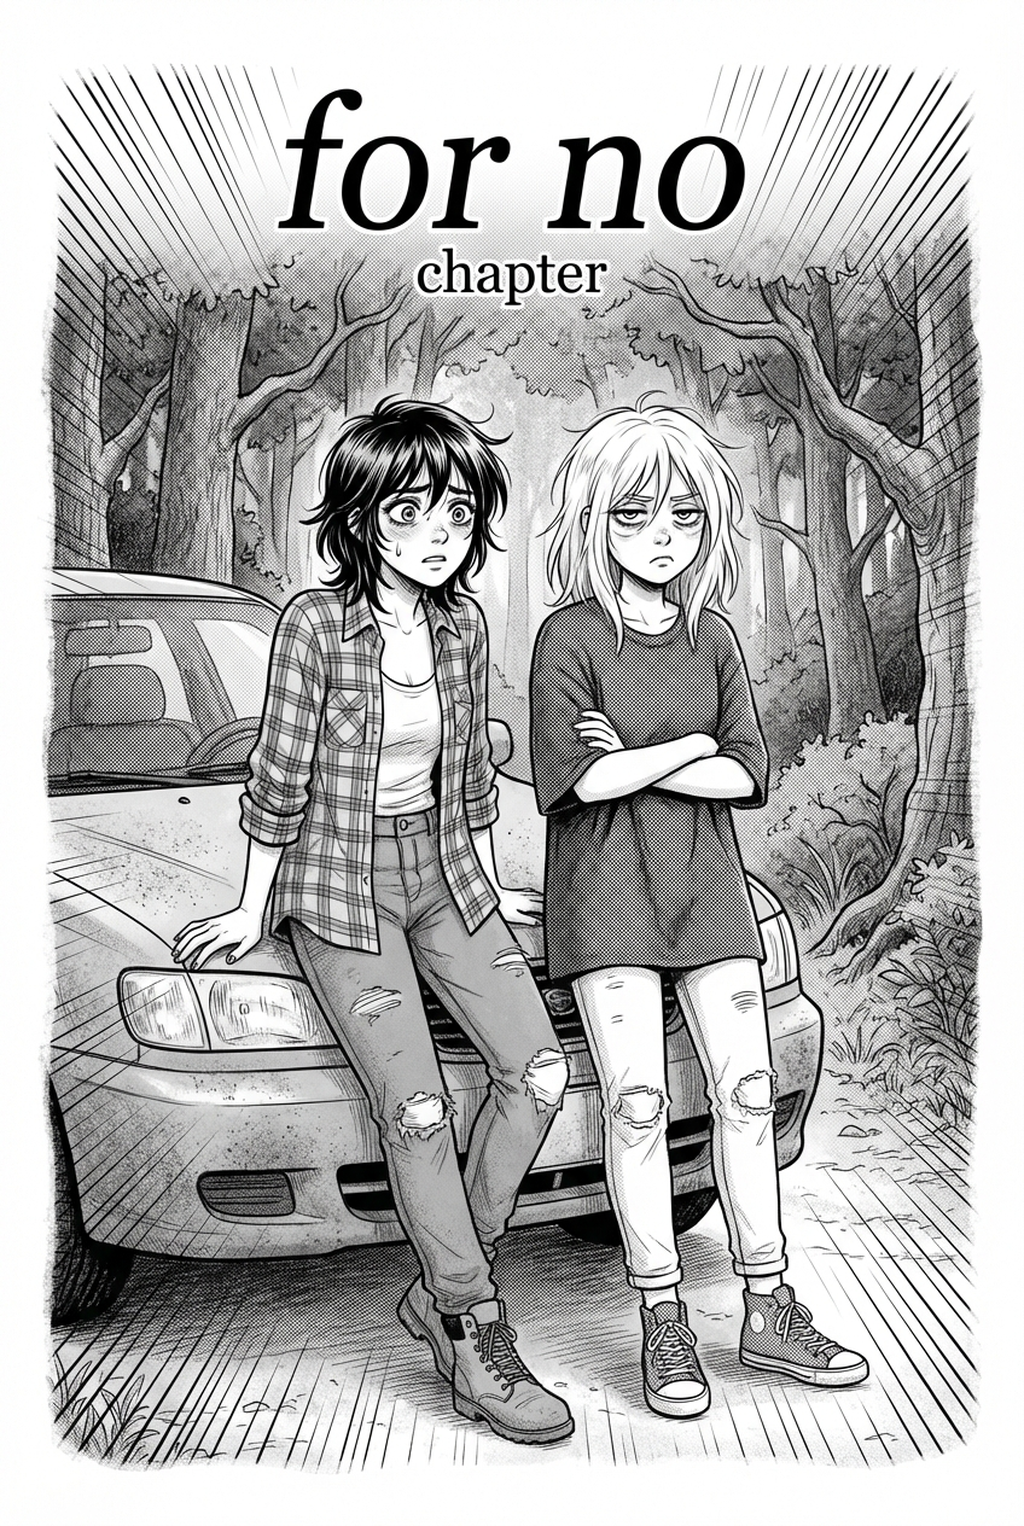
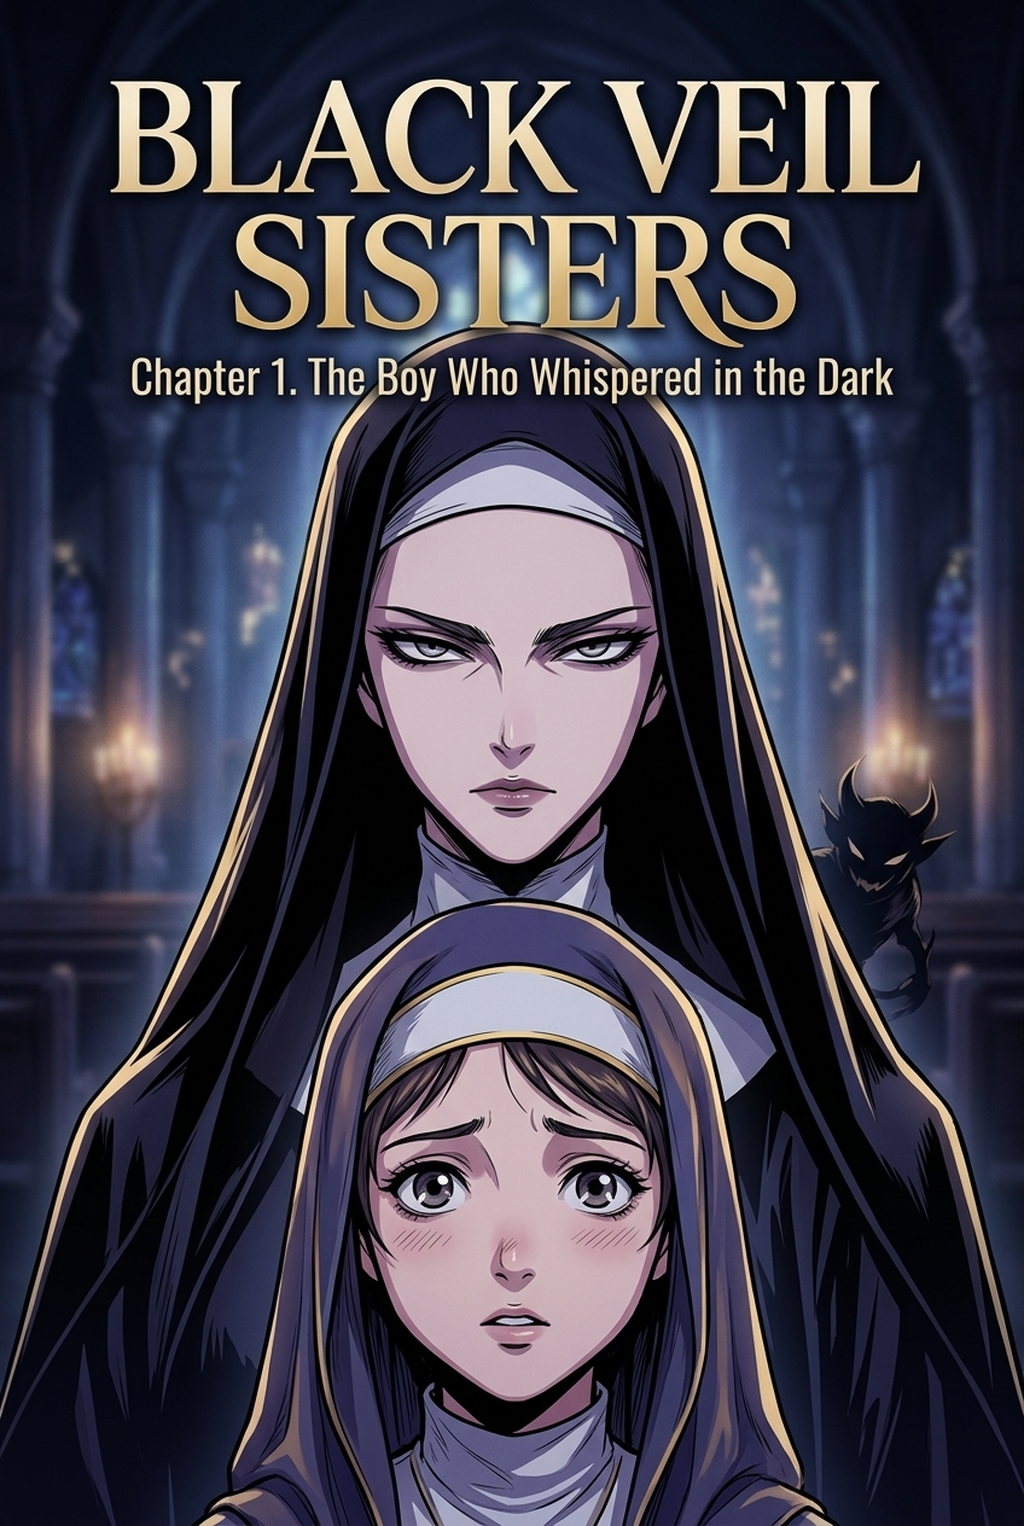
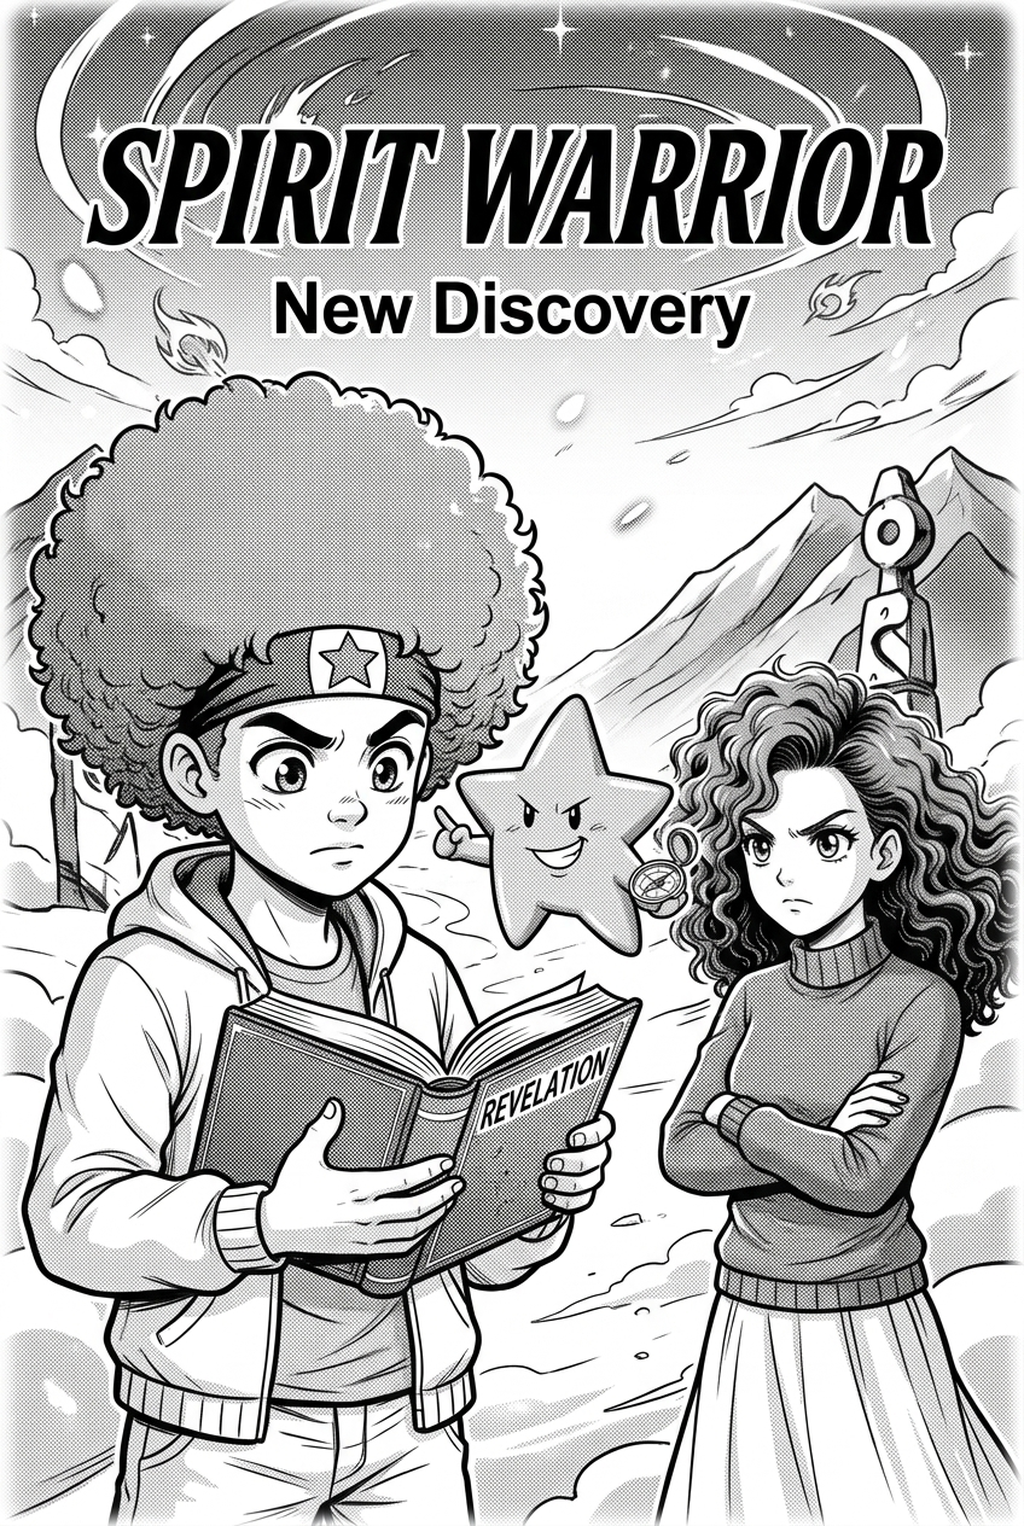
Modern tools allow creators to convert pencil sketches into clean, high-definition inked lines instantly, bridging the gap between raw hand-drawn layouts and finished art. This manga inking with Mangaka resolves the common bottleneck of manual cleanup by interpreting your original hand-drawn curves and converting them into professional-grade line work.
By automating the tedious technical cleanup, creators can focus more on artistic composition, panel framing, and the emotional resonance of the storytelling. The system handles the "ghosting" artifacts typical of low-resolution paper scans, effectively digitizing your traditional pencil-on-paper drafts into a clean digital format suitable for professional export.
- Chapter cadence. Use the AI pass for pages where speed matters most, such as repeated action poses, transformation beats, or dense speed-line panels. Keep manual cleanup for hero panels where the line style defines the emotional peak.
- Character continuity. Compare the generated lines against the same model sheet, costume notes, and facial-expression range used during sketching. This prevents a fast inking pass from drifting away from the character identity readers recognize.
- Export readiness. Check whether the final manga output can move into lettering, coloring, or final layout without rebuilding panel borders or speech-bubble space. A good manga workflow should save time while keeping the next production step predictable.
Use Cases for High-Fidelity Digital Inking
The hardest challenge for solo mangaka is maintaining uniform quality across the entire chapter while navigating the complexities of environmental background inking. Many creators report that the most successful approach involves inking the primary character action first, then using AI-assisted tools to "fill in" the background details that match the established line-weight density of the main figures.
- Action Pacing: Use heavier lines on impact frames to add weight to hits and movements, preventing the art from feeling weightless. * Background Integration: Automate the secondary detail layers, such as buildings or foliage, to ensure they do not distract from the character’s emotional state. * Export Fidelity: Always target a consistent 600 DPI for black-and-white ink work to ensure no aliasing or pixelation occurs during the final print or digital PDF rendering.
Getting Started with Professional AI Tools
You might wonder if digital automation loses the "human" quality of a traditional G-pen stroke, but the truth is that current models allow for pressure-sensitive outputs that mimic organic brush behavior. AI acts as a sophisticated assistant that handles the technical heavy lifting, while you maintain final oversight over artistic direction, lighting, and shadow placement.
Modern AI models are increasingly capable of recognizing specific, high-density shading techniques, such as traditional cross-hatching, without losing the integrity of your original sketch. If the tool misinterprets a stroke, it usually stems from a low-contrast initial sketch; ensure your pencil work is dark enough to be clearly distinguished from the paper white before processing.
Hybrid workflows allow you to sketch on paper and finish digitally, which is often the fastest path for creators who prefer the tactile feel of physical drafting. By scanning these pages and running them through the manga inking interface, you eliminate hours of manual cleaning and inking, allowing you to focus on the next chapter's storyboard and pacing.
Creators should compare the generated line art with the original sketch and confirm that facial expressions, props, speed lines, and speech-bubble space still support the scene. A repeatable review pass should cover character consistency, panel readability, background clarity, and whether the final file is ready for coloring, lettering, or editor feedback.
The Bottom Line
AI Manga Inker workflow is the essential bridge between a rough draft and a polished story, yet it does not have to be the bottleneck that delays your release schedule. By leveraging tools like manga inking to handle the technical cleanup of your line work, you gain the freedom to prioritize storytelling over repetitive drafting.
Related articles
Mastering 4-Koma Strip Creation: A 2026 Guide
50 Creative 4-Koma Strip Ideas for Your Next Manga Project
Auto-Position Your Manga Speech Bubble Layout in 2026