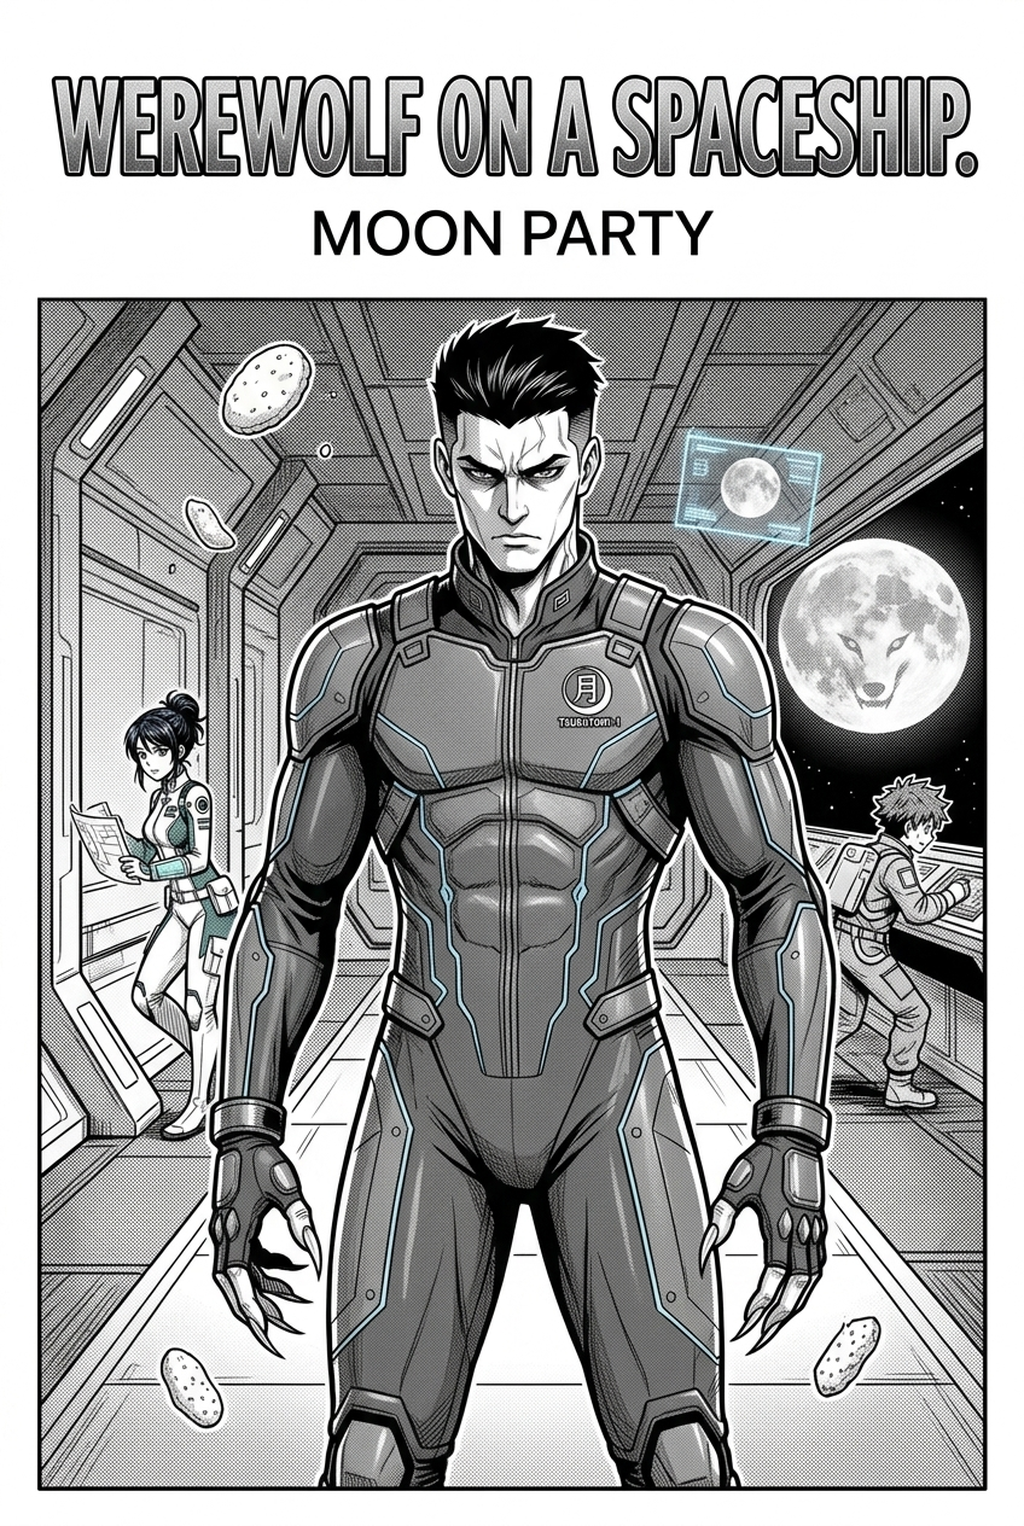
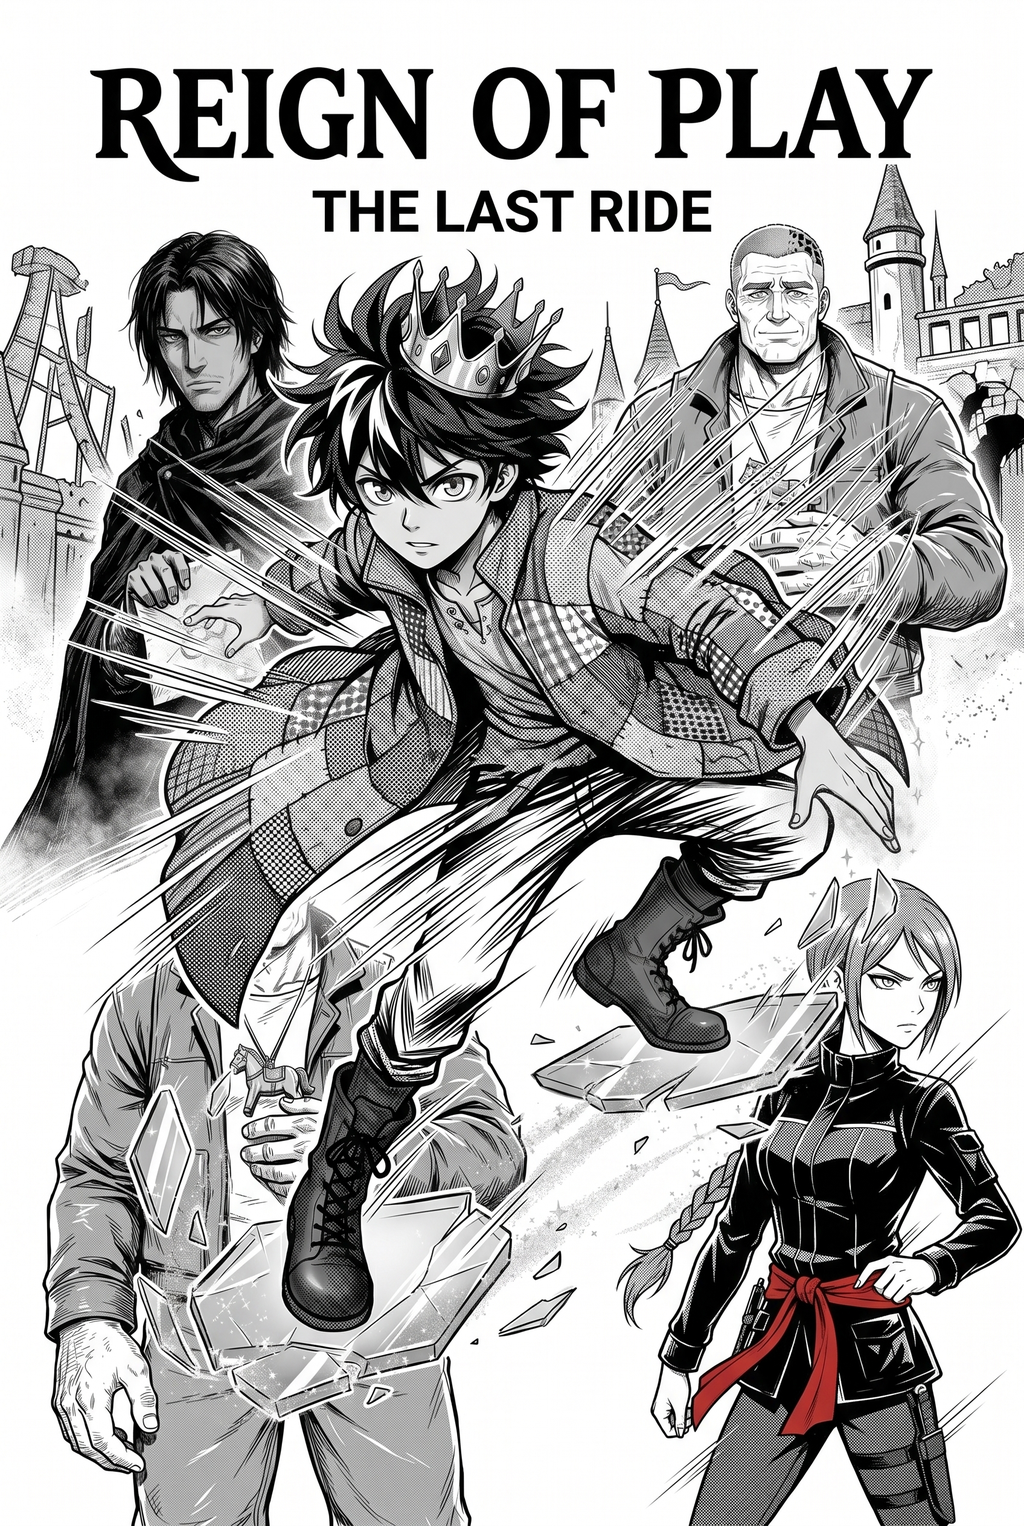
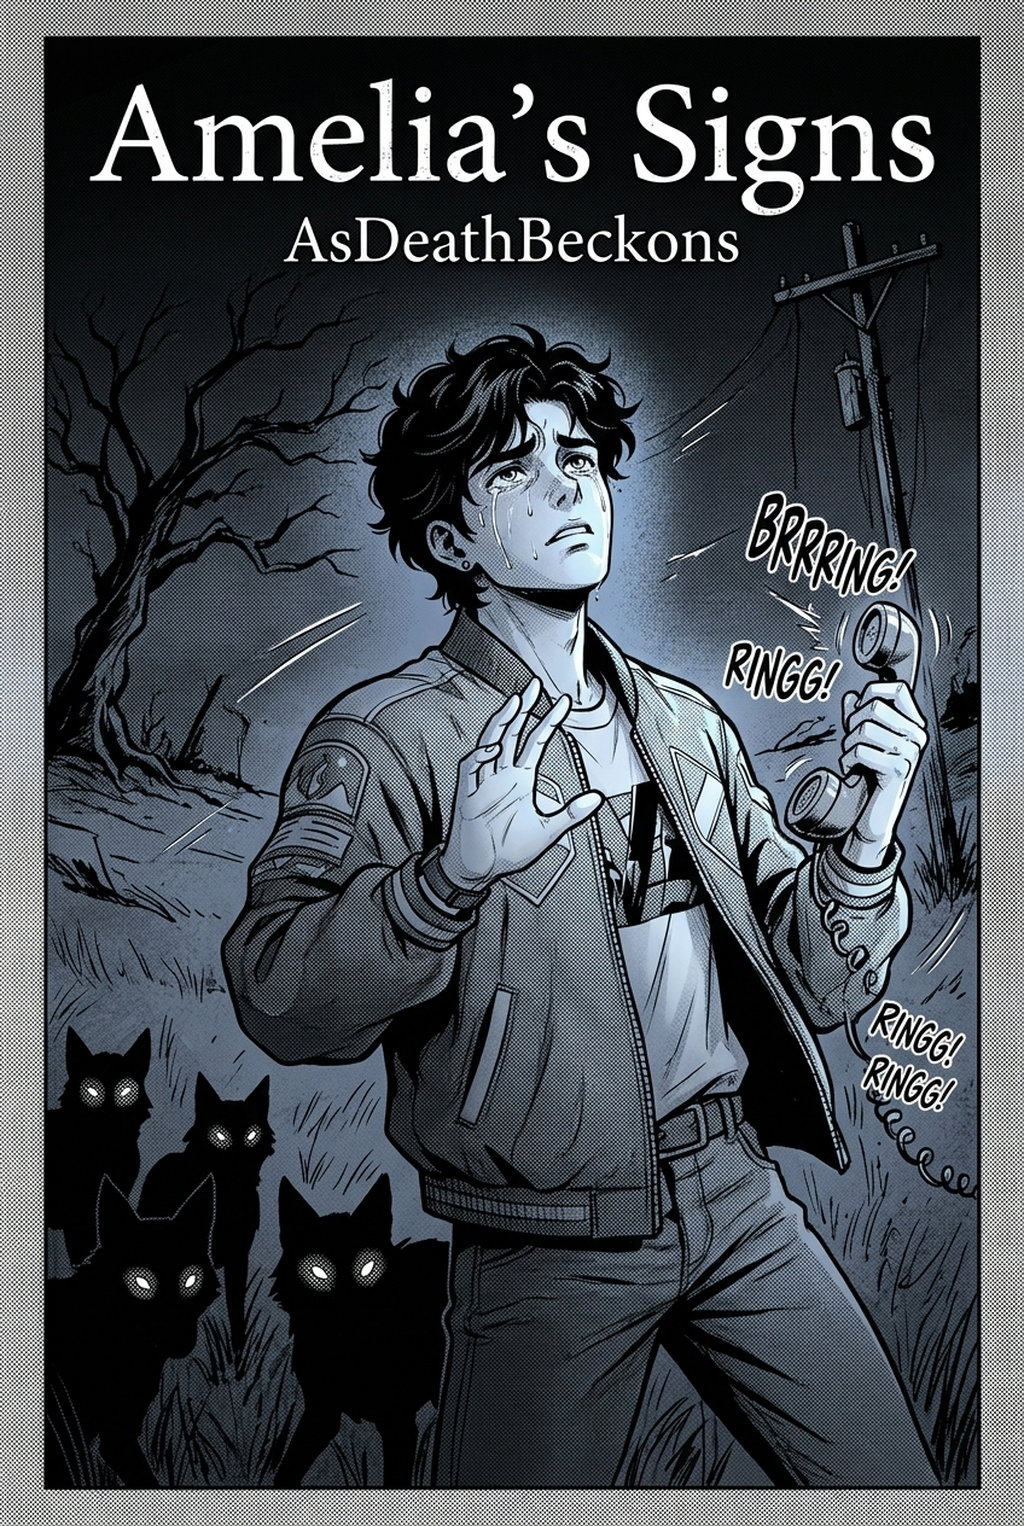
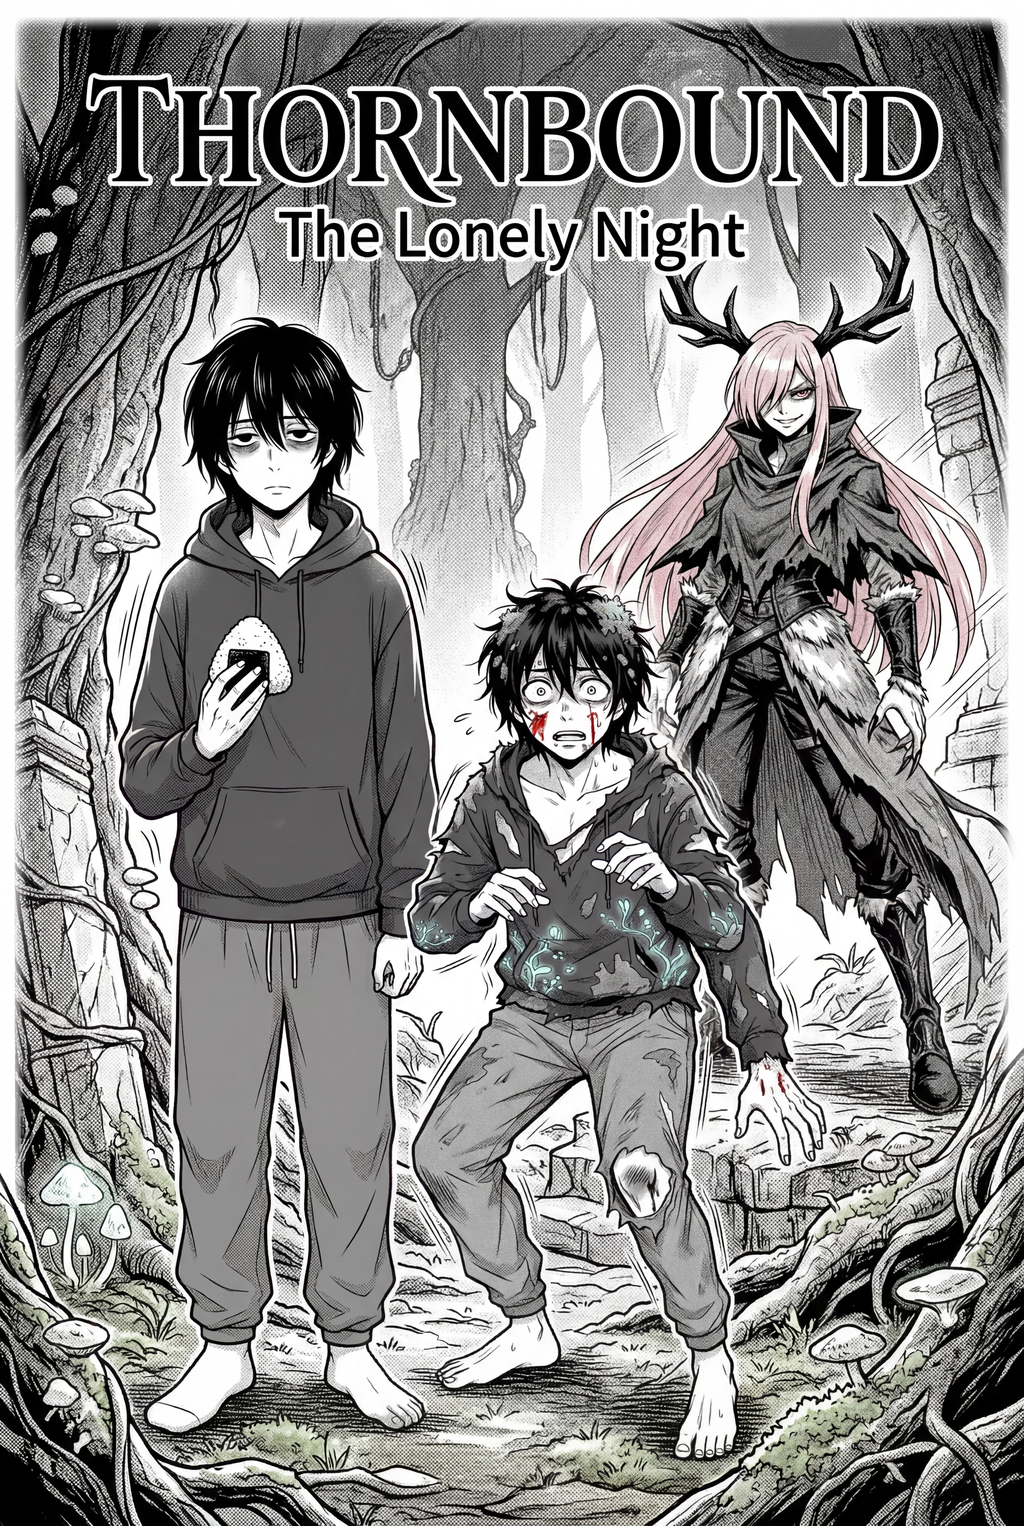
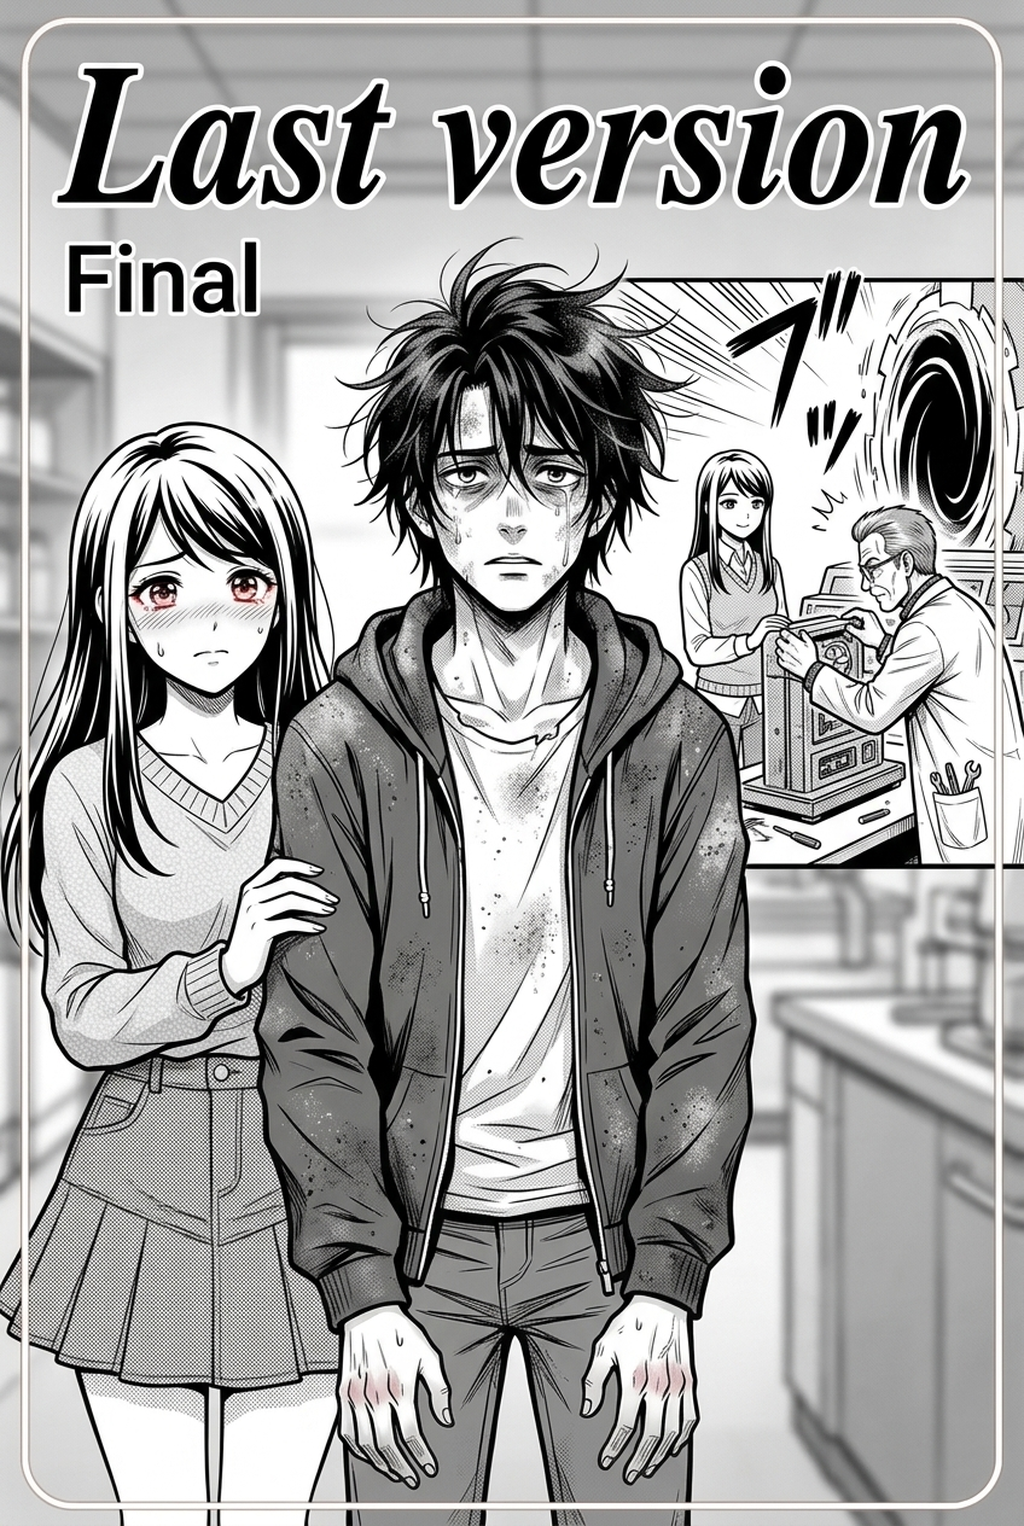
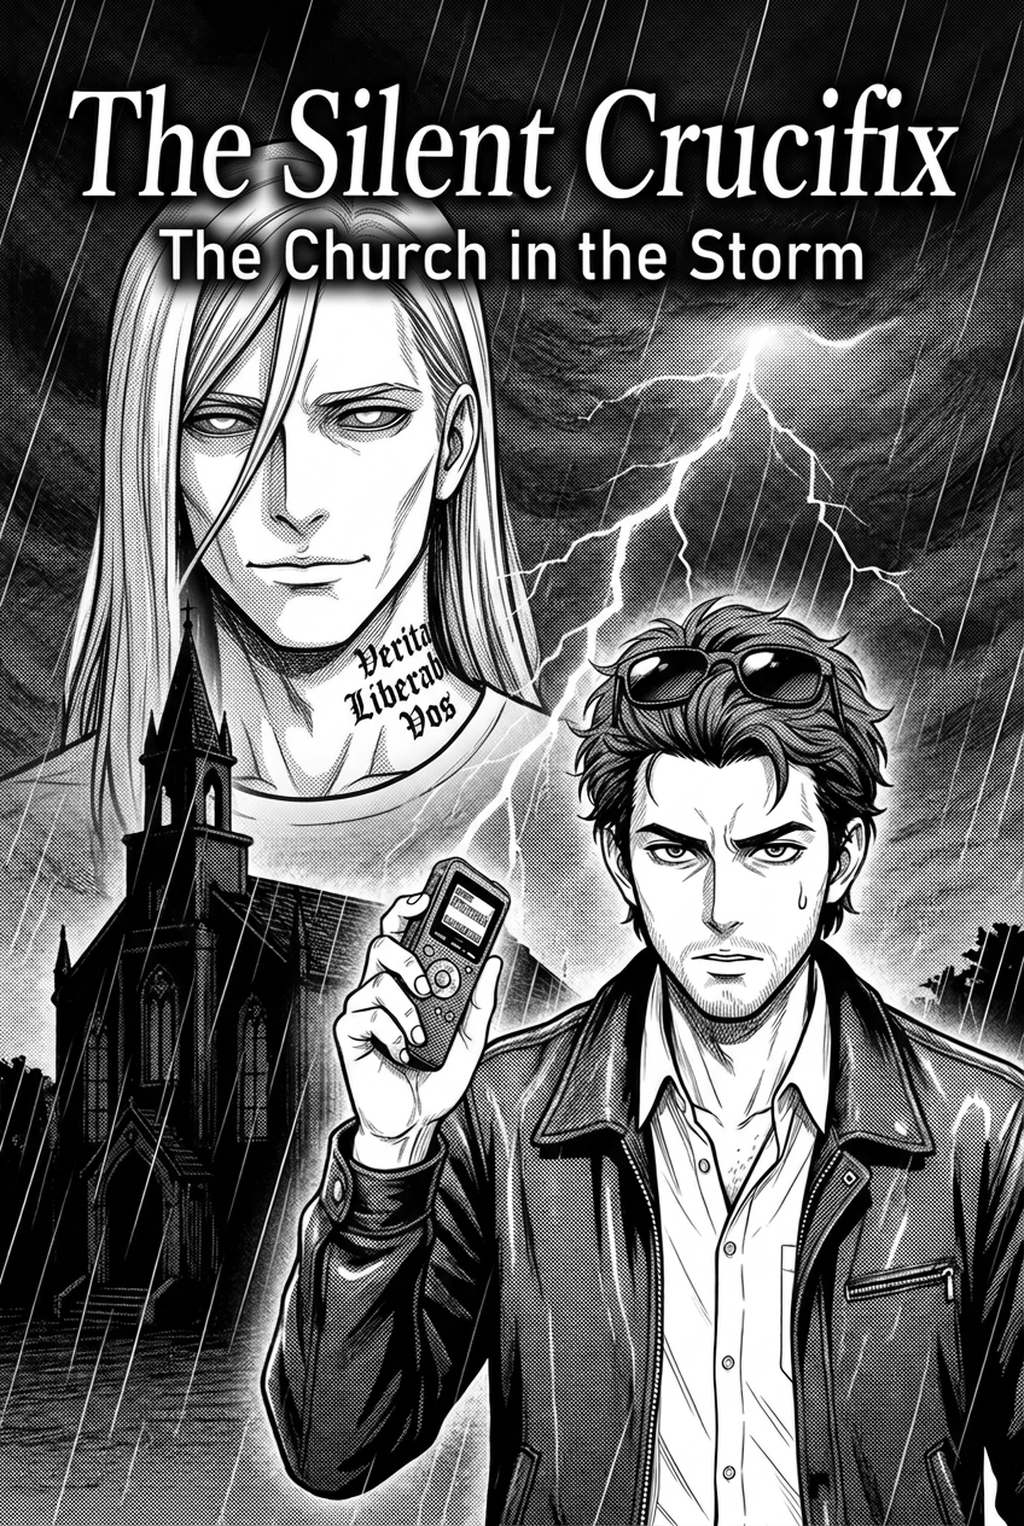
Digital manga inking is the defining stage where pencil drafts and rough concept sketches transform into bold, razor-sharp, publication-ready comic art. In 2026, comic artists around the world, particularly across thriving creative hubs like India, are leveraging cutting-edge stylus displays, custom pressure curves, and AI-accelerated workflows on Mangaka to craft stunning visual narratives.
This comprehensive technical handbook unpacks the foundational principles of line weight hierarchy, digital nib mechanics, feathering, cross-hatching, and digital contour optimization.
! Manga Inking and Digital Brush Techniques Figure 1: Professional digital line art execution and dynamic contour modulation on Mangaka Discovery.
The Core Philosophy of Manga Inking: Line as Narrative
In Western comic traditions, inking often emphasizes heavy chiaroscuro shadows and textural hatching. In Japanese manga and vertical webtoons, however, line art is fundamentally expressive, dynamic, and calligraphic. A single stroke conveys velocity, weight, emotional fragility, or physical impact.
When digital artists work on the Mangaka Discovery Platform , their line art communicates depth without relying on complex color rendering. Mastering line weight allows your panels to remain crystal clear even on compact smartphone screens.
! Digital G-Pen and Pressure Dynamics Figure 2: Testing stroke thickness transitions and pressure sensitivity curves.
Digital Pen Nib Mechanics: G-Pen vs. Maru-Pen vs. Kabura-Pen
1. The Digital G-Pen (The Dynamic Workhorse)
The G-pen is the undisputed king of manga inking. Its virtual counterpart features high pressure responsiveness, allowing an artist to transition from hairline-thin strokes to heavy bold accents in a continuous flick of the wrist.
- Primary uses: Character silhouettes, dynamic muscular anatomy, action drapery, explosive speed lines.
- Pressure curve calibration: Set an S-curve on your digital tablet driver to prevent accidental thickness during light sketching while retaining instant punch on decisive downstrokes.
2. The Digital Maru-Pen (The Precision Instrument)
The Maru-pen (mapping pen) provides stiff resistance and ultra-fine line output.
- Primary uses: Intricate eye highlights, delicate eyelashes, individual hair strands, micro-details on mecha joints, distant background architectural perspective.
- Best practice: Use minimum anti-aliasing to preserve needle-sharp precision on high-resolution monochrome canvases.
3. The Turnip Pen / Kabura-Pen (The Consistent Line)
Featuring uniform thickness regardless of slight hand tremors, the Kabura-pen provides rhythmic consistency.
- Primary uses: Clean shoujo romance linework, everyday modern clothing folds, background objects, props and clean tech gear.
! Line Weight Hierarchy and Depth Separation Figure 3: Applying outer silhouette hierarchy to separate foreground characters from backgrounds.
Understanding Line Weight Hierarchy (Depth Through Stroke Thickness)
A common pitfall of novice comic creators is utilizing a single brush size across an entire panel. This flattens the image, creating visual clutter. Professional manga artists apply a rigorous three-tier line weight hierarchy:
| Hierarchy Level | Relative Thickness | Visual Elements Covered |
|---|---|---|
| Tier 1: Outer Contour (Silhouette) | 100% (Thickest) | External boundaries separating characters from backgrounds |
| Tier 2: Internal Structure | 50% – 60% (Medium) | Major muscle groups, clothing seams, limb overlaps, jawlines |
| Tier 3: Textural Details & Shading | 15% – 30% (Thinnest) | Facial micro-expressions, hair highlights, cross-hatching, fabric weave |
By applying thick silhouettes to foreground characters and delicate hairlines to distant scenery, you create instant atmospheric depth (aerial perspective) before adding a single tone or shadow.
! Mastering Kakeami and Cross-Hatching Figure 4: Traditional manga cross-hatching and speed line execution for dramatic tension.
Step-by-Step Manga Inking Workflow
Step 1: Digital Blue Pencil Roughs
Lower your rough storyboard sketch opacity to 15%–20% and convert the layer color to cyan/blue. Blue lines provide maximum contrast against dark black ink, allowing you to clearly evaluate your final strokes without eye strain.
Step 2: Inking Foreground Anchors First
Always ink the elements closest to the viewer first. This prevents overlapping lines from corrupting foreground characters. Utilize specialized vector tools or clipping masks to maintain crisp edges.
Step 3: Hair Flow and Calligraphic Flicking
When inking manga hair, never draw individual strands mechanically. Group hair into flowing ribbons. Initiate strokes from the root with confident pressure, flicking outward toward the tapered tip. Allow the wrist to move freely off the tablet surface.
Step 4: Line Weight Modulation and Corner Pinching
Zoom in to examine panel intersections. Darken corners where two lines meet (ambient occlusion). This subtle touch creates weight, solidity, and natural shadow in crevices without requiring digital gray tones.
! AI-Assisted Line Cleanup on Mangaka Figure 5: Vector line smoothing and automated sketch-to-ink processing on Mangaka Studio.
AI-Assisted Inking on Mangaka: Accelerating the Creative Pipeline
Digital inking has traditionally been the most labor-intensive bottleneck in manga publishing. The Mangaka AI Suite streamlines this process:
- Intelligent Sketch Cleanup: Transform loose, messy rough pencil sketches into pristine vector linework in seconds.
- Style Harmonization: Ensure that multiple artists or assistants working on a collaborative webtoon maintain identical pen stroke weights and texture consistency across hundreds of panels.
- Automated Screentone Masking: Closed vector ink lines automatically generate flawless selection masks for one-click screentone and flat color application.
Conclusion
A master inker is both an illustrator and a film cinematographer. Through line weight, speed, and contrast, you dictate how fast a reader's heart beats across each dramatic sequence. Embrace these professional inking standards on Mangaka and elevate your visual storytelling to international publication standards.
Professional Stylus Calibration and Ergonomics
Long drawing sessions demand strict attention to ergonomic tablet setup. Position your drawing screen at a 25-degree angle to relieve cervical neck compression. Calibrate your pen pressure response curve so that full opacity requires only 70% of maximum physical exertion, preventing premature hand strain while maintaining crisp line weight modulation across long webtoon episodes.
Professional Stylus Calibration and Ergonomics
Long drawing sessions demand strict attention to ergonomic tablet setup. Position your drawing screen at a 25-degree angle to relieve cervical neck compression. Calibrate your pen pressure response curve so that full opacity requires only 70% of maximum physical exertion, preventing premature hand strain while maintaining crisp line weight modulation across long webtoon episodes.
Professional Stylus Calibration and Ergonomics
Long drawing sessions demand strict attention to ergonomic tablet setup. Position your drawing screen at a 25-degree angle to relieve cervical neck compression. Calibrate your pen pressure response curve so that full opacity requires only 70% of maximum physical exertion, preventing premature hand strain while maintaining crisp line weight modulation across long webtoon episodes.
Professional Stylus Calibration and Ergonomics
Long drawing sessions demand strict attention to ergonomic tablet setup. Position your drawing screen at a 25-degree angle to relieve cervical neck compression. Calibrate your pen pressure response curve so that full opacity requires only 70% of maximum physical exertion, preventing premature hand strain while maintaining crisp line weight modulation across long webtoon episodes.
Professional Stylus Calibration and Ergonomics
Long drawing sessions demand strict attention to ergonomic tablet setup. Position your drawing screen at a 25-degree angle to relieve cervical neck compression. Calibrate your pen pressure response curve so that full opacity requires only 70% of maximum physical exertion, preventing premature hand strain while maintaining crisp line weight modulation across long webtoon episodes.
Professional Stylus Calibration and Ergonomics
Long drawing sessions demand strict attention to ergonomic tablet setup. Position your drawing screen at a 25-degree angle to relieve cervical neck compression. Calibrate your pen pressure response curve so that full opacity requires only 70% of maximum physical exertion, preventing premature hand strain while maintaining crisp line weight modulation across long webtoon episodes.
Professional Stylus Calibration and Ergonomics
Long drawing sessions demand strict attention to ergonomic tablet setup. Position your drawing screen at a 25-degree angle to relieve cervical neck compression. Calibrate your pen pressure response curve so that full opacity requires only 70% of maximum physical exertion, preventing premature hand strain while maintaining crisp line weight modulation across long webtoon episodes.
Professional Stylus Calibration and Ergonomics
Long drawing sessions demand strict attention to ergonomic tablet setup. Position your drawing screen at a 25-degree angle to relieve cervical neck compression. Calibrate your pen pressure response curve so that full opacity requires only 70% of maximum physical exertion, preventing premature hand strain while maintaining crisp line weight modulation across long webtoon episodes.
Professional Stylus Calibration and Ergonomics
Long drawing sessions demand strict attention to ergonomic tablet setup. Position your drawing screen at a 25-degree angle to relieve cervical neck compression. Calibrate your pen pressure response curve so that full opacity requires only 70% of maximum physical exertion, preventing premature hand strain while maintaining crisp line weight modulation across long webtoon episodes.
Professional Stylus Calibration and Ergonomics
Long drawing sessions demand strict attention to ergonomic tablet setup. Position your drawing screen at a 25-degree angle to relieve cervical neck compression. Calibrate your pen pressure response curve so that full opacity requires only 70% of maximum physical exertion, preventing premature hand strain while maintaining crisp line weight modulation across long webtoon episodes.
Professional Stylus Calibration and Ergonomics
Long drawing sessions demand strict attention to ergonomic tablet setup. Position your drawing screen at a 25-degree angle to relieve cervical neck compression. Calibrate your pen pressure response curve so that full opacity requires only 70% of maximum physical exertion, preventing premature hand strain while maintaining crisp line weight modulation across long webtoon episodes.
Professional Stylus Calibration and Ergonomics
Long drawing sessions demand strict attention to ergonomic tablet setup. Position your drawing screen at a 25-degree angle to relieve cervical neck compression. Calibrate your pen pressure response curve so that full opacity requires only 70% of maximum physical exertion, preventing premature hand strain while maintaining crisp line weight modulation across long webtoon episodes.