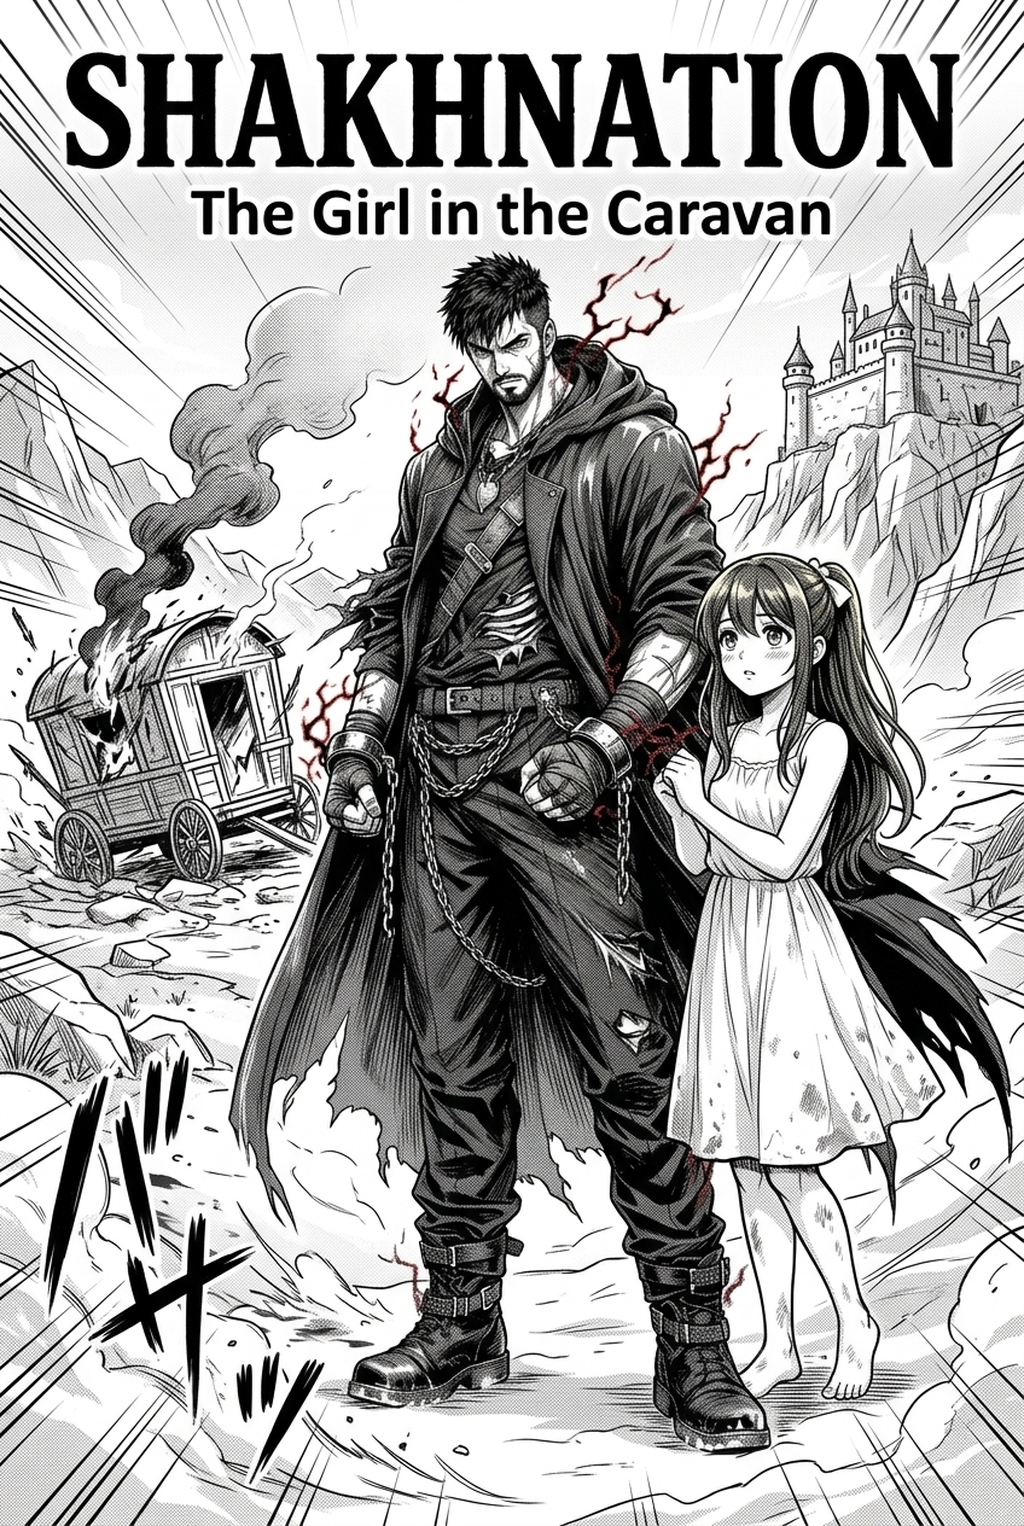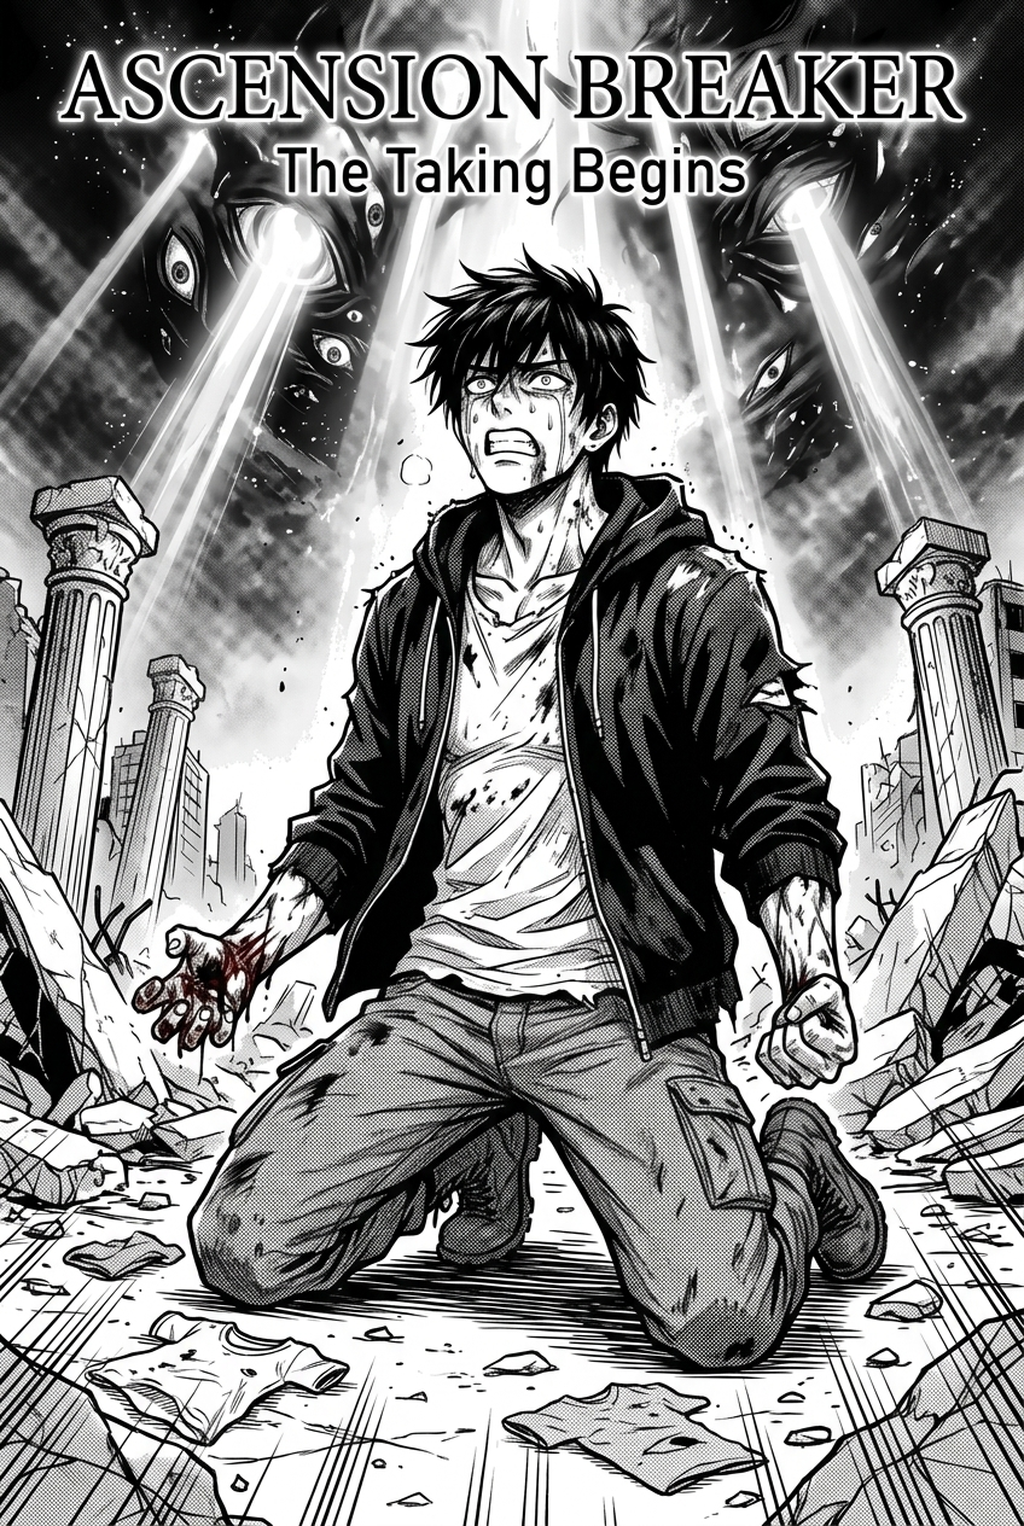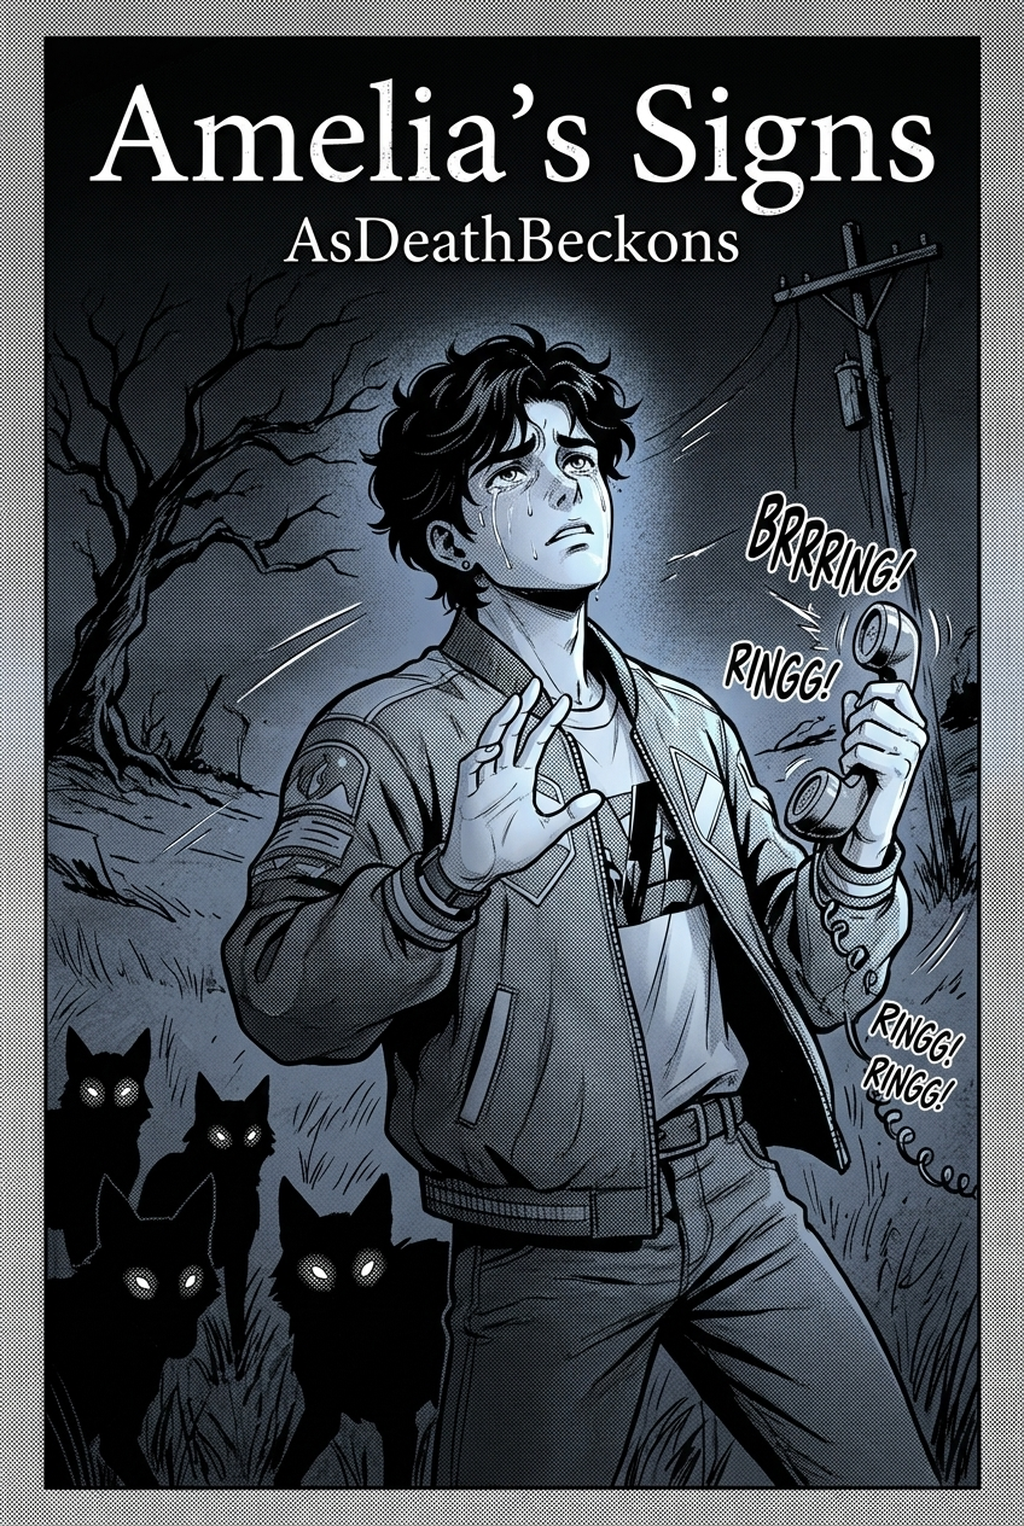
AI Manga Speech Bubble Layout: The Fundamentals of Speech Bubble Positioning
Effective dialogue placement follows the natural path of the eye, which travels from the top-right to the bottom-left in traditional Japanese reading formats. To succeed, you must treat bubbles as active design elements that guide the reader rather than passive containers for script text.
You should place the most vital information in the upper-right region of a panel to anchor the reader's focus immediately. If you bury a crucial revelation in the bottom-left corner of a dense fighting sequence, the action lines will almost certainly draw the eye away from the text, rendering the dialogue secondary to the spectacle.
Tangent errors occur when the perimeter of a bubble perfectly aligns with a panel's frame or a character's jawline, creating a flat, unintentional visual merger. To fix this, you must introduce at least a 5mm buffer between any balloon and the edge of a panel gutter. If your bubble overlaps a character silhouette, ensure the tail clearly extends to the speaker’s mouth without crossing major anatomical landmarks like the nose or eyes.
Why Bubble Placement Dictates Story Pacing
Improper spacing leads to crowded panels where text boxes fight for space with emotional character beats, effectively killing the scene's tension. When bubbles are positioned without a clear understanding of the "whitespace budget," the page looks claustrophobic and exhausts the reader, especially on mobile-optimized platforms where small screens exacerbate bad padding.
Relying on uniform, static balloons flattens emotional stakes; a jittery, jagged bubble for a shout or a wispy, floating shape for a whisper is a requirement for professional expression. Directional tails must point exactly to the speaker's mouth to remove ambiguity, particularly in multi-character panels where text placement could easily be misattributed.
Web-optimized layouts require a higher density of white space than traditional printed volumes to combat eye fatigue during vertical-scroll reading. If you lack at least 15% of your panel area as negative space around text, readers will instinctively skim your content rather than engaging with the nuance of the dialogue.
How Mangaka Handles Complex Layout Tasks
Modern workflows now favor non-destructive layouts that allow for last-minute dialogue edits, as re-inking an entire panel because a bubble needed resizing is a major production bottleneck. Mangaka automates the tedious task of anchor-point calculation, allowing you to drop text that intuitively hugs character silhouettes without needing manual repositioning.
By using AI-driven spatial mapping, you can achieve "context-aware" placement where bubbles automatically dodge focal points like eyes or high-velocity action lines. This ensures that the most dynamic parts of your line art remain visible while the text remains legible.
This approach provides a significant efficiency gain for creators producing weekly chapters where the panel count might exceed 20 per update. When you use the tool at Manga speech bubble layout with Mangaka, you remove the physical stress of manual balloon adjustment while maintaining professional standards for line art fidelity.
Practical Use Cases for Layout Adjustments
You should adjust text size and balloon curvature to explicitly reflect the volume and emotional intensity of the speaker’s voice. In a sequence where a character moves from a whisper to a yell, the bubbles must visually expand or grow more jagged to guide the reader’s internal audio perception.
Sequence your bubbles to ensure the reader processes the setup before the punchline in multi-panel dialogue exchanges. If you have three bubbles, the eye should naturally flow from the largest one (the core message) to the smallest (the reaction or minor comment) without jumping across the gutters. Always test your final layout on a small-screen display, such as a 6-inch smartphone, to ensure the font weight remains legible at 100% scale.
- Chapter cadence. Use the AI pass for pages where speed matters most, such as repeated action poses, transformation beats, or dense speed-line panels. Keep manual cleanup for hero panels where the line style defines the emotional peak.
- Character continuity. Compare the generated lines against the same model sheet, costume notes, and facial-expression range used during sketching. This prevents a fast inking pass from drifting away from the character identity readers recognize.
- Export readiness. Check whether the final manga output can move into lettering, coloring, or final layout without rebuilding panel borders or speech-bubble space. A good manga workflow should save time while keeping the next production step predictable.
Getting Started with Professional Layout
To initiate your workflow, you must decide if your current panel set requires a vertical, top-to-bottom flow or the standard Japanese right-to-left sequence. For a 24-page chapter, you should finalize your bubble layout before applying final tones to ensure that no "dead zones" are created by overly large text blocks.
Creators should compare the generated line art with the original sketch and confirm that facial expressions, props, speed lines, and speech-bubble space still support the scene. A repeatable review pass should cover character consistency, panel readability, background clarity, and whether the final file is ready for coloring, lettering, or editor feedback.
Creators should save approved examples of line weight, face detail, clothing folds, and background density. Those references keep later chapters closer to the intended style. For collaboration, creators should mark which panels are final and which panels still need redraws. Clear status labels prevent an assistant, editor, or colorist from polishing the wrong version.
The Bottom Line
Professional manga layout acts as the silent bridge between your narrative and the reader, requiring an exacting balance of white space, directional flow, and visual weight. By integrating AI-assisted tools like Manga speech bubble layout, you can reclaim hours of manual editing time and focus entirely on the artistry of your page.
Related articles
Magical Girl Character Design: Creating Iconic Heroines 2026
Manga Character Design Sheets: A Guide for Indie Creators
Mastering Manga Character Design: A Guide for Indie
Mastering Professional Manga Lettering & Layout with Mangaka.app
Professional comic typography requires precise kerning, leading, and gutter spacing to ensure speech balloons enhance sequential storytelling rather than obscuring key character artwork. Mangaka.app provides the dedicated sequential production engine built specifically for manga and webcomic creators:
- Intelligent Smart Gutter Margins: Prevent speech balloon edges from colliding with panel borders and trim lines through automated margin enforcement.
- Multi-Tier Dialogue Hierarchies: Seamlessly format narration boxes, internal monologue clouds, and explosive battle yells with dedicated typography presets.
- Automated Text Wrapping & Oval Balancing: Fit multi-sentence dialogue blocks into aesthetically balanced diamond and oval balloon proportions effortlessly.
- Lossless Script-to-Balloon Compilation: Paste character scripts directly into panel layouts to automatically generate correctly formatted dialogue layers.