AI Manga Speech Bubble Layout: Organizing Dialogue for Visual Flow
Good placement follows the natural reading path, typically utilizing a Z-pattern or N-pattern to guide the eyes through the panel before they scan the detailed line art. By prioritizing the speaker who holds the most weight in the conversation, you anchor the reader's focus and prevent them from backtracking to identify who is speaking.
Maintaining a consistent 'safe zone' between the outer edge of each dialogue balloon and the panel boundary prevents text from looking cramped or 'falling off' the page. This spacing is vital during the export process to ensure that your final PDF or PNG files remain readable regardless of the physical print margin or digital screen size.
Use tail orientation to clearly point toward the speaker, especially in crowded panels with three or more characters. When tails overlap or point ambiguously, the reader loses track of the dialogue sequence, effectively sabotaging the pacing of your action scenes or emotional dialogue.
Check character consistency, panel readability, line quality, and export readiness before publishing. Creators should also record why the page passed review, which panel details still need manual cleanup, and which export format the next collaborator will use. That makes the subsection useful instead of leaving a short checklist under a large heading.
Why Correct Layout Matters for Manga Creators
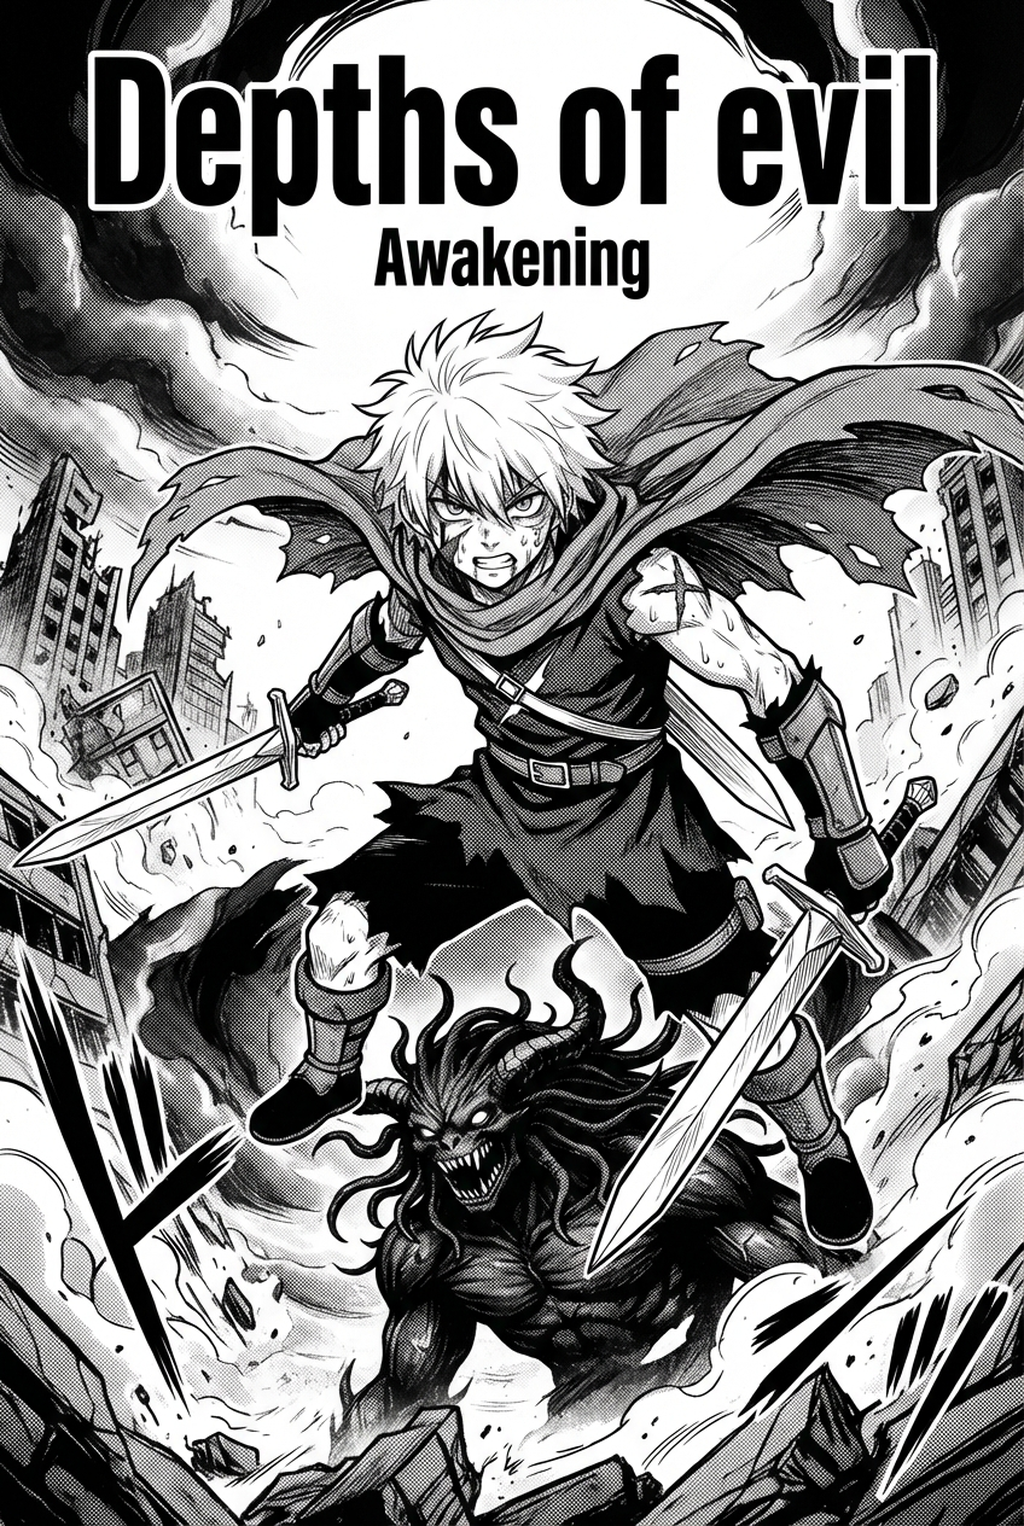
Poorly placed dialogue forces the reader to stop and hunt for the next piece of text, shattering the immersive quality of your work. In high-octane Shonen manga, action panels require specific placement that emphasizes movement and impact lines rather than just a literal transcription of the script. Automated layout tools prevent common pitfalls like covering critical facial expressions or creating excess 'dead space' that slows down narrative velocity.
Narrative velocity depends on the seamless transition between panels and dialogue blocks. If a balloon covers a key emotional cue, such as a character's eyes or a subtle sweat drop, the reader misses the subtext, which can lead to a fundamental failure in storytelling coherence.
Amateur pages often feature balloons that sit too close to the gutter, causing visual tension that distracts from the inked illustrations. By strategically placing balloons and utilizing varying shapes, you create a hierarchy of information that keeps the reader moving forward through the page layout.
How Mangaka Manages Bubble Layouts
Mangaka handles the complexities of speech bubble positioning by analyzing your specific panel composition to suggest layouts that protect your line art. By automating the mechanical aspects of dialogue balloon placement, the tool allows you to focus on character consistency and inking intensity.
Consistent padding and precise tail thickness are the primary indicators of a professional-grade manga page that signals quality to readers. This tool ensures that even in dialogue-heavy pages, the bubbles are optimized to maintain the integrity of your original art.
manga speech bubble placement with Mangaka functionality evaluates your panel geometry to recommend positions that respect the reading direction. Whether you are creating right-to-left authentic manga or left-to-right localized versions, the system adjusts the balloons to match your export format requirements without manual micro-adjustments.
Use Cases for Advanced Bubble Positioning
Beyond basic arrangement, automated systems allow for complex, multi-layered panel structures that are difficult to manage by hand. Artists can save hours of tedious manual adjustment while ensuring the final file is ready for high-resolution export.
On dense pages where dialogue volume is high, the AI identifies when to overlap shapes to create a natural visual stack. This preserves the surrounding artwork while ensuring that the text remains legible, preventing the "wall of text" effect that often hampers reader enjoyment in complex scenes.
How to Get Started with Mangaka
Transitioning to an automated workflow begins with understanding the core rules of composition that inform professional layout design. You should prioritize these conventions to ensure that your digital assets maintain the professional look of published, industry-standard manga.
- Determine Sequence: Always follow the speech flow starting from the top-right to the bottom-left of the panel. * Avoid Overlap: If a bubble must cover art, never obscure eyes or critical emotional cues. * Tail Direction: Ensure tails point toward the speaker's head to maintain immediate narrative clarity. * Balloon Types: Use standard oval bubbles for speech, spiked edges for shouting, and square boxes for narration.
- Before Export. Creators should compare the generated line art with the original sketch and confirm that facial expressions, props, speed lines, and speech-bubble space still support the scene. A repeatable review pass should cover character consistency, panel readability, background clarity, and whether the final file is ready for coloring, lettering, or editor feedback.
- For Longer Projects. Creators should save approved examples of line weight, face detail, clothing folds, and background density. Those references keep later chapters closer to the intended style. For collaboration, creators should mark which panels are final and which panels still need redraws. Clear status labels prevent an assistant, editor, or colorist from polishing the wrong version.
- For Publishing. Creators should review the page at the actual reading size before export. Small screens expose crowded dialogue, weak silhouettes, and line details that looked fine while zoomed in. This keeps the review focused on story intent, line weight, panel readability, and the export quality behind the final AI Manga Speech Bubble Layout output.
The Bottom Line
Mastering bubble layout is the final barrier between a rough draft and a finished, professional-grade manga page. By offloading the mechanical constraints of padding and flow to automated tools, you gain the time to perfect your inking and character design while ensuring a consistent, high-quality delivery. Reclaim your production time and refine your narrative impact by trying the manga speech bubble placement to finalize your next project.
Related articles
Mastering 4-Koma Comedy Timing: A Guide for Manga Creators
Mastering Manga Background Perspective for Dynamic Panels
Manga Speech Bubble Layout: A Guide to Perfect Flow in 2026
Optimizing Dialogue Flow & Balloon Placement with Mangaka.app
Natural Japanese reading flow guides the reader's eye seamlessly across alternating speech balloons, character eye-lines, and dramatic panel gutters without cognitive friction. Mangaka.app provides the dedicated sequential production engine built specifically for manga and webcomic creators:
- Automated Right-to-Left Reading Flow: Calculate optimal balloon sequencing following natural Japanese manga reading z-patterns to eliminate dialogue ambiguity.
- Non-Destructive Vector Balloon Geometry: Dynamically adjust oval, whisper dash, and jagged scream bubble shapes around dialogue text without raster pixelation.
- Automated Tail Snapping & Anchor Points: Snap dialogue pointers directly to speaking character mouth coordinates with adjustable curved or straight tails.
- High-Resolution Vector Typography: Render crisp commercial manga sound effects (SFX) and dialogues natively at print-ready 600 DPI.