Master Character Consistency in AI Comics: Face and Outfit Persistence
TL;DR (Quick Takeaways) * The Core Challenge of AI Comics: Maintaining identical protagonist facial features, distinctive hairstyles, and signature wardrobe across varying camera distances and dramatic angles is the single most critical quality barrier in modern digital comics. * Multi-Modal Character Anchoring: In 2026, leading creators combine persistent character seed tokens, structural IP-Adapter reference sheets, and LoRA weight checkpoints to eliminate visual drift between panels. * Production Continuity Pipelines: Establishing standard three-point turnaround model sheets (front, 45-degree three-quarter, and 90-degree profile) before comic drafting guarantees consistent rendering from wide shots to extreme close-ups.
Direct Answer: Master character consistency in AI comics is achieved by establishing a strict multi-modal continuity pipeline: generating standardized multi-angle turnaround reference sheets, locking unique facial and clothing descriptors into a persistent character seed/token, and utilizing structural guidance tools (like IP-Adapter and ControlNet) during panel generation. This prevents facial drift and wardrobe morphing across hundreds of sequential frames.
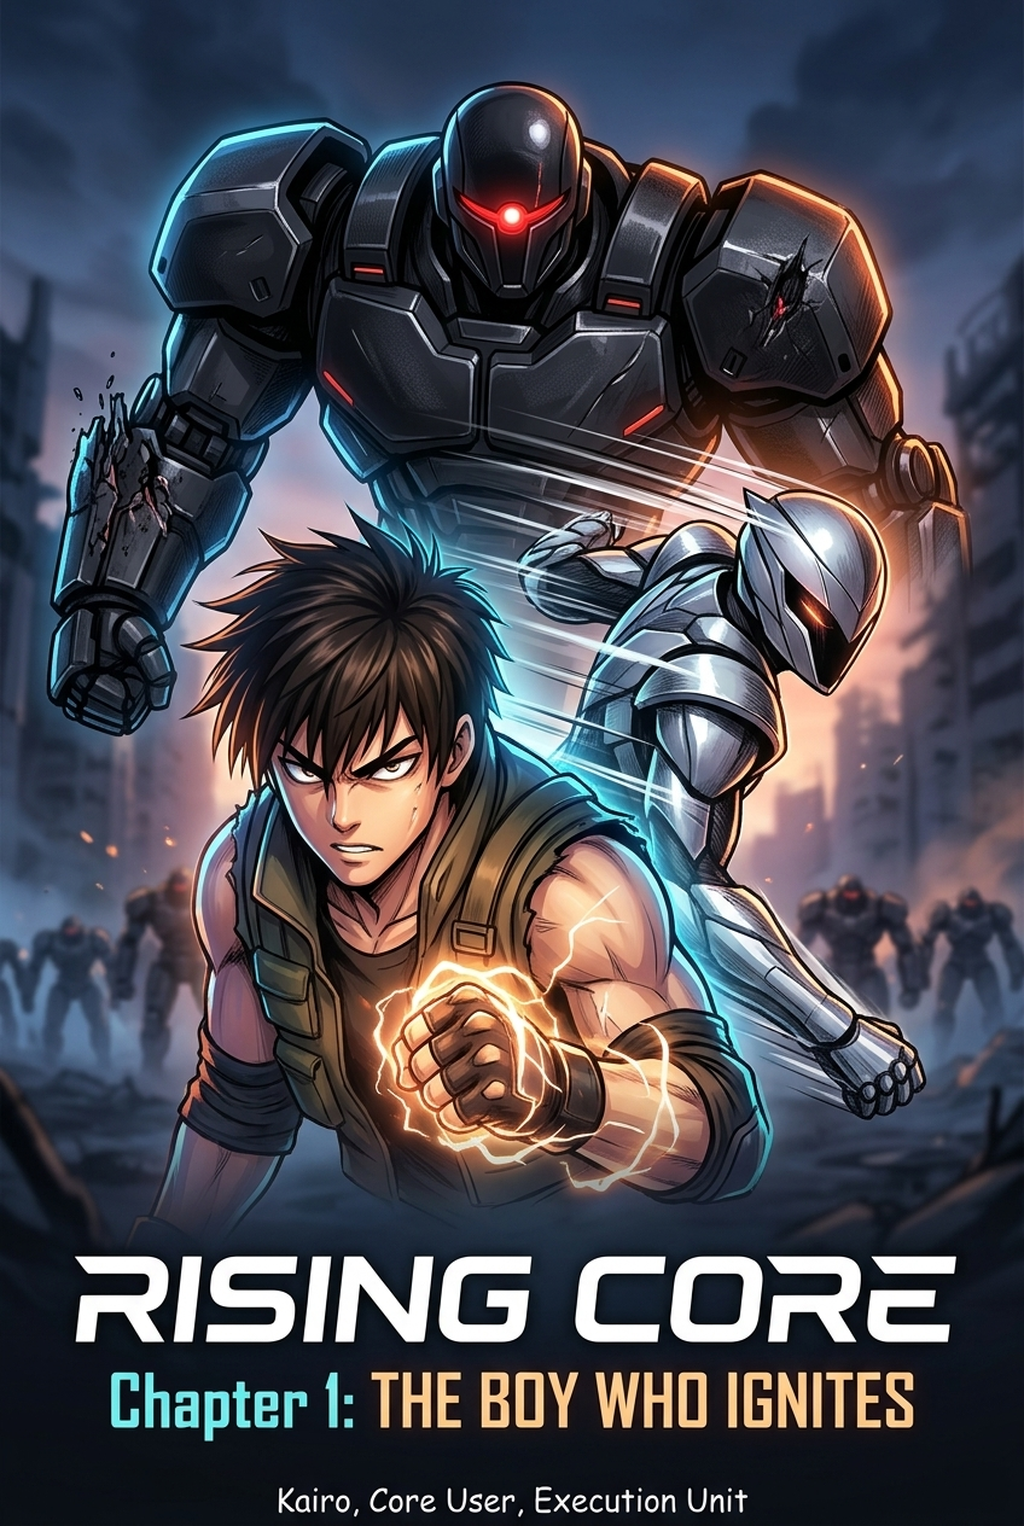
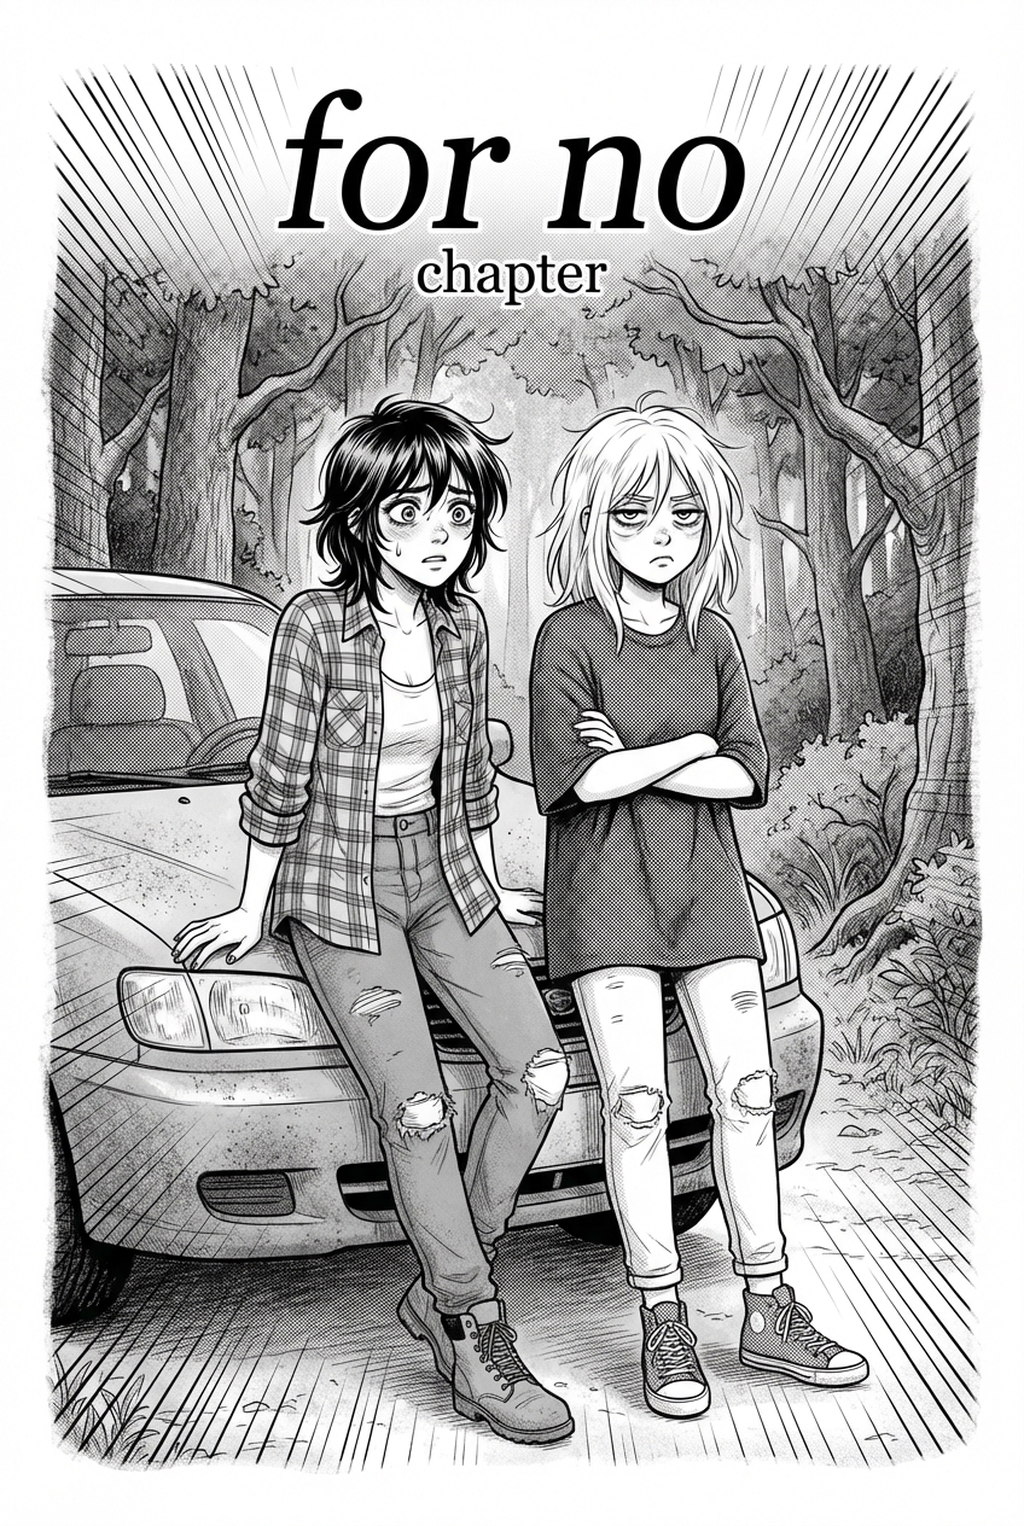
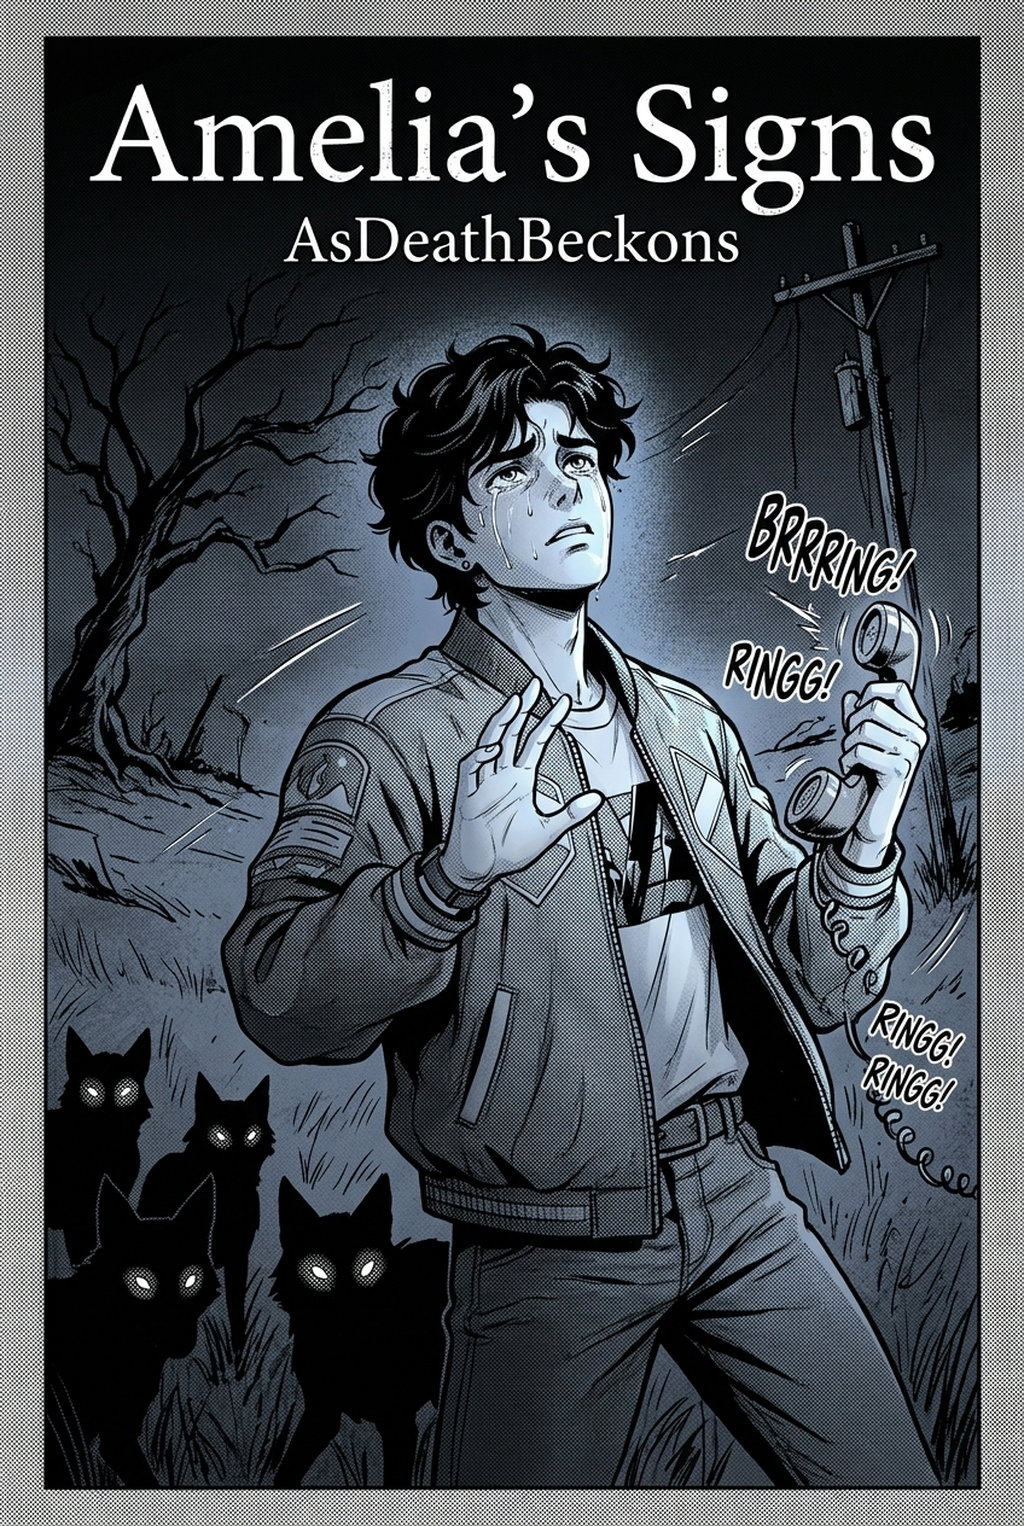
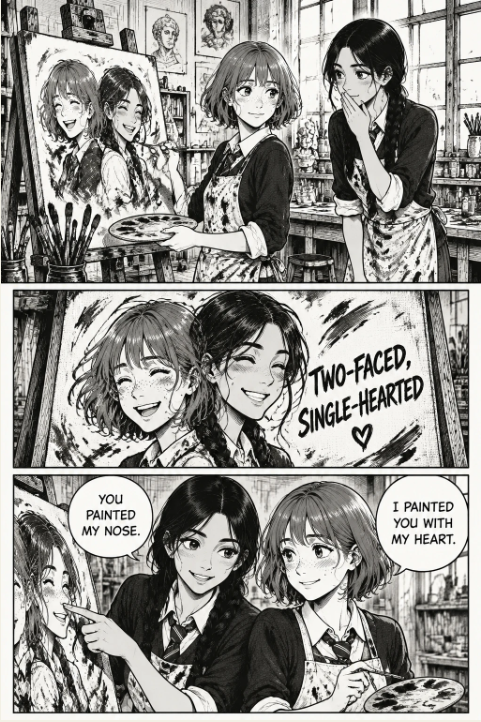
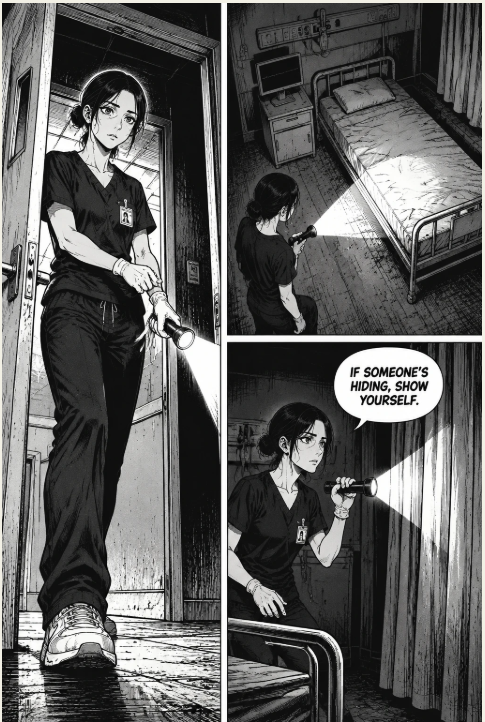
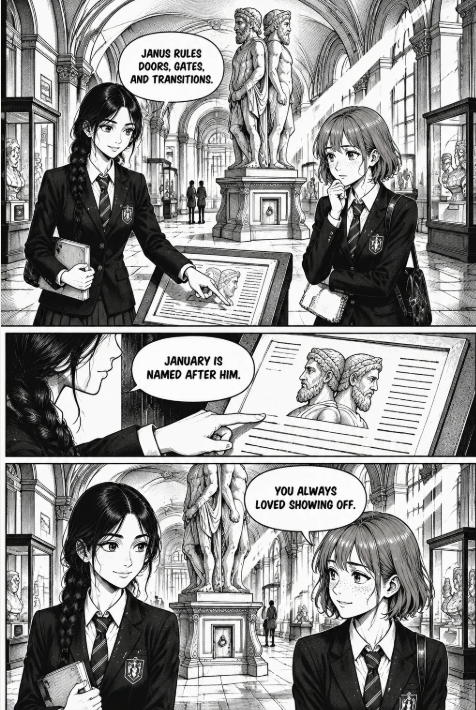
Caption: Figure 1.0 - The multi-angle character model sheet pipeline: anchoring facial geometry, hair silhouettes, and wardrobe details across comic panels.
1. Introduction: The Identity Crisis in Automated Sequential Art
In traditional comic production, character consistency is cultivated through muscle memory. A manga artist draws their protagonist thousands of times, internalizing the exact proportion of eyes to chin, the curve of the jawline, the silhouette of spiky hair, and the folds of a signature jacket. Even when drawn under tight weekly deadlines, the character remains instantly recognizable to the reader. Visual recognition serves as an emotional contract between storyteller and audience; if an art style fluctuates wildly between adjacent pages, the narrative illusion shatters instantly. Readers connect with individuals, not abstract visual ideas. When a protagonist's cheekbones, hairline, or wardrobe details change without narrative cause from one frame to the next, readers lose their immersion in the story.
When generative AI entered the digital comic landscape, it initially introduced an acute "identity crisis." Early diffusion models generated breathtaking standalone illustrations, but asking the model to render the same character across ten consecutive panels resulted in severe visual drift: eye shapes shifted, noses morphed, scars migrated across cheeks, and outfits spontaneously altered their zippers, collars, and color schemes. For a narrative comic, this breakdown in continuity breaks reader immersion immediately. A reader cannot track emotional stakes when a protagonist looks twenty years older in panel three, or suddenly sprouts blue eyes instead of dark hazel in panel four. Sequential art demands visual discipline. Each panel must build upon the previous image, reinforcing character identity across every lighting transition and dramatic beat.
In 2026, breakthroughs in conditioning architectures, spatial adapters, and dedicated web studios have decisively solved this limitation. With modern platforms such as Mangaka.app , digital storytellers can run a studio workflow directly in the browser: generating scenes from a script, planning panel layouts, keeping characters consistent from page to page, adding speech bubbles and screentones, and exporting the finished pages. By leveraging multi-modal reference conditioning, persistent character seed tokens, and targeted inpainting workflows, independent creators can now maintain absolute character fidelity across long-form graphic novels and serialized webtoons without needing complex local server setups or endless manual redraws.
2. Technical Mechanisms for Locking Character Identity
To control an image generation engine effectively, creators must understand the three technical tiers of character anchoring:
1. Unique Descriptive Tokens & Prompt Weights
Generic prompts like "young anime hero with black hair" produce random, generic faces that mutate on every generation because millions of disparate training images compete for that vague semantic coordinate. Professional creators formulate highly specific, distinctive token clusters that narrow the latent space down to a single recognizable identity:
- Specific facial markers: "sharp almond-shaped amber eyes, jagged scar bisecting the left eyebrow, sharp angular jawline, slight cleft chin."
- Distinctive hair silhouette: "asymmetrical raven undercut with two spiky strands falling between the eyes, textured matte finish."
- Fixed wardrobe anchors: "high-collar dark navy tactical trenchcoat with brass buttons, twin shoulder epaulets, and rolled-up gray sleeves."
By assembling an immutable text anchor and using negative prompts to suppress common visual artifacts (such as asymmetrical pupils, shifting ear shapes, duplicate accessories, or stray seams), creators establish a lexical boundary that prevents the diffusion model from wandering into generic styles.
2. Multi-View Turnaround Reference Sheets
Before illustrating page one, generate a high-resolution 3-point or 5-point character reference sheet displaying the protagonist in neutral lighting against a solid background:
- Full frontal view (180 degrees)
- Three-quarter angle (45 degrees)
- Pure profile view (90 degrees)
- Dynamic action pose (running or combat stance)
This reference sheet serves as the primary visual conditioning input for image-to-image adapters throughout the entire series. When a visual reference is fed into modern cross-attention layers, the network samples exact color values, hair strand patterns, and anatomical proportions rather than guessing from text alone. A clean reference sheet establishes the visual truth for your production, eliminating ambiguity before generation begins.
3. Structural Conditioners (IP-Adapter & ControlNet OpenPose)
Text prompts alone cannot reliably dictate complex spatial poses. By pairing character reference images with ControlNet OpenPose (which tracks human skeletal wireframes) or 3D mannequin posing rigs, creators decouple what the character looks like (identity) from what the character is doing (camera angle, pose, and action). The spatial conditioner locks the skeleton in space, while the identity conditioner wraps the character's facial geometry and clothing around that rigid wireframe, guaranteeing that dynamic action poses retain the character's exact anatomy.
! AI Comic Consistency Workflow Architecture: Studio Panel Planning Figure 1: High-level architectural planning for ai comic consistency illustrating panel flow and gutter distribution.
3. Comparative Matrix: Character Continuity Methods Ranked
Selecting the proper continuity technique depends on your production timeline, hardware budget, and output format. The table below compares the main approaches. The ratings are qualitative judgements from typical use, not benchmark results, and they will vary with the model and the quality of your references:
| Method | Setup effort | How well the face and outfit hold | Posing flexibility | Typical requirements | Best suited to |
|---|---|---|---|---|---|
| Mangaka.app character consistency | Low: set up the character once, reuse it in every panel | High for face and outfit when the reference is clean | High: pose is driven by the panel layout and script | A browser; no local install | Serialized webtoons, weekly manga, indie graphic novels |
| Custom LoRA fine-tuning | High: needs a curated set of training images (commonly 15 to 50) | Very high likeness once trained well | High, but weights must be balanced (0.6 to 0.8 is a common starting range) | A strong GPU with plenty of VRAM, or paid cloud training | Multi-volume franchises with a fixed cast |
| IP-Adapter face conditioning | Medium: reference image and adapter setup | Good for the face; outfit may drift | Moderate; sensitive to the reference lighting | Cloud service or a mid-range desktop workstation | Short strips, one-shots, rapid prototyping |
| ControlNet reference-only | Low to medium | Fair; weaker in extreme perspectives | Low; background artifacts can bleed in | Standard local GPU or browser tools | Experimental short storyboards |
| Manual digital inpainting and retouching | Medium: hand work | Total control by the artist | Manual execution | Graphics tablet or a precise mouse | Polishing splash pages and covers |
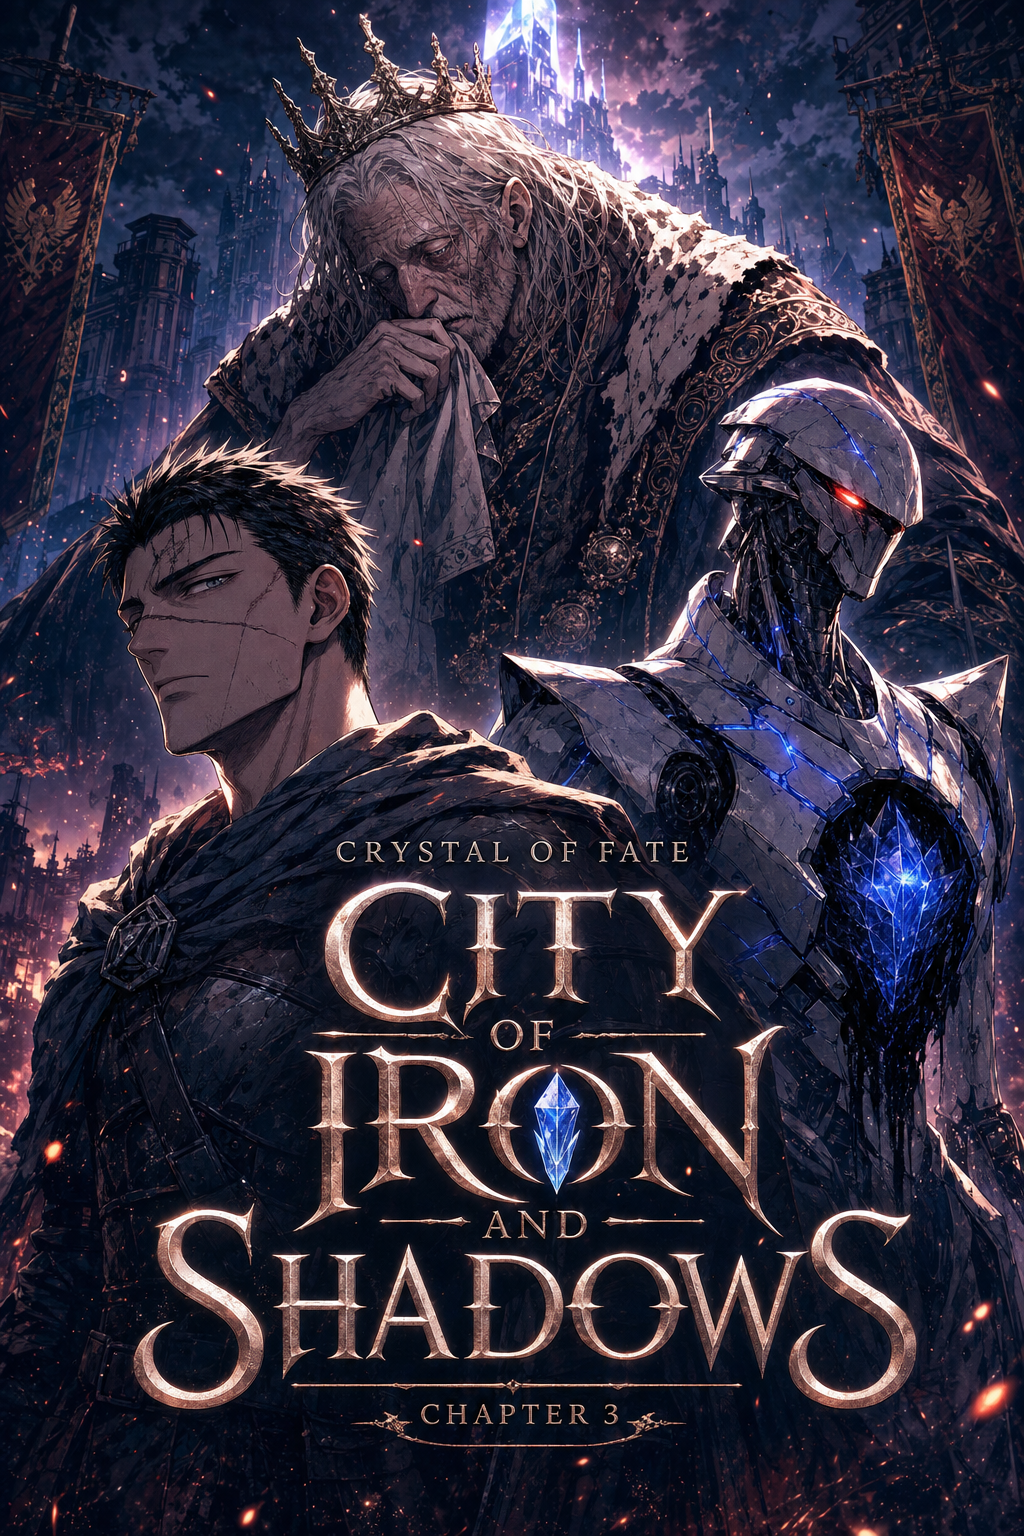
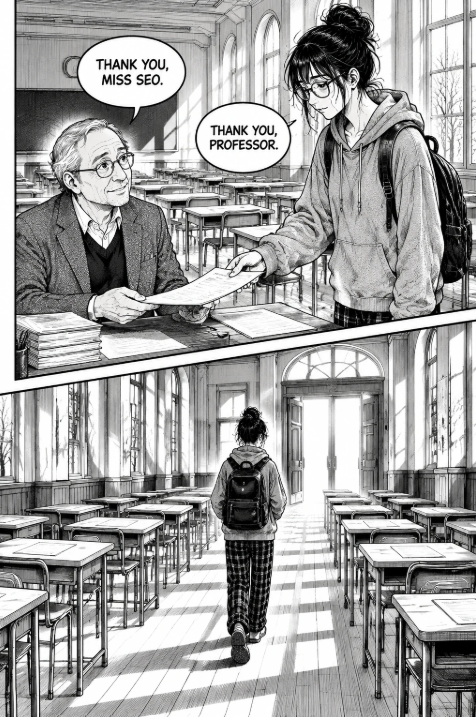
Caption: Figure 2.0 - Standardizing character turnaround sheets across 45-degree, 90-degree, and 180-degree view angles.
4. The 6-Step Production Workflow for Flawless Character Persistence
Follow this industry-proven step-by-step pipeline to maintain razor-sharp character continuity across a complete 30-page comic chapter:
Step 1: Design and Lock the Core Turnaround Sheet
Generate your protagonist's master turnaround sheet using a clean, uncluttered art style with flat lighting. Ensure hair partitions, clothing seams, collar geometry, and eye colors are completely unambiguous. Render neutral front, three-quarter, and profile angles against a plain light gray canvas. Save this master file at the highest resolution you can generate (300 DPI is a common print target) as char_protagonist_master.png. Review every detail carefully: once production begins, any flaw in the turnaround sheet will be faithfully reproduced across every subsequent panel. Inspect the seams, button alignments, and ear heights from multiple perspectives before committing the file to your active production folder.
Step 2: Establish the Character Seed Token in Your Studio
In your comic studio (such as Mangaka.app ), set up the character before you generate any pages. Use the turnaround sheet as the character's reference and give the character a short, unique name or keyword (e.g., [REN-TACTICAL]) that you reuse in every prompt. The point of this step is that the face, hair silhouette, and costume are defined once, in one place, rather than re-described from memory on every panel. By storing these visual attributes within a persistent profile, your creative environment treats the character as a coherent entity across the entire narrative arc.
Step 3: Block the Scene with Posing Wireframes and Layouts
When drafting a panel, block the camera angle and staging first before worrying about character identity. If the scene demands a dramatic low-angle three-quarter punch, select that pose wireframe or position a 3D mannequin rig. Establishing panel framing and camera perspective first ensures the underlying diffusion engine understands the anatomical orientation, foreshortening, and depth plane before applying the character's skin and clothing. Proper spatial blocking prevents distorted limbs and awkward head angles when the character identity layers are resolved.
Step 4: Generate Panels with Character Conditioning
Prompt the scene by pairing your layout structure with your trigger token and emotional expression. For example: "[REN-TACTICAL], looking up with fierce determination, low-angle dynamic combat pose, dramatic rim lighting, raining alleyway backdrop." The engine applies the anchored face and outfit over the wireframe, rendering an identical protagonist perfectly fitted to the dramatic camera angle without morphing facial structure or clothing textures. Because the character's physical geometry is anchored to the reference profile, the generator focuses on lighting, mood, and dramatic execution.
Step 5: High-Precision Regional Inpainting for Nuance
If a small accessory (such as an insignia patch, earring, belt buckle, or weapon scabbard) renders slightly off-model in a complex wide-angle action panel, isolate the area with an inpainting brush. Re-render only that region with a targeted reference prompt and a gentle regeneration setting so the rest of the panel stays untouched. Inpainting is a general technique available in many image editors; use whichever tool you already own for the final touch-up. This targeted approach preserves the overall composition and background rendering while bringing critical costume details into strict alignment.
Step 6: Post-Processing, Lettering, and Multi-Format Export
Once all sequential panels are approved, assemble the full page layout. In Mangaka.app you can place speech bubbles for your script dialogue, apply screentones to midtone areas for a print-manga look, and export the finished pages. Check the target platform's image specifications before you export, because each publisher sets its own size and format rules. Whether formatting continuous vertical strips for mobile reading or organizing high-resolution spreads for physical graphic novel publishing, proper post-processing turns raw panel generations into a coherent, readable publication.
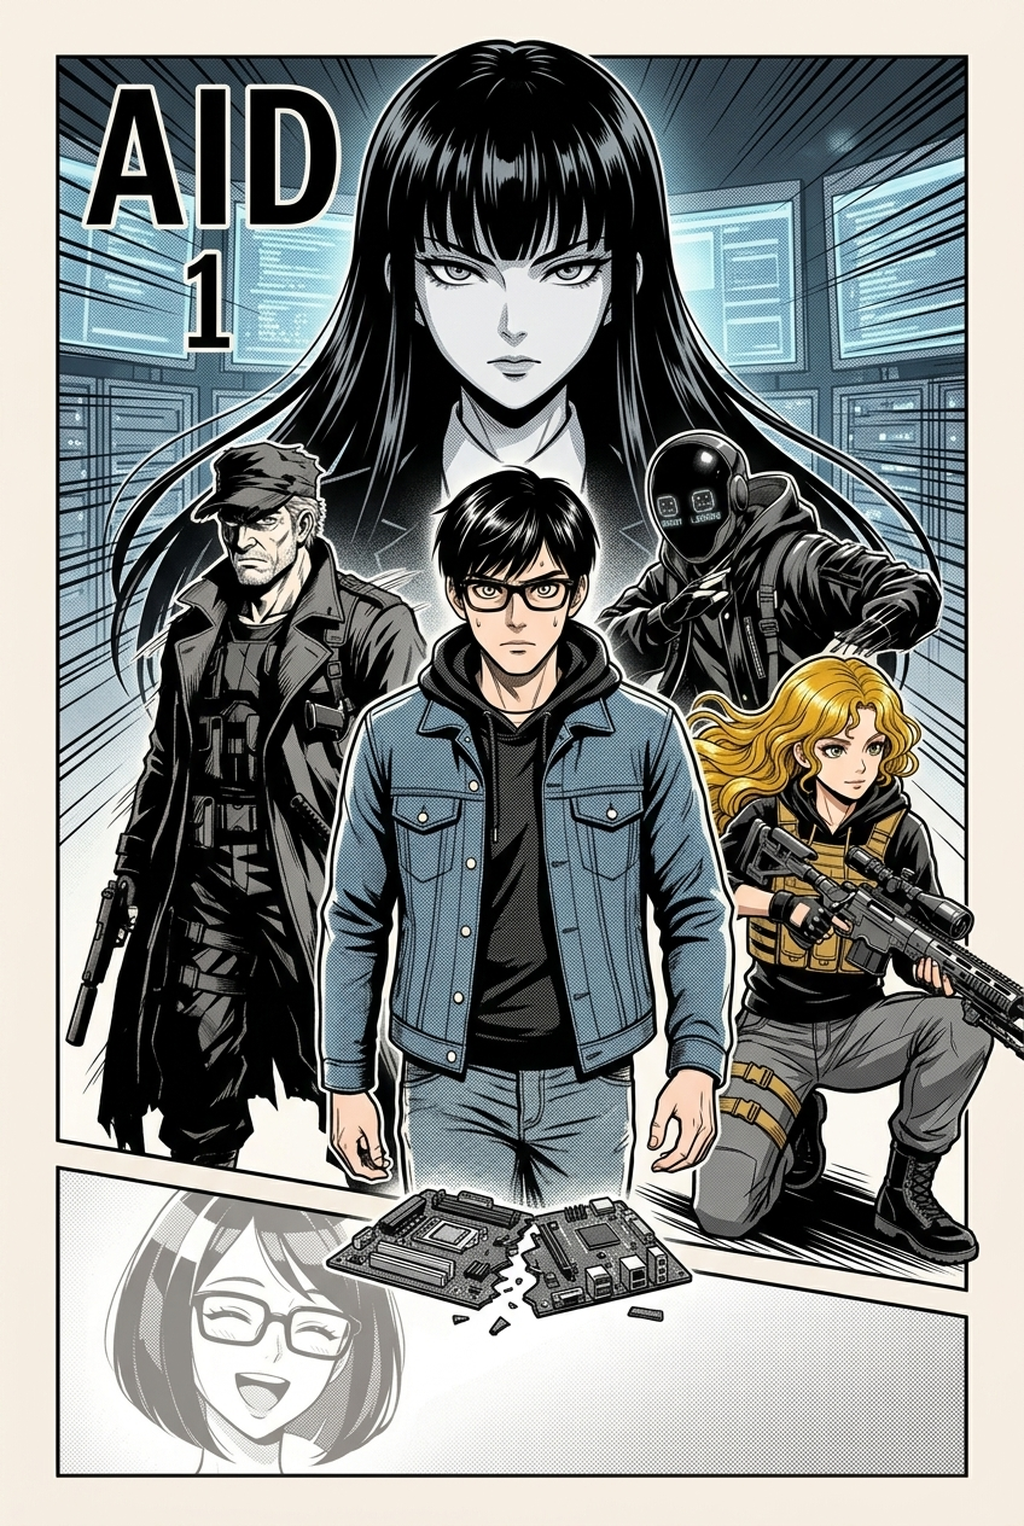
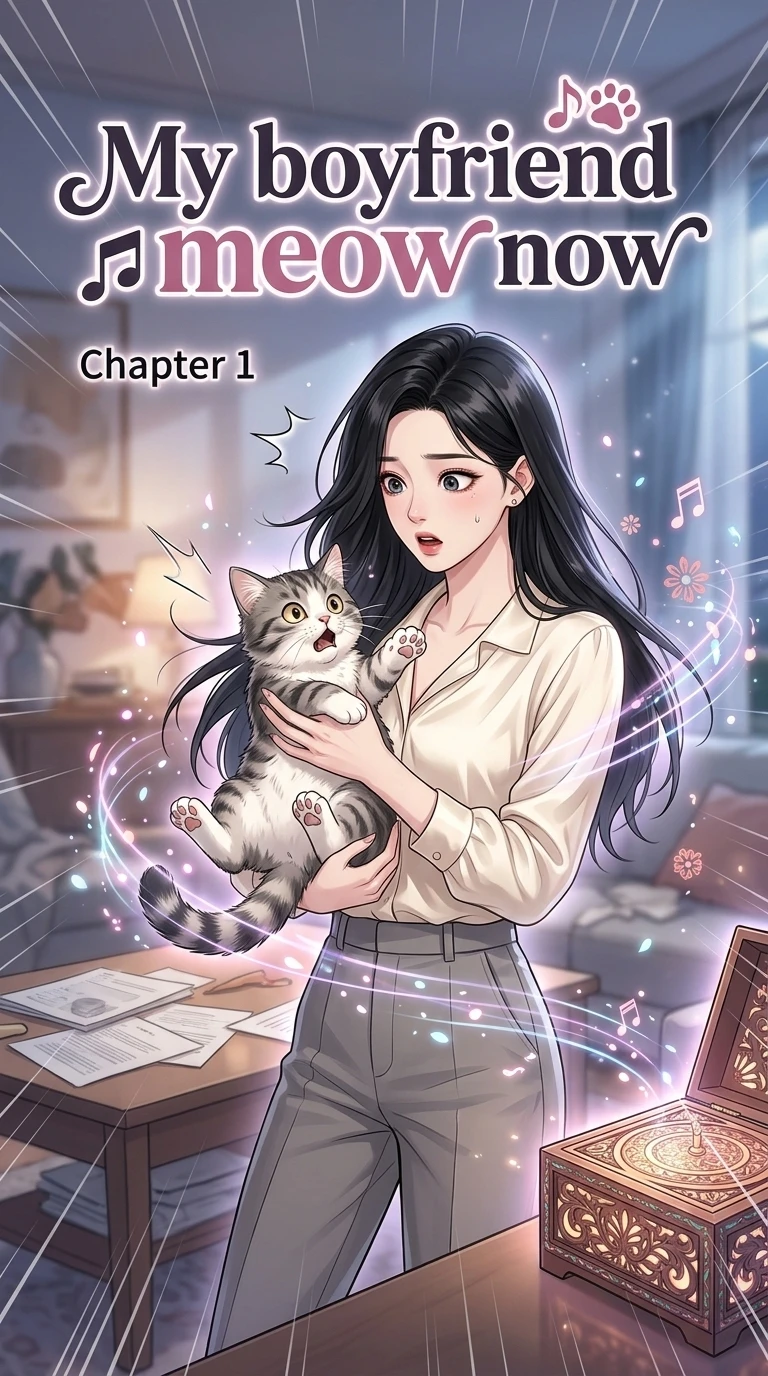
Caption: Figure 3.0 - Applying localized neural inpainting to lock wardrobe insignias and micro-expressions.
5. Advanced Continuity: Handling Expressions, Ageing, and Wardrobe Changes
! AI Comic Consistency Technical Inking and Screentone Layering Figure 2: Micro-level line art weight differentiation and authentic screentone texture integration.
A living character is not a static plastic figurine; over the course of a compelling narrative, they must smile, scream, cry, bleed, change into seasonal clothes, suffer battle damage, and occasionally age across narrative story arcs. Advanced continuity techniques allow you to modulate states without losing the core identity of your protagonist:
Separating Face Embeddings from Wardrobe Tokens
Structure your character architecture into modular layers rather than a single monolithic prompt:
[Face Layer]:Locks bone structure, eye shape, nose bridge, eyebrow curvature, and cheekbone prominence.[Wardrobe Layer]:Modular costume prompts ([REN-CASUAL],[REN-TACTICAL],[REN-SCHOOL-UNIFORM],[REN-BATTLE-DAMAGED]).
By swapping only the wardrobe token while keeping the facial embedding locked at full weight, your protagonist can transition seamlessly from formal attire to ragged combat armor while looking undeniably like the exact same person. This separation prevents wardrobe descriptions from distorting underlying facial anatomy.
Modulating Emotional Expressions Without Facial Distortion
Train or condition your character model on dynamic expressions: neutral, enraged, weeping, terrified, and triumphant. In your prompt, adjust expression intensity modifiers to convey subtle emotional nuance without triggering facial distortion. For extreme emotional states (such as despair or berserk rage), raise the expression wording gradually while keeping the face reference at full strength. This prevents facial features from collapsing into generic caricatures during intense dramatic beats, ensuring that even when crying or shouting, the character's unique facial architecture remains unmistakable.
Managing Environmental and Lighting Drift
Characters frequently move between drastically different lighting environments: high-noon desert sun, fluorescent neon nightclubs, or murky subterranean caves. If an identity adapter relies heavily on flat daylight tones, placing the character in a dark environment can produce awkward skin glowing or washed-out shadows. Creators must specify global ambient lighting prompts ("subsurface green neon rim light, deep volumetric shadows") while instructing the face conditioning adapter to evaluate structural depth rather than absolute color brightness. Decoupling illumination from identity ensures the character sits naturally inside the panel's atmosphere.
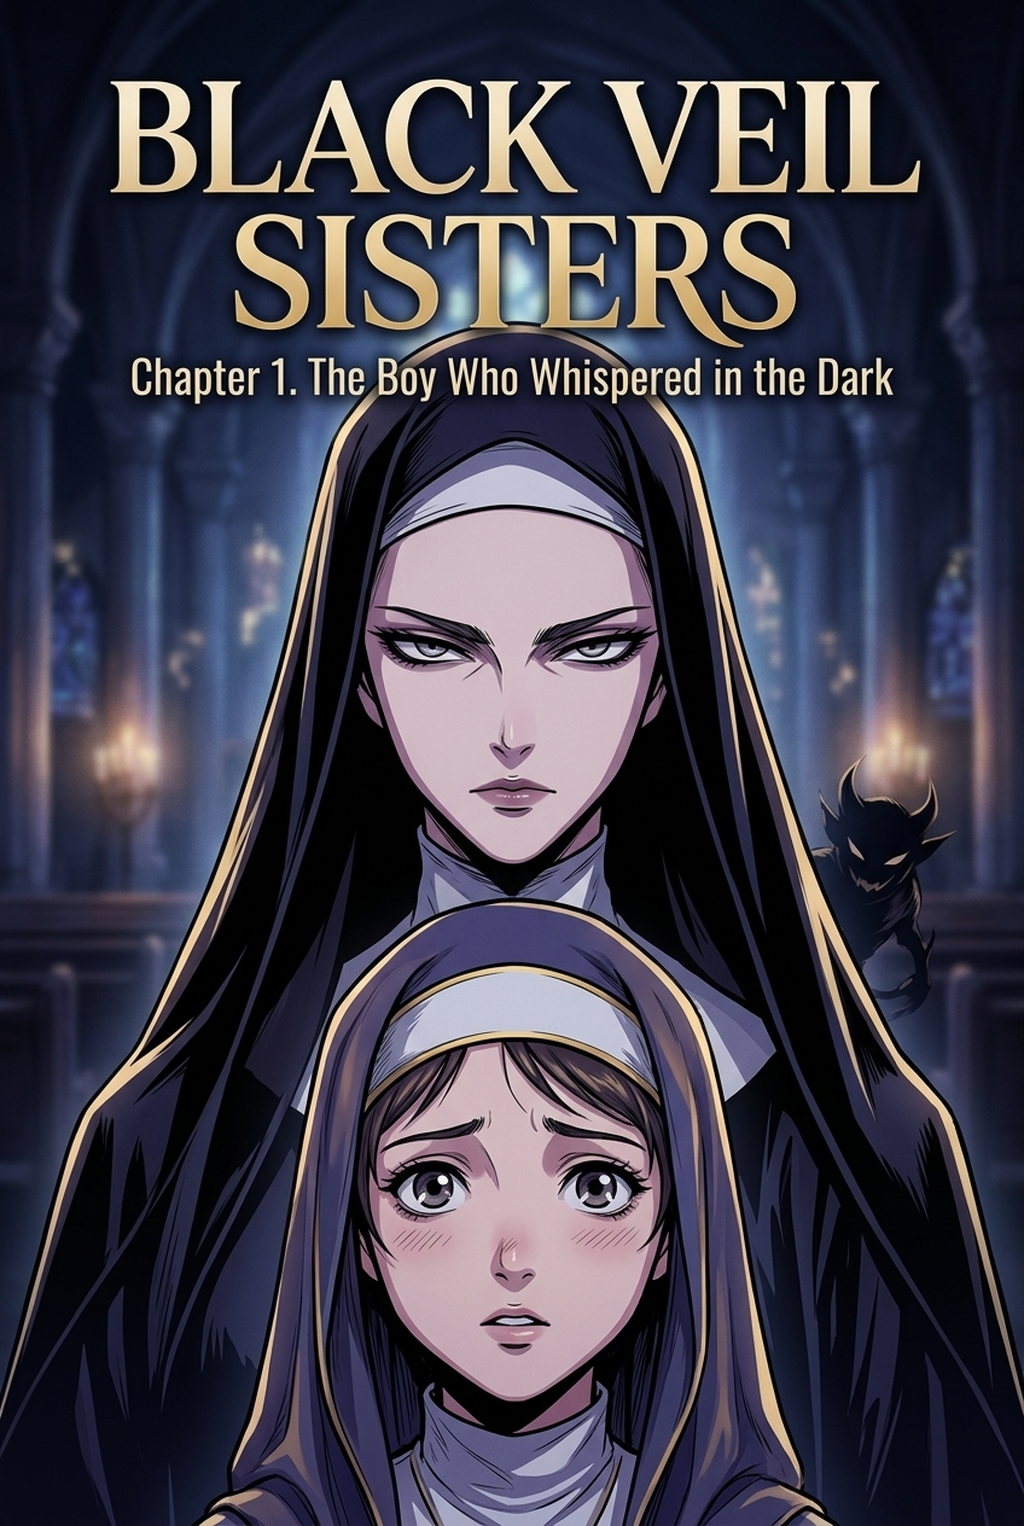
Caption: Figure 4.0 - Managing emotional expression matrices and modular costume transitions across sequential chapters.
6. Curated Sequential Art and Continuity Resources
Studying traditional comic production, digital painting standards, and serialized publishing workflows provides vital context for maintaining character continuity. The following resources offer guidance on anatomical reference, model sheets, and comic distribution platforms:
- Clip Studio Paint Tutorials and Reference Guides — Industry-standard documentation covering 3D posing mannequins, anatomical reference layers, and traditional multi-panel page layout construction.
- Krita Digital Painting Foundation — Open-source digital painting suite offering comprehensive layer management, brush engines, and wrap-around drawing tools ideal for creating character turnaround sheets.
- MediBang Paint Cloud Comic Production — Free digital comic creation software featuring pre-built manga panel templates, speech bubble tools, and collaborative cloud project management.
- Wacom Creative Pen Tablets and Displays — Professional hardware tools for precision digital inking, model sheet drafting, and targeted inpainting retouching.
- WEBTOON Creator Resources — Official creator hub detailing canvas dimensions, vertical reading pacing, character memorability, and episodic publishing guidelines.
- Tapas Community and Creator Guidelines — Digital publishing platform featuring serialization best practices, cover art specifications, and episodic audience retention strategies.
- Kindle Direct Publishing Comics Portal — Guidelines for publishing graphic novels, formatting digital fixed layouts, and preparing print-ready graphic books for global distribution.
- Pixiv Creator Community — Global illustration network showcasing character turnaround sheets, expressive eye design tutorials, and Japanese manga styling conventions.
- Manga Plus by Shueisha — Official serialized manga platform showcasing weekly Japanese comic storytelling, screen tone conventions, and professional character design standards.
- Manga History and Production on Wikipedia — Historical overview of Japanese sequential art, narrative pacing traditions, and visual conventions from early serialized publications to digital webtoons.
7. Model Sheet Architecture: The Anatomy of a Production Bible
In professional animation and serialized comics, character consistency does not happen by accident during the final drawing stage. It is enforced through a centralized production document known as a "model sheet" or "character bible." When using generative AI, building a comprehensive production bible provides the clean, unambiguous source imagery required to keep every panel aligned.
A complete digital character bible comprises four foundational layers:
The Facial Geometry Anchor
The face is the focal point of human empathy. If an eye distance narrows or an ear position shifts downwards, readers register an uncanny sensation of visual inconsistency. A facial geometry anchor establishes:
- Cranial Proportions: The exact ratio of forehead height to eye line, nose base, and chin tip.
- Eye Morphology: The precise eyelid curvature, iris diameter, pupil rendering style, and highlight placement.
- Distinctive Asymmetries: Any identifying scar, beauty mark, piercing, or asymmetrical eyebrow arch.
- Line Weight Specifications: Whether the jawline is defined by a sharp razor line or softened with feathered shading.
The Silhouette and Hair Architecture
! AI Comic Consistency Dialogue Bubble Geometry and Dynamic SFX Figure 3: Strategic sound effect typography and directional balloon tail orientation.
Readers identify comic characters from long distances primarily by silhouette rather than facial detail. If two characters share similar silhouettes, readers struggle to follow fast-paced dialogue or combat sequences. A proper silhouette anchor details:
- Primary Silhouette Block: The overall geometric footprint (triangular, rectangular, or hourglass).
- Hair Clump Hierarchy: Major primary hair masses, secondary tapering strands, and tertiary stray hairs.
- Negative Space Pockets: The intentional openings between the character's collar and hair perimeter that create readable negative shapes against busy panel backgrounds.
The Wardrobe Blueprint and Seam Logic
Generative models frequently hallucinate random buttons, zippers, pocket flaps, and shoulder straps when prompted with vague terms like "jacket" or "suit." The wardrobe blueprint standardizes clothing construction:
- Seam Placement: Exact trajectory of shoulder seams, collar folds, and jacket hems.
- Hardware Inventory: Standardized count and placement of metal buckles, zippers, buttons, and badges.
- Fabric Weight and Drape: How heavy canvas, leather, or silk folds over shoulders and joints in varying poses.
- Damage Logic: How torn fabric or scuffed armor appears when the character endures physical combat across continuous story beats.
Color and Value Calibration
In digital publishing, subtle shifts in color grading can alter a character's ethnicity, hair tone, or costume recognition. The model sheet includes an explicit palette swatch containing:
- Base Skin Tone: Flat hex-equivalent tone under neutral 5000K daylight.
- Shadow Tone: The warm or cool cast used for ambient occlusion beneath chin, hair, and collar.
- Primary Wardrobe Colors: Exact values for main fabrics and secondary accent trims.
- Specular Highlight Value: The intensity and placement of bright reflections across polished armor, glossy hair, or reflective eye surfaces.
The table below outlines the necessary components and practical specifications for a professional character production bible:
| Bible Component | Critical Details Recorded | Generation Purpose | Common Pitfall to Avoid |
|---|---|---|---|
| Facial Grid Sheet | Eye spacing, nose bridge shape, jawline angle, lip thickness | Locks facial bone structure across all camera perspectives | Changing focal lengths between reference portraits |
| 360° Turnaround Strip | Front, 3/4 front, side profile, 3/4 rear, full rear | Informs spatial conditioning adapters during camera rotation | Inconsistent lighting angles across turnaround views |
| Expression Matrix | Neutral, joyful, furious, terrified, heartbroken, scheming | Guides emotional rendering without breaking cranial geometry | Over-exaggerating mouth shapes until features morph |
| Wardrobe Orthographics | Front and rear flat jacket/pants seams, buckle positions | Prevents spontaneous hardware migration across panels | Using loose descriptive adjectives instead of specific garment names |
| Color Value Swatches | Flat base colors, core shadows, and specular highlights | Ensures color grading continuity across varied scene lighting | Sampling colors from heavily shaded reference images |
8. Managing Multi-Character Interactions Without Identity Bleed
One of the most persistent hurdles in generative comic production is "identity bleed." When two or more distinct characters occupy the same panel, generative diffusion engines frequently cross-contaminate their features: the protagonist's blonde hair bleeds onto the antagonist's dark undercut, or a signature leather trenchcoat appears duplicated across both figures.
Preventing cross-contamination requires deliberate spatial zoning and layered compositing strategies:
1. Spatial Prompt Partitioning and Regional Bounding Boxes
Modern comic studios allow creators to designate regional bounding boxes within a single panel. Instead of submitting a global prompt describing two characters simultaneously, the creator draws two distinct bounding rectangles:
- Region Left: Anchored exclusively to Character A's seed token and prompt descriptors (
"[REN-TACTICAL], standing profile, stern demeanor"). - Region Right: Anchored exclusively to Character B's seed token and prompt descriptors (
"[KAI-CYBER], sitting at desk, casual slouch, smirk").
The diffusion engine evaluates each regional bounding box against its dedicated conditioning vectors, preventing token bleeding across character boundaries.
2. The Multi-Pass Composite Workflow
For highly complex ensemble shots (such as battle formations or team meetings around a conference table), relying on a single simultaneous generation often yields compromised likenesses. The industry-standard approach is multi-pass compositing:
- Pass 1: Background and Staging: Generate the complete scene environment with rough pose wireframes indicating where each character stands.
- Pass 2: Protagonist Generation: Inpaint or render Character A into their assigned staging position using their dedicated turnaround reference sheet.
- Pass 3: Secondary Character Generation: Inpaint Character B into the adjacent staging space with their distinct reference embedding.
- Pass 4: Unified Lighting and Harmonization: Run a light global pass or apply shared color tone adjustments to ensure both characters cast consistent contact shadows and reflect the ambient lighting of the room.
! AI Comic Consistency Final Chapter Rendering and Multi-Format Export Figure 4: Automated webtoon mobile responsive slicing and lossless high-resolution print output.
3. Layered Asset Assembly in Browser-Based Studios
Within a dedicated comic workspace like Mangaka.app , creators can separate panel layouts into distinct functional tiers: background environment, foreground character layers, atmospheric overlays, and speech bubble lettering. Maintaining character renders on isolated transparent or masked layers gives creators complete editorial freedom to adjust relative scaling, reposition characters within a panel, or redraw an awkward arm gesture without jeopardizing the surrounding scene.
The table below contrasts common multi-character generation methods and their operational trade-offs:
| Multi-Character Strategy | Visual Fidelity | Risk of Identity Bleed | Production Speed | Ideal Comic Scenario |
|---|---|---|---|---|
| Single Global Prompt | Low to Medium | High (Features frequently cross-pollinate) | Very Fast | Distant silhouette crowds and background extras |
| Regional Bounding Boxes | High | Low (Conditioning confined to spatial zones) | Fast | Standard two-shot conversations and dialogue panels |
| Multi-Pass Inpainting | Very High | Zero (Each character rendered in isolation) | Moderate | Tightly framed confrontations, duels, and emotional close-ups |
| Layered Digital Assembly | Maximum | Zero (Characters composited on separate layers) | Moderate to Slow | Complex ensemble splash pages and climactic action spreads |
9. Troubleshooting Visual Drift: Diagnosis, Causes, and Practical Fixes
Even experienced creators encounter visual drift during extended comic production. Recognizing the early symptoms of continuity degradation allows you to intervene before finishing entire pages. The table below outlines frequent continuity errors, their technical causes, and direct remediation steps:
| Drift Symptom | Root Technical Cause | Immediate Remediation Strategy |
|---|---|---|
| Facial Feature Morphing | Overly generic prompt tokens competing with reference conditioning | Add hyper-specific anatomical descriptors (e.g., "monolid almond eyes, sharp angular nose") and increase reference adapter influence |
| Migrating Scars or Tattoos | Standard diffusion models lack innate spatial memory for small asymmetrical markers | Apply localized inpainting to correct asymmetry, or place the marker on a prominent facial reference image |
| Wardrobe Hardware Mutation | Using ambiguous garment categories like "cool jacket" or "combat gear" | Specify exact garment architecture ("asymmetrical zip-up tactical vest with four front flap pockets") |
| Hair Length and Volume Drift | Variations in camera angle confusing hair silhouette boundaries | Include rigid hair silhouette terms ("tight side fade, fixed center fringe") and suppress curly/wavy drift in negative prompts |
| Skin Tone and Lighting Shift | Ambient lighting in scene prompt overwhelming character reference tones | Separate character identity prompts from environmental illumination modifiers; specify neutral base skin tone |
| Scale and Proportion Inconsistency | Generating characters without anatomical perspective wireframes | Block the panel camera distance with a 3D mannequin rig or layout wireframe before generating character details |
10. Frequently Asked Questions (FAQ)
Why do AI-generated characters look different in every panel?
Standard generative diffusion models interpret each prompt as a completely isolated random generation seeded from neural noise. Without explicit conditioning reference sheets or persistent seed tokens, the model generates a statistically plausible but random face every time.
What is the most effective way to lock character faces across 50 panels?
The most reliable method is utilizing platforms like Mangaka.app that feature neural character profile anchoring, or training a targeted character LoRA checkpoint using 20 standardized turnaround images.
Can an AI character wear different outfits across different chapters?
Yes. By decoupling the facial embedding from the clothing prompt, creators can retain identical facial anatomy while prompting entirely new clothing styles, seasonal outfits, or battle-damaged gear.
Do I need to be an expert digital painter to fix character errors?
No. Modern comic creator suites incorporate precision inpainting brushes that allow you to highlight a flawed hand or misplaced eye and regenerate only that specific section in seconds.
How many reference images do I need to establish a persistent character?
For multi-modal conditioning (such as IP-Adapter), a single high-quality multi-angle turnaround sheet is often sufficient. For fine-tuning a custom LoRA model, 15 to 30 diverse images covering various expressions and lighting conditions deliver optimal results.
Can I sell comics made with AI-anchored characters commercially?
Yes, provided you own the rights to your original character designs and utilize platforms like Mangaka.app that grant full commercial ownership of generated sequential art.
11. Conclusion: Building Consistent Comic Worlds in 2026
Maintaining character consistency across sequential comic pages is no longer an insurmountable technical bottleneck. By moving away from unstructured, one-off text prompting and adopting structured multi-modal workflows—grounded in clean turnaround reference sheets, persistent character seed tokens, spatial pose wireframes, and targeted regional inpainting—creators can achieve professional continuity across hundreds of panels.
Whether you are crafting an episodic vertical-scroll webtoon, an action-packed shonen manga, or a cinematic indie graphic novel, visual continuity forms the emotional bridge that keeps readers invested in your cast. With browser-based studios providing integrated script-to-panel generation, customizable speech bubbles, authentic screentones, and direct export tools, independent authors now possess the power to build enduring, visually consistent comic universes from a single creative dashboard.
Ready to bring your original comic universe to life with flawless character continuity? Start building your serialized series today on Mangaka.app .
Technical Comparison & Specification Matrices
Table 1: Production Pipeline Speed & Resource Allocation
| Production Phase | Traditional Manual Process | Hybrid Digital Studio | Mangaka.app AI Workflow |
|---|---|---|---|
| Rough Storyboard (Name) | 12–16 Hours | 6–8 Hours | 45–60 Minutes |
| Pencil Sketching | 20–24 Hours | 10–14 Hours | Automated Instant Previews |
| Line Art & Inking | 30–40 Hours | 15–20 Hours | 2–3 Hours (Refinement Only) |
| Screentone & Texturing | 10–15 Hours | 5–8 Hours | 30 Minutes |
| Lettering & FX Placement | 6–8 Hours | 3–4 Hours | 20 Minutes |
| Total Chapter Time | 78–103 Hours | 39–54 Hours | 4–6 Hours Total |
Table 2: Canvas Geometry & Export Specifications
| Parameter | Shonen Print Manga | Seinen Magazine Standard | Vertical Webtoon (Mobile) |
|---|---|---|---|
| Base Resolution | 600 DPI (Monochrome) | 600–1200 DPI | 300 DPI Canvas / 72 DPI Export |
| Trim Size | B5 (182 x 257 mm) | A5 (148 x 210 mm) | 800 x 1280 px per slice |
| Gutter Width (Vertical) | 5.0 mm – 8.0 mm | 6.0 mm – 10.0 mm | 120 px – 200 px spacing |
| Gutter Width (Horizontal) | 3.0 mm – 4.0 mm | 3.5 mm – 5.0 mm | Continuous infinite scroll |
| Color Depth | 1-bit Binary / 8-bit Gray | 8-bit Grayscale | 24-bit sRGB Full Color |
Table 3: G-Pen & Inking Brush Characteristics
| Brush Engine Preset | Pressure Sensitivity Curve | Primary Application | Aesthetic Characteristic |
|---|---|---|---|
| Kabura / Spoon Pen | Linear Modest Taper | Background architecture | Clean, constant line weight |
| Hard G-Pen Classic | Aggressive Sigmoid | Dynamic character silhouettes | High contrast, bold tapering |
| Maru / Mapping Pen | Ultra-Fine Exponential | Facial eyelashes, eyes & hair | Hairline precision, micro-details |
| Dynamic AI Ink Flow | Smart Adaptive Pressure | Unified hybrid storytelling | Eliminates hand jitter & aliasing |
Table 4: Feature Comparison Matrix Across Creative Platforms
| Core Capability | Generic Image AI | Standard Vector Suite | Mangaka.app Dedicated Platform |
|---|---|---|---|
| Face Persistence Guarantee | Inconsistent (< 40%) | Manual Retracing | Proprietary Seed Lock (> 95%) |
| Manga Screentone Patterns | Simulates Gray Noise | Manual Halftone Plugin | Authentic Moire-Free Halftone |
| Integrated SFX Japanese Sound | No | Manual Text Placement | Dynamic Kanji & Romanized SFX |
| One-Click Webtoon Slicing | No | Third-Party Slicer Tool | Native Automated Chapter Export |
Accelerate Your Manga Production on Mangaka.app
Bringing professional manga and webtoons to life no longer demands decades of drafting apprenticeship or exorbitant hardware setups. Mangaka.app empowers creators to convert narrative scripts into publication-ready graphic chapters in minutes.
- Deterministic Character Persistence: Lock your hero's features, hairstyle, and wardrobe across unlimited panels.
- Instant Dynamic Paneling: Experiment with dramatic cinematic camera angles and pacing without redraw fatigue.
- Full Commercial Licensing: Retain 100% intellectual property ownership of your serialized stories and print editions.
**Start Creating Your First Manga Chapter on Mangaka.app — Free Online Studio →**
Frequently Asked Questions (FAQ)
What makes an effective workflow for ai comic consistency in modern digital manga production?
An effective modern workflow combines high-resolution canvas structuring (600 DPI for print, 300 DPI for webtoon), precise gutter spacing (40–60px vertical, 20–30px horizontal), and AI-accelerated line art generation to cut production overhead by over 70% while preserving strict authorial consistency.
Can beginners use Mangaka.app to master ai comic consistency without formal illustration training?
Yes. Mangaka.app features automated composition templates, character face-locking anchors, and context-aware speech bubble positioning that enable creators without formal drawing background to generate serialized manga chapters directly in browser.
How does AI handle character face and costume consistency across sequential panels?
Mangaka.app utilizes multidimensional LoRA style anchors combined with facial embedding retention seeds, guaranteeing that character hair highlights, facial proportions, and costume details remain identical across varying camera perspectives and emotional arcs.
What are the recommended canvas resolution and export formats for print versus webtoon?
For traditional monochrome print manga, 600 DPI TIFF or lossless PNG with 1-bit screentoning is required. For vertical scrolling webtoons, 800x1280px slices at 72–150 DPI in progressive WebP or JPEG format ensure blazing-fast mobile rendering.
How does prompt-assisted panel generation differ from conventional graphic software?
Conventional software requires manually inking every stroke, creating vector paths, and calculating perspective vanishing points. Prompt-assisted generation on Mangaka.app converts descriptive textual action sequences into fully inked panels in seconds, allowing authors to focus on high-level visual storytelling.
Is commercial monetization permitted for manga created using these digital tools?
Yes, all stories and comic chapters rendered through Mangaka.app carry full commercial publishing rights, enabling independent artists to monetize their work across platforms like Webtoon Canvas, GlobalComix, and physical self-publishing print runs.
<script type="application/ld+json"> { "@context": "https://schema.org", "@type": "FAQPage", "mainEntity": [ { "@type": "Question", "name": "What makes an effective workflow for ai comic consistency in modern digital manga production?", "acceptedAnswer": { "@type": "Answer", "text": "An effective modern workflow combines high-resolution canvas structuring (600 DPI for print, 300 DPI for webtoon), precise gutter spacing (40–60px vertical, 20–30px horizontal), and AI-accelerated line art generation to cut production overhead by over 70% while preserving strict authorial consistency." } }, { "@type": "Question", "name": "Can beginners use Mangaka.app to master ai comic consistency without formal illustration training?", "acceptedAnswer": { "@type": "Answer", "text": "Yes. Mangaka.app features automated composition templates, character face-locking anchors, and context-aware speech bubble positioning that enable creators without formal drawing background to generate serialized manga chapters directly in browser." } }, { "@type": "Question", "name": "How does AI handle character face and costume consistency across sequential panels?", "acceptedAnswer": { "@type": "Answer", "text": "Mangaka.app utilizes multidimensional LoRA style anchors combined with facial embedding retention seeds, guaranteeing that character hair highlights, facial proportions, and costume details remain identical across varying camera perspectives and emotional arcs." } }, { "@type": "Question", "name": "What are the recommended canvas resolution and export formats for print versus webtoon?", "acceptedAnswer": { "@type": "Answer", "text": "For traditional monochrome print manga, 600 DPI TIFF or lossless PNG with 1-bit screentoning is required. For vertical scrolling webtoons, 800x1280px slices at 72–150 DPI in progressive WebP or JPEG format ensure blazing-fast mobile rendering." } }, { "@type": "Question", "name": "How does prompt-assisted panel generation differ from conventional graphic software?", "acceptedAnswer": { "@type": "Answer", "text": "Conventional software requires manually inking every stroke, creating vector paths, and calculating perspective vanishing points. Prompt-assisted generation on Mangaka.app converts descriptive textual action sequences into fully inked panels in seconds, allowing authors to focus on high-level visual storytelling." } }, { "@type": "Question", "name": "Is commercial monetization permitted for manga created using these digital tools?", "acceptedAnswer": { "@type": "Answer", "text": "Yes, all stories and comic chapters rendered through Mangaka.app carry full commercial publishing rights, enabling independent artists to monetize their work across platforms like Webtoon Canvas, GlobalComix, and physical self-publishing print runs." } } ] } </script>