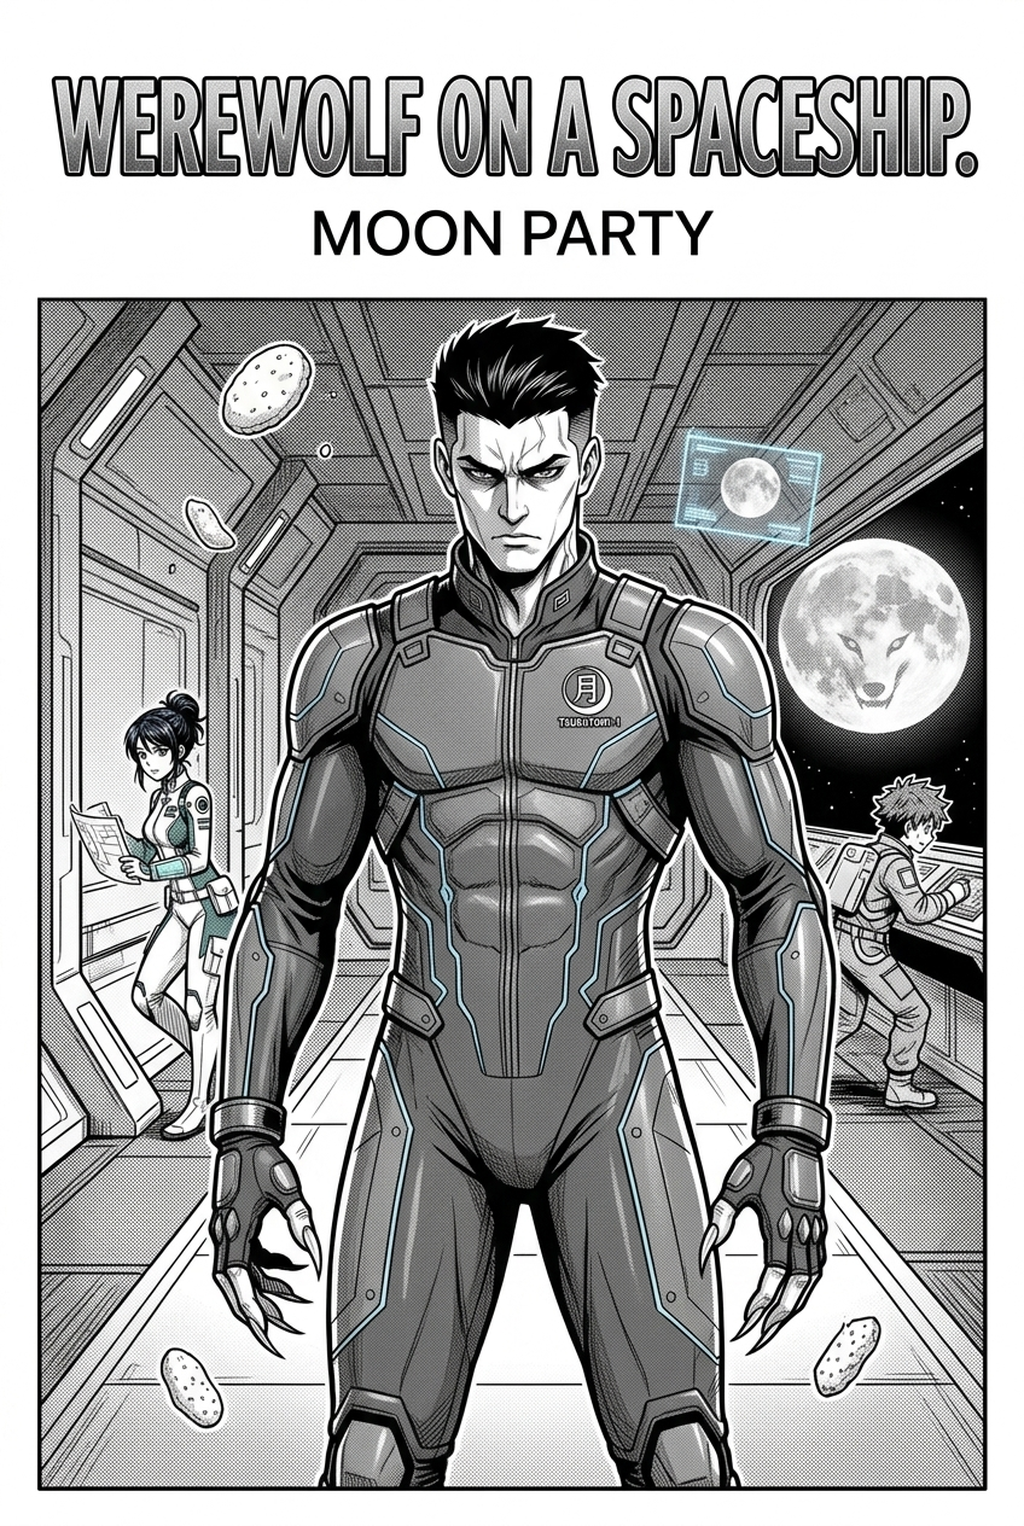
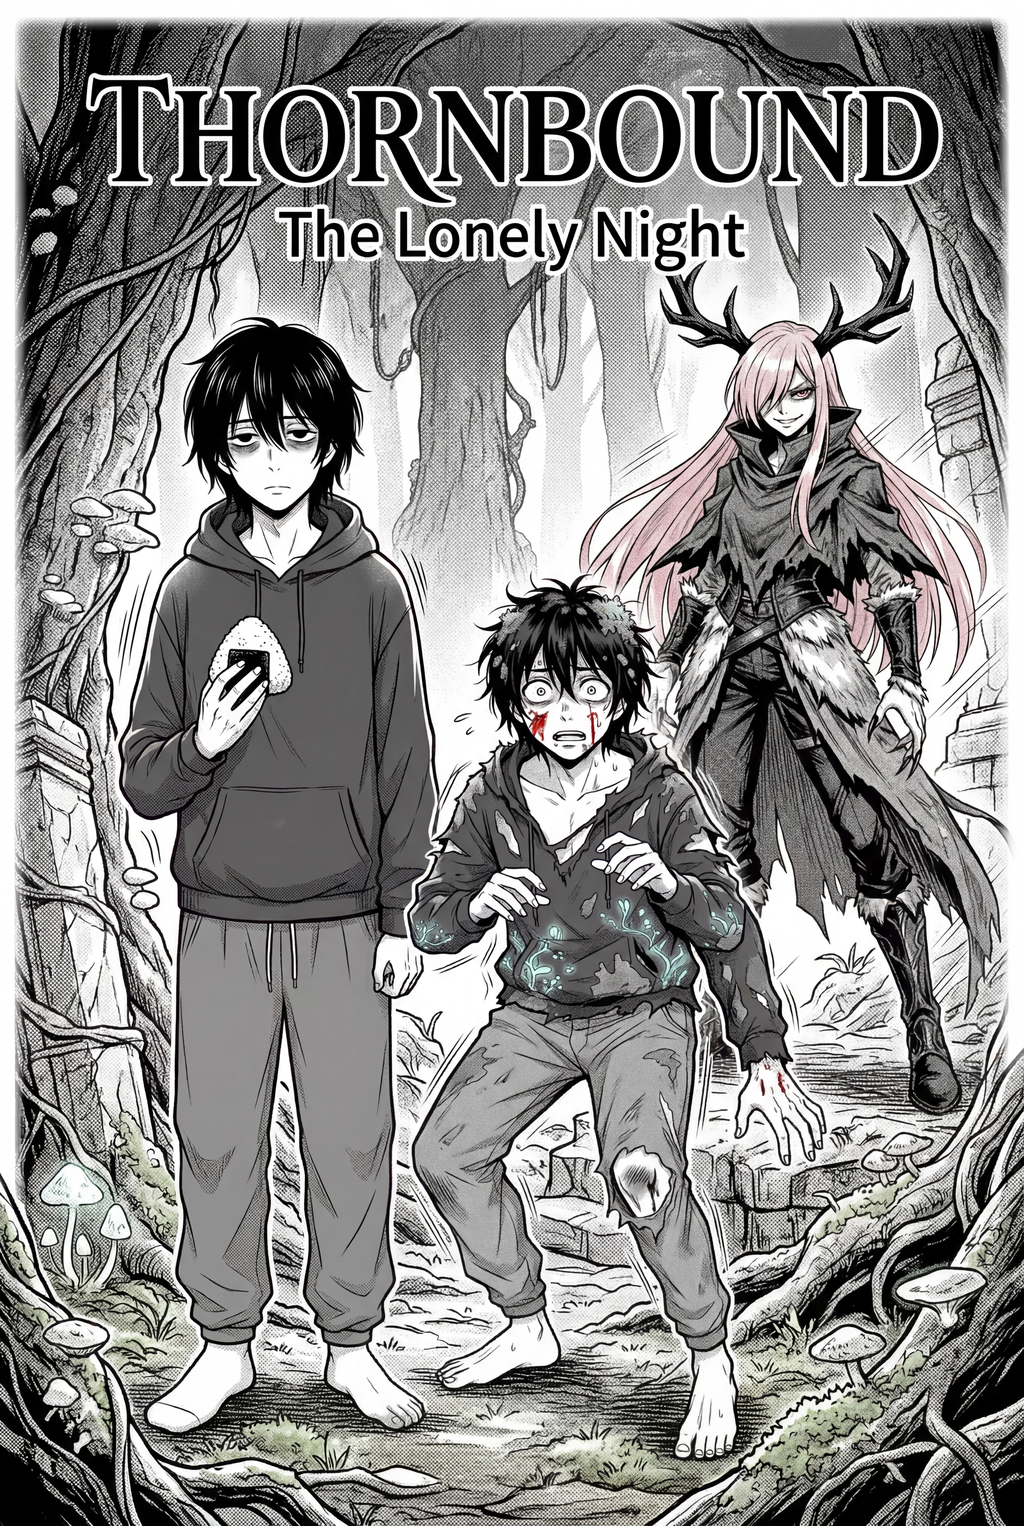
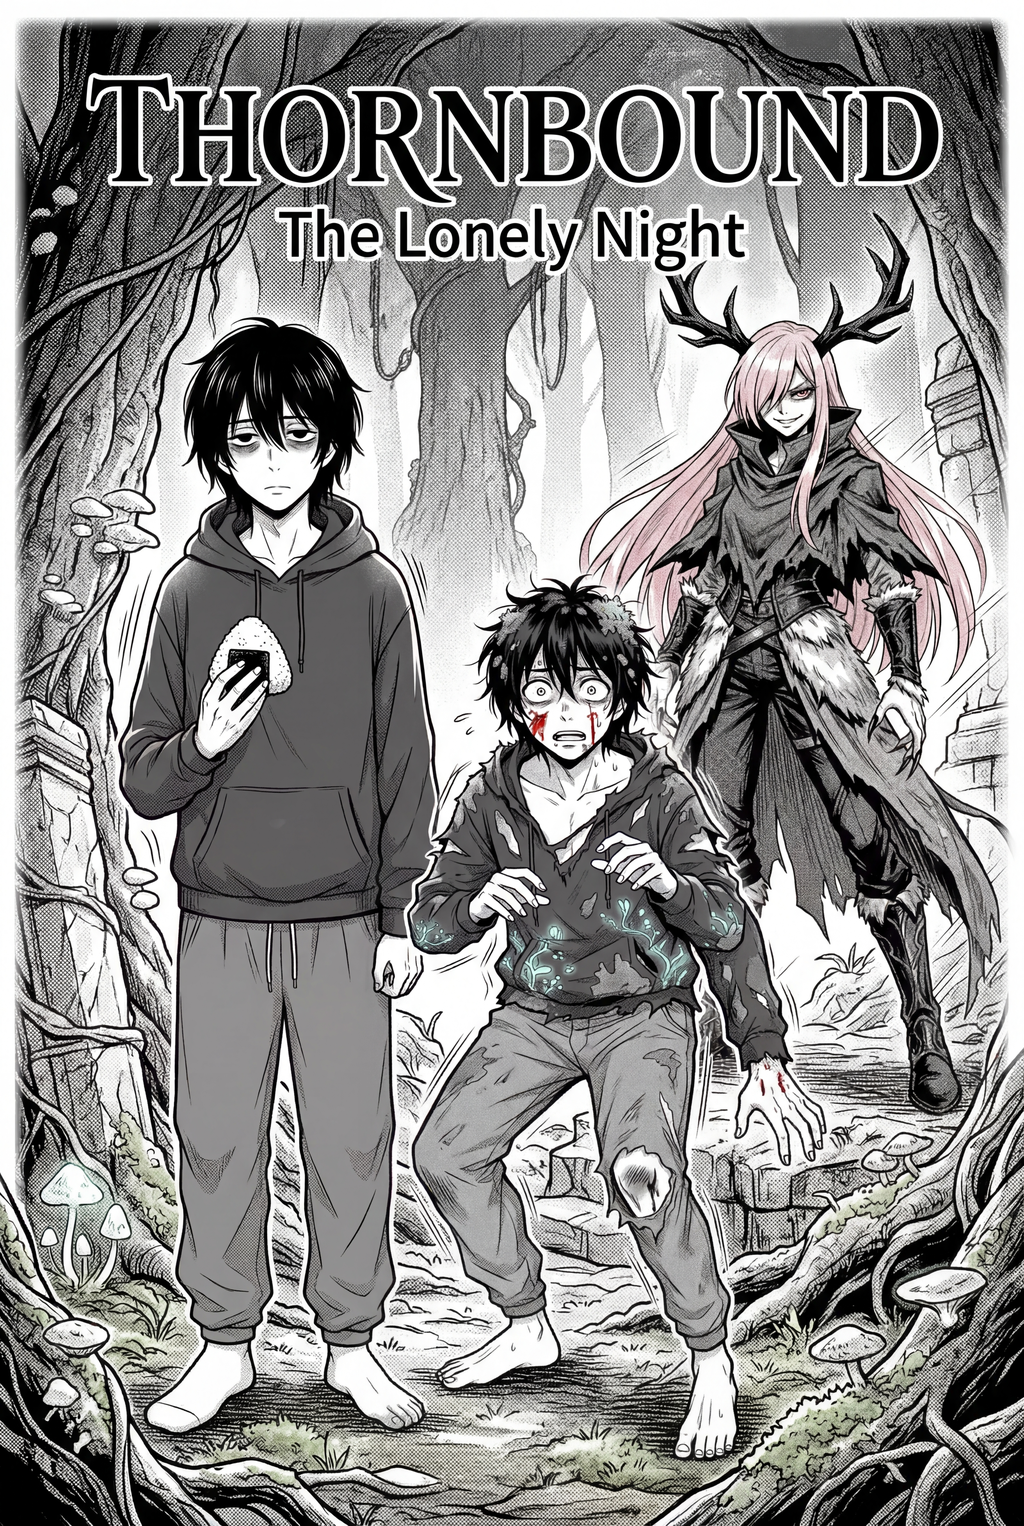
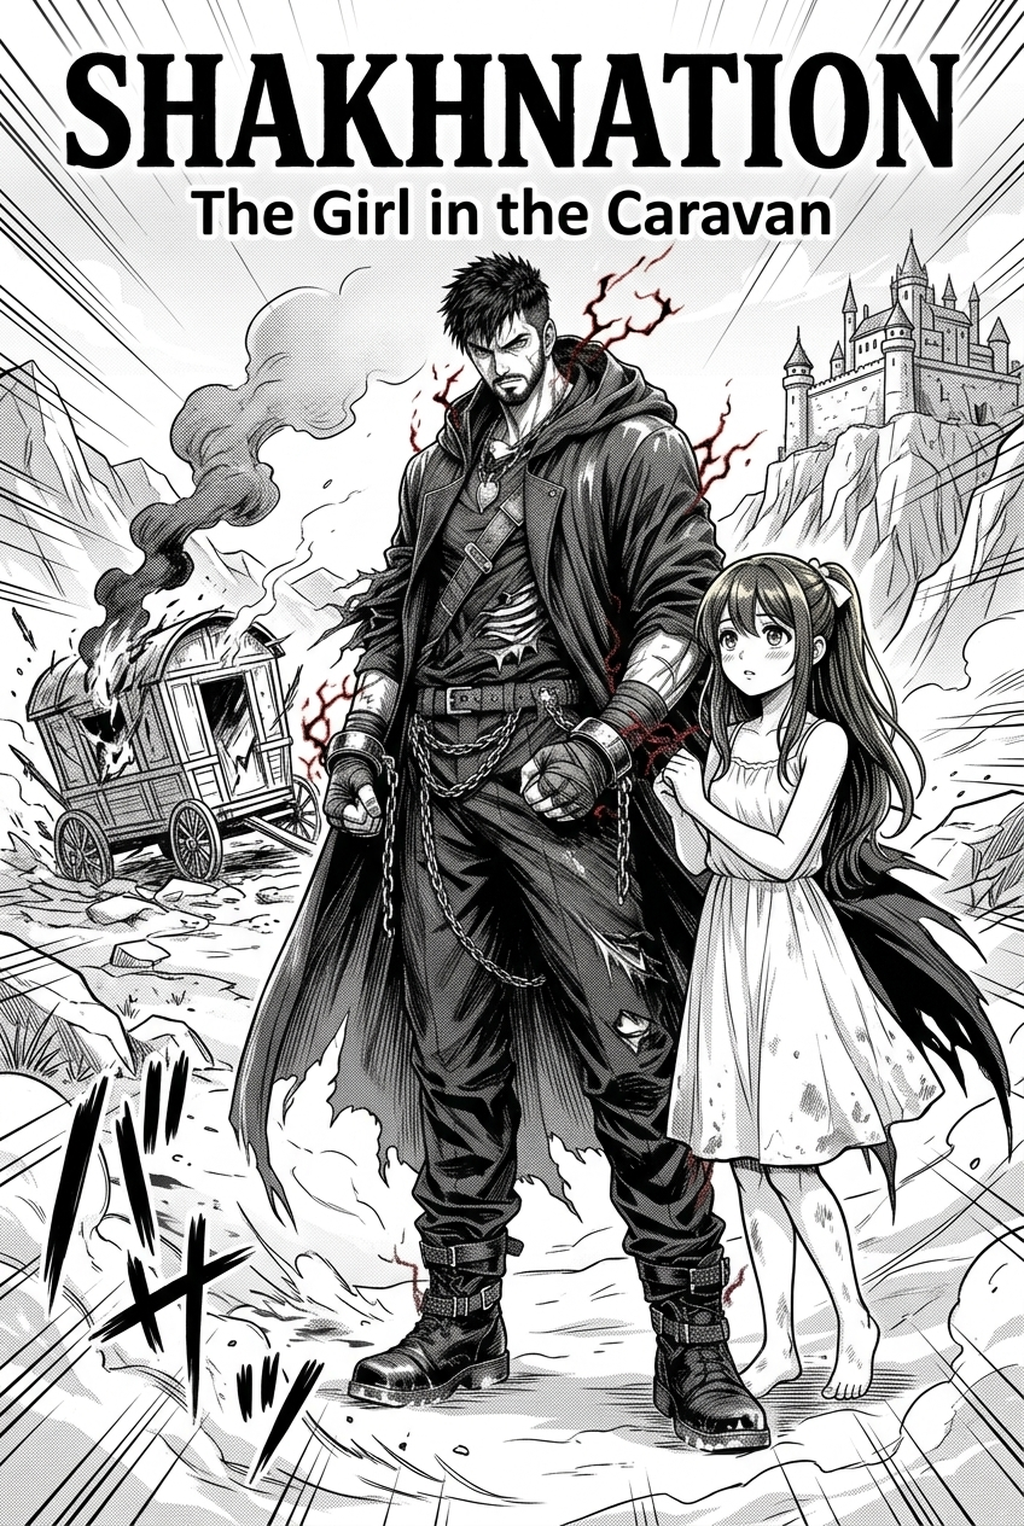
Text to Webtoon AI: Transform Written Stories into Scrolling Comics
TL;DR (Quick Takeaways) * Prose in, panels out: A text-to-webtoon workflow takes a written chapter or a formatted script and turns it into a sequence of vertical panels with dialogue, so a writer can see the episode before an artist is hired. * You still direct: The software proposes camera angles, panel breaks and balloon placement. The author decides pacing, trims what does not work visually and proofreads the lettering. * Built for phones: The finished strip is exported as slices that fit the width and file-size rules of platforms such as Webtoon Canvas and Tapas, so the episode reads smoothly on a small screen.
Direct Answer: Text to webtoon AI is a workflow that reads a written story, finds the scenes, actions and spoken lines, and builds vertical-scroll comic panels from them. In Mangaka.app you paste or write a script, generate panels from it, keep your characters looking the same from panel to panel, add speech bubbles and screentones, and export the episode for upload.
! Cover Image: Converting Written Prose and Light Novels into Scrolling Webtoons Caption: Figure 1.0 - The complete text-to-webtoon pipeline: parsing written manuscripts, blocking vertical gutters, generating character panels, and auto-slicing for mobile platforms.
1. Introduction: Why So Many Good Stories Stay Text-Only
Writing and drawing run at very different speeds. A committed author can finish a 5,000-word chapter in a couple of days. Turning the same chapter into a full-colour scrolling episode by hand means thumbnailing, penciling, inking, colouring and lettering dozens of panels, and that is usually the work of several people over several weeks. Web novels, light novels, fan fiction and unproduced screenplays pile up because the drawing step is the bottleneck, not the imagination.
That gap is where most writers get stuck. Hiring an illustration studio is expensive. Learning to draw well enough to publish takes years. Solo artists who do serialize often burn out on a weekly schedule, because every episode demands a fresh pile of panels, backgrounds and lettering.
Text to webtoon tools attack the bottleneck directly. Instead of starting from a blank canvas, you start from the words you already have. The software suggests where one panel ends and the next begins, draws a first version of each frame, and lets you step in as editor and director. The result is not a finished masterpiece at the push of a button, and this article does not pretend otherwise. It is a much shorter road from "I have a chapter" to "I have an episode I can judge, edit and publish."
This guide covers what actually happens when prose becomes panels, how to prepare a script that converts well, a numbered workflow you can follow today, how to handle the mobile-first format, how it compares with other ways of producing a webcomic, and what to do after the episode is exported.
2. How Prose Becomes Visual Beats
Turning continuous writing into panels is not the same as feeding a paragraph to an image generator and hoping for the best. A useful pipeline does four jobs in order.
1. Finding the beats and the physical actions
The first job is to separate what can be seen from what cannot. Internal monologue, backstory and abstract feelings do not fit in a single frame, so they either become a caption, a facial expression or a different scene entirely. What remains are concrete beats: who is present, what they are doing, what they are holding and where they are standing.
- Prose input: "Elena felt her heart pound as she cautiously pushed open the heavy oak door, her sword trembling in her right hand."
- Extracted beat: Character (Elena), action (pushing open a heavy door), prop (sword in hand), mood (fear, suspense), suggested framing (medium shot from behind her shoulder).
2. Separating dialogue from narration
Spoken lines are pulled out and tied to the character who says them. Each line then becomes a speech bubble with a tail pointing to its speaker. Narration is kept apart, usually as a caption box, so the reader can tell a character's voice from the narrator's.
3. Choosing pacing and empty space
Vertical comics are paced by scrolling, so the white space between panels works like a rest in music. A quick joke needs little room. A reveal, a kiss or a jump scare benefits from a long gap that makes the reader scroll a little further before the image arrives. Good tools suggest gaps, and good authors adjust them by hand. The old rule of thumb is that gaps should follow emotional weight, not a fixed number of pixels.
4. Keeping characters and style consistent
Each scene is linked to character profiles and an overall look, whether that is soft romance fantasy, sharp action, or moody noir. This step matters most for readers. If Elena's hair colour or jacket changes between panels, trust in the story breaks immediately. Mangaka.app handles this through its character consistency feature, which keeps a character's face and outfit stable across the panels you generate from a script.
What a beat sheet looks like in practice
Before generating anything, many authors write a quick beat sheet. It is a plain list of what must be visible in each panel. The table below shows how one short passage can be broken down.
| Story line | Visible beat | Panel type | Spoken text |
|---|---|---|---|
| Rain hammered the cathedral windows. | Exterior or interior wide shot, rain on stained glass | Wide establishing panel | None |
| Kai stepped inside, breath fogging. | Kai at the door, wet coat, visible breath | Medium shot | None |
| "They said the relic was hidden here." | Kai looking up at the nave | Medium close shot | Kai: "They said the relic was hidden here..." |
| A red glyph flared on the altar floor. | Glyph glowing, Kai's eyes wide | Close-up with a large gap above | None, or a short sound effect |
Notice that the fourth row is the one that deserves extra white space above it. A beat sheet makes that obvious before a single panel exists.
! Content Image 1: Deconstructing Written Prose into Vertical Comic Panel Layouts Caption: Figure 2.0 - Parsing narrative text blocks into sequential vertical panels with calculated scroll gutters.
3. Preparing a Novel Manuscript for a Vertical Layout
A raw manuscript often works against the visual medium. In prose, three pages of internal thought can precede a single punch. In a vertical comic, that order makes readers scroll through walls of text before seeing anything happen. Preparing the manuscript first saves hours of fixing panel flow later.
Cutting the thoughts down to what a face can show
When Elena doubts herself in a novel, the author might spend four paragraphs explaining her childhood. In a comic, the same beat is usually a panel where Elena looks down at her sword, fingers white on the hilt, with perhaps a short one-line caption or none at all. Strip out internal monologues that repeat what the illustration will already show. Leave only the thoughts that contradict the drawing: a smile on the outside, a cold thought in the caption.
Establishing the location before the talk begins
Novels can describe a room after two characters have finished an entire conversation. A comic needs the room first, or the reader has no sense of where the bodies are. Always begin a scene with an establishing panel that shows the space, the lighting and who is present. This anchors the reader before you cut to close-ups of faces.
Limiting words per panel
On a mobile phone, reading more than thirty words in a single panel feels crowded. If a character delivers a long monologue, split the speech across three panels, cut to the listener's reaction in the middle, or turn part of the text into narration boxes placed between panels. A good rule of thumb is:
- One speech bubble per thought.
- Two bubbles per panel at most, unless two people are trading short remarks.
- No more than twenty-five words inside any single bubble.
Writing sound effects and atmosphere into the script
Prose often describes sound in sentences: "The thunder cracked so hard the glass vibrated." In a script, write the sound effect directly, for example [SFX: BOOM] or [SFX: CRACK]. This tells the panel generator to leave room for visual sound lettering or screentone emphasis.
The table below contrasts common prose patterns with their comic script equivalents:
| Prose pattern in original story | Why it fails in a vertical strip | Script fix for webtoon adaptation |
|---|---|---|
| Two full pages of character memories | Reader scrolls past repetitive floating text boxes | One silent wide panel of the past, then an extreme close-up of the character's eye in the present |
| Conversation where characters do not move | Five panels in a row of talking heads with identical framing | Add a physical action in panel two (pouring tea, looking away) and vary camera distances |
| Detailed description of clothing at the end of a scene | Visual medium shows clothing instantly; late description is redundant | Establish outfit once in character profile; keep panel text focused purely on dialogue and action |
| Fast back-and-forth banter of twelve short lines | Piling twelve bubbles into two panels makes the text illegible | Spread over four panels, using tight gutters (80px to 100px) to keep reading rhythm brisk |
| Big twist revealed in a casual paragraph sentence | The surprise is buried in text and loses all impact | Place twist on its own full-bleed panel, preceded by a wide gutter (400px+) to force a scroll pause |
4. Comparing the Production Paths
Creators have several ways to build a webtoon today. Understanding what each path offers helps you choose the right balance of time, budget, and creative control.
- Full Human Studio: You hire a team comprising a storyboard artist, line artist, colourist, and letterer. This route produces bespoke work, but it costs substantial money and requires weeks of coordination per chapter.
- Generic AI Image Tools: You generate pictures one by one using a general image model, copy them into Photoshop or Krita , manually mask faces to fix drift, and piece together the layout by hand. This path is cheap, but it eats huge amounts of editing time.
- Dedicated Comic Drawing Suites: Software like Clip Studio Paint offers great vertical rulers, panel cutting, and bubble tools, but you still have to draw or composite every figure and background yourself.
- Dedicated Text-to-Webtoon Studio: You use an integrated browser platform like Mangaka.app that ties script parsing, character consistency, panel layouts, speech bubbles, screentones, and export into one place.
The table below summarizes these options across common production realities:
| Production Method | Setup and Software Needed | Character Consistency Maintenance | Layout and Slicing Effort | Typical Time to Finish 40 Panels |
|---|---|---|---|---|
| Human Studio Team | Multiple digital drawing licenses, project management tools | Managed by art director via model sheets | Manual slicing and checking by letterer | 3 to 5 weeks |
| Clip Studio Paint (Solo Artist) | Drawing tablet from Wacom and drawing software | Drawn manually by the artist | Built-in vertical rulers; manual panel slicing | 40 to 60 hours |
| Generic AI Image Prompters | Multiple subscriptions, separate image editor | High drift; requires manual face swaps in external tools | Complete manual layout, manual bubble drawing | 20 to 30 hours |
| Mangaka.app (Text-to-Webtoon) | Web browser; no drawing tablet or heavy install needed | Handled by built-in character consistency profile | Automated vertical layout, bubbles, screentones, export | 2 to 4 hours |
! Content Image 2: Automated Dialogue Balloon Generation and Mobile Readability Caption: Figure 3.0 - Automated dialogue extraction, balloon auto-wrapping, and mobile typography scaling.
5. A Six-Step Workflow: Manuscript to Exported Episode
The following sequence keeps story decisions ahead of rendering decisions. Do not generate every page before checking the first few panels; catching a wrong character or an unreadable bubble at the beginning is much cheaper than fixing it in a finished episode.
Step 1: Create a clean episode brief
Put the episode title, target reader, location, time of day and emotional turn at the top of a new document. Then divide the story into scenes. Each scene should answer three questions: who is present, what changes, and what visual image should the reader remember? A brief that says “Kai discovers the glyph and loses control” is more useful than three paragraphs of mood-setting.
Step 2: Format the script into panel-ready beats
Use clear labels such as [SCENE: ABANDONED CATHEDRAL — NIGHT], [PANEL 1 — WIDE], and [PANEL 2 — CLOSE-UP]. Put the action on one line and dialogue on the next. Name characters consistently. Do not call the same person “Kai,” “the boy,” and “the intruder” in different places if you want consistent character linking.
[SCENE: ABANDONED CATHEDRAL — NIGHT]
[PANEL 1 — WIDE] Rain strikes the tall stained-glass windows.
[PANEL 2 — MEDIUM] KAI, drenched hair and black coat, steps inside.
KAI: "They said the relic was hidden here..."
[PANEL 3 — CLOSE-UP] Kai's eyes widen as a red glyph ignites on the altar floor.
[SFX: WHUM]
Step 3: Add character profiles and the visual brief
Describe only details that must remain stable: age range, hairstyle, skin tone, signature clothing, accessories and the colours that identify the character. Add the visual tone separately: soft morning light, hard noir shadows or clean action lines. Mangaka.app can use these profiles while it generates scenes, which is more reliable than repeating a full description in every paragraph.
Step 4: Generate a storyboard and audit the reading order
Generate a first pass, then read it as a phone reader. Check whether the eye moves from the top of one panel to the next without confusion. Look for a missing establishing image, a sudden change of location, or a character who appears to speak without being shown. Move a panel, adjust the panel layout or add a pause before rendering final art. This is where you direct; the first pass is a proposal, not a verdict.
Step 5: Correct dialogue, screentones and panel emphasis
Proofread every bubble at its actual mobile display size. Shorten a line if it hides a face. Keep a speech tail close enough to the speaker to remove doubt, but not so close that it covers an eye. Use screentones to separate a shadowed room from a bright foreground or to make a sudden impact feel heavier. Apply emphasis to the moment that carries the scene; if every panel is loud, the important panel is no longer loud.
Step 6: Export, inspect, and prepare the upload
Export the finished strip, open every slice, and check that the first and last pixels of a panel have not been clipped. Webtoon Canvas publishes creator guidance on its official creator portal , while Tapas provides a separate publishing destination. Treat their current upload rules as the final authority. Keep your source script and exported files together, use a clear episode number, and record the platform's required title, thumbnail and content notices before uploading.
| Quality check | What to inspect | Fix before export |
|---|---|---|
| Character identity | Hair, face, outfit and signature prop | Return to the character profile and regenerate only the affected panel |
| Reading order | Panel sequence, speaker tails and scene transitions | Rearrange the layout or add an establishing panel |
| Lettering | Spelling, line breaks, bubble overlap and contrast | Edit the text; resize or move the bubble |
| Mobile legibility | Small text, thin lines and dark details | Simplify the bubble and increase separation between foreground and background |
| Pacing | Gutter before reveal, reaction shot after action | Expand or tighten the relevant gap |
| Upload readiness | Slice dimensions, file format, naming and size | Follow the destination platform's current creator guidance |
6. Mobile-First Layout: The Reader Is Scrolling, Not Turning Pages
A scrolling comic has no physical page edge to create rhythm. Your main tools are panel height, gap, scale and the moment at which an image appears after a swipe. Keep the focal face large enough to recognize. Reserve tall panels for events that need scale: a collapsing building, a transformation, or the reveal of a whole city. Use narrow panels for a quick exchange or a repeated action.
Do not assume a desktop view tells you anything about phone readability. Preview at the width your audience actually sees. A beautiful distant figure may become a dot. A thin caption may turn into a grey line. If a balloon needs zooming, it needs rewriting or enlarging.
A useful mobile review is to read the episode three ways. First, read only the speech bubbles and captions; the dialogue should make sense. Second, ignore the words and follow the images; the action should still be clear. Third, scroll quickly, as a casual reader would; the reveal should arrive at the intended speed.
! Content Image 3: Novel-to-Comic Audience Conversion and Revenue Multipliers Caption: Figure 4.0 - Reviewing the scroll rhythm, focal moments and reader path after adapting a web novel into a weekly episode.
7. After the Episode: Platforms, Formats, and Reaching Readers
Finishing the panels is only the first step. You still have to bring the episode to an audience and decide how you will publish future installments.
Webtoon Canvas vs. Tapas vs. Alternative Platforms
Most creators begin on free serialization hubs. The LINE Webtoon Canvas Creator Portal offers massive potential organic reach, but competition is fierce and reader comments can be ruthless. Tapas features an active community that often reads both serialized web novels and graphic adaptations under the same profile, making it a great destination for authors crossing over from prose.
Other platforms exist for different goals. Communities like Pixiv allow creators to post sample illustrations and webcomic episodes to build an art-focused following. Meanwhile, free drawing tools like MediBang Paint host creator hubs for sharing comics directly. If you plan to assemble physical collections or Kindle comic editions later, self-publishing platforms like Amazon KDP give you print-on-demand and ebook distribution channels. For creators studying commercial serials, reading official releases on Manga Plus or reading about comic history on Wikipedia's Manga article provides valuable perspective on how traditional comic publishing structures its narrative arcs.
The Power of Novel-to-Comic Cross-Promotion
If you already have a novel published on Royal Road, Wattpad, or Substack, your comic acts as an engine for discoverability:
- The Visual Hook: Novel covers rarely go viral on social media. A dynamic three-panel vertical strip showing your protagonist's magic awakening can easily be shared on vertical video platforms, Pinterest, and community forums.
- The Dual Funnel: Link your webtoon description back to the original novel for readers who cannot wait for the next visual episode. Conversely, put a link at the end of every novel chapter pointing new readers to the webtoon version.
- Merchandise and Support: Visual character designs make creator support platforms like Patreon or Ko-fi far more appealing. Readers love character icons, digital wallpapers, and early panel previews.
8. Screentones, Visual Shading, and Mood in Vertical Panels
Traditional black-and-white comic production has long depended on screentones to communicate value, texture, mood, and depth without requiring manual cross-hatching across every square inch of paper. In a modern vertical webtoon, screentones serve an equally critical storytelling function, whether your comic is published in classic monochrome or a stylized limited-palette finish.
The Role of Screentones in Guiding the Reader's Eye
When a reader scrolls briskly down a phone screen, their eye naturally gravitates toward areas of high contrast. A solid white panel followed by another solid white panel offers no visual anchor. By applying screentones to background architecture or casting delicate dot patterns over shadowy figures, you create immediate separation between the active characters in the foreground and the surrounding world. This ensures that the primary narrative focal point is instantly legible on a compact screen.
Establishing Genre Aesthetics
Screentones are not just utilitarian; they define genre atmosphere:
- Psychological Suspense and Mystery: Dense cross-hatch screentones, deep shadows, and subtle grain tones make an empty hallway feel oppressive and foreboding.
- Romantic Comedy and Slice-of-Life: Soft gradient tones, delicate floral screentone overlays, and open highlight bursts give moments of vulnerability or realization a warm, inviting quality.
- Action and Shonen Compositions: Dynamic speed-line screentones pull the eye down along the vertical scroll vector, accelerating the reader's pace as a punch or slash connects.
The table below outlines practical screentone patterns, where they work best, and how they influence mobile reading rhythm:
| Screentone Pattern | Visual Function in Panel | Best Genre Application | Mobile Readability Recommendation |
|---|---|---|---|
| Linear Speed Lines | Directs scroll momentum along movement vectors | Shonen action, sports, chase sequences | Use high-contrast black-on-white; avoid micro-lines that blur on low-DPI screens |
| Graduated Dot Halftones | Soft ambient shading, skies, cast shadows | Romance, drama, slice-of-life | Stick to moderate dot frequencies (45 to 60 LPI equivalent) to prevent moire artifacts |
| Rough Grunge & Texture | Worn masonry, rust, grit, weathered fabric | Post-apocalyptic, cyberpunk, dark fantasy | Keep textures contained to backgrounds so character silhouettes remain sharp |
| Negative Mood Shading | Deep solid black fill with reverse white tones | Horror, psychological breaks, villain reveals | Pair with an expanded top gutter to let the heavy dark value impact the reader |
| Atmospheric Glow Halftones | Magical aura, divine energy, glowing runes | Fantasy, isekai, supernatural thrillers | Ensure tone transitions do not swallow subtle facial linework |
In Mangaka.app, applying screentones is integrated alongside panel layouts and script generation, allowing you to establish cohesive tonal values without jumping into separate raster graphics programs.
9. Common Pitfalls When Converting Text to Scrolling Panels
New creators often make avoidable mistakes when taking prose into vertical panel formats. Keep these watchouts in mind:
The "Wall of Text" Trap
Novels rely on words to convey every smell, texture, and nuance. In a webtoon, if a panel contains eighty words of exposition, the reader's thumb will flick straight past it. If an explanation is truly necessary, break it across four panels with evolving illustrations, or let the environmental art convey the worldbuilding.
Monotonous Camera Angles
If every panel shows characters from the chest up, talking back and forth at eye level, the episode feels like a static slideshow. Inject variety:
- Use a bird's-eye high angle to show isolation or the layout of an unfamiliar room.
- Use a worms-eye low angle looking up at a villain to communicate intimidation.
- Cut to hands, weapons, or footsteps to build momentum during tense sequences.
Disregarding Phone Gutters
Placing every panel 100 pixels apart creates an unvarying, mechanical tempo. Scrolling webtoons rely on negative space to simulate the passage of time. A five-hundred-pixel empty gutter between a character swinging a sword and the blade connecting creates a split-second pause that heightens impact.
Inconsistent Lighting and Mood
When using AI generation, it is easy to accidentally generate one panel in cheerful daylight and the next panel in gloomy shadow. Always state the ambient lighting and scene atmosphere in your script prompt. Mangaka.app helps you preserve tone and screentones consistently across an entire scene.
10. Frequently Asked Questions (FAQ)
Can text-to-webtoon AI convert an entire novel into comics automatically?
Yes. Modern text-to-webtoon software can ingest prose chapters and parse them into sequential scene beats, dialogue bubbles, and vertical panel layouts. However, human direction is always recommended to refine pacing, check reading order, and select dramatic panel heights.
Do I need illustration or coding skills to use text-to-webtoon AI?
No. Tools like Mangaka.app operate entirely in natural language inside a web browser. You provide your written story or formatted script, and the platform assists with panel layouts, speech bubbles, screentones, and export without requiring a drawing tablet or programming knowledge.
What is the standard canvas width for vertical webtoons?
The standard canvas width across major webtoon publishing platforms is 800 pixels. The total height depends on the number of panels in the episode, but the finished long vertical strip is sliced into individual image files for upload.
How does the AI know how my characters should look?
You establish character profiles that record essential visual traits such as hair colour, eye shape, age, and signature clothing. The platform anchors these traits to character names, maintaining visual consistency across every panel generated from your script.
Can I edit individual panels after the AI generates the webtoon?
Yes. You can edit panel framing, regenerate individual elements, alter dialogue bubbles, add screentones, or change panel spacing on the vertical canvas without having to re-render the entire episode from scratch.
Who owns the intellectual property of webtoons created with AI?
When creating original stories with platforms like Mangaka.app, you retain ownership of your written scripts, characters, and exported webtoon episodes, allowing you to monetize on platforms like Webtoon Canvas, Tapas, or in print.
11. Start Adapting Your Story Today
You do not need to let your completed manuscripts and scripts sit unread in your hard drive. With Mangaka.app , you can transform your prose into mobile-ready vertical comics directly in your web browser. Build your character consistency profiles, generate panel layouts from your script beats, add expressive speech bubbles and screentones, and export publish-ready slices for Webtoon Canvas and Tapas.