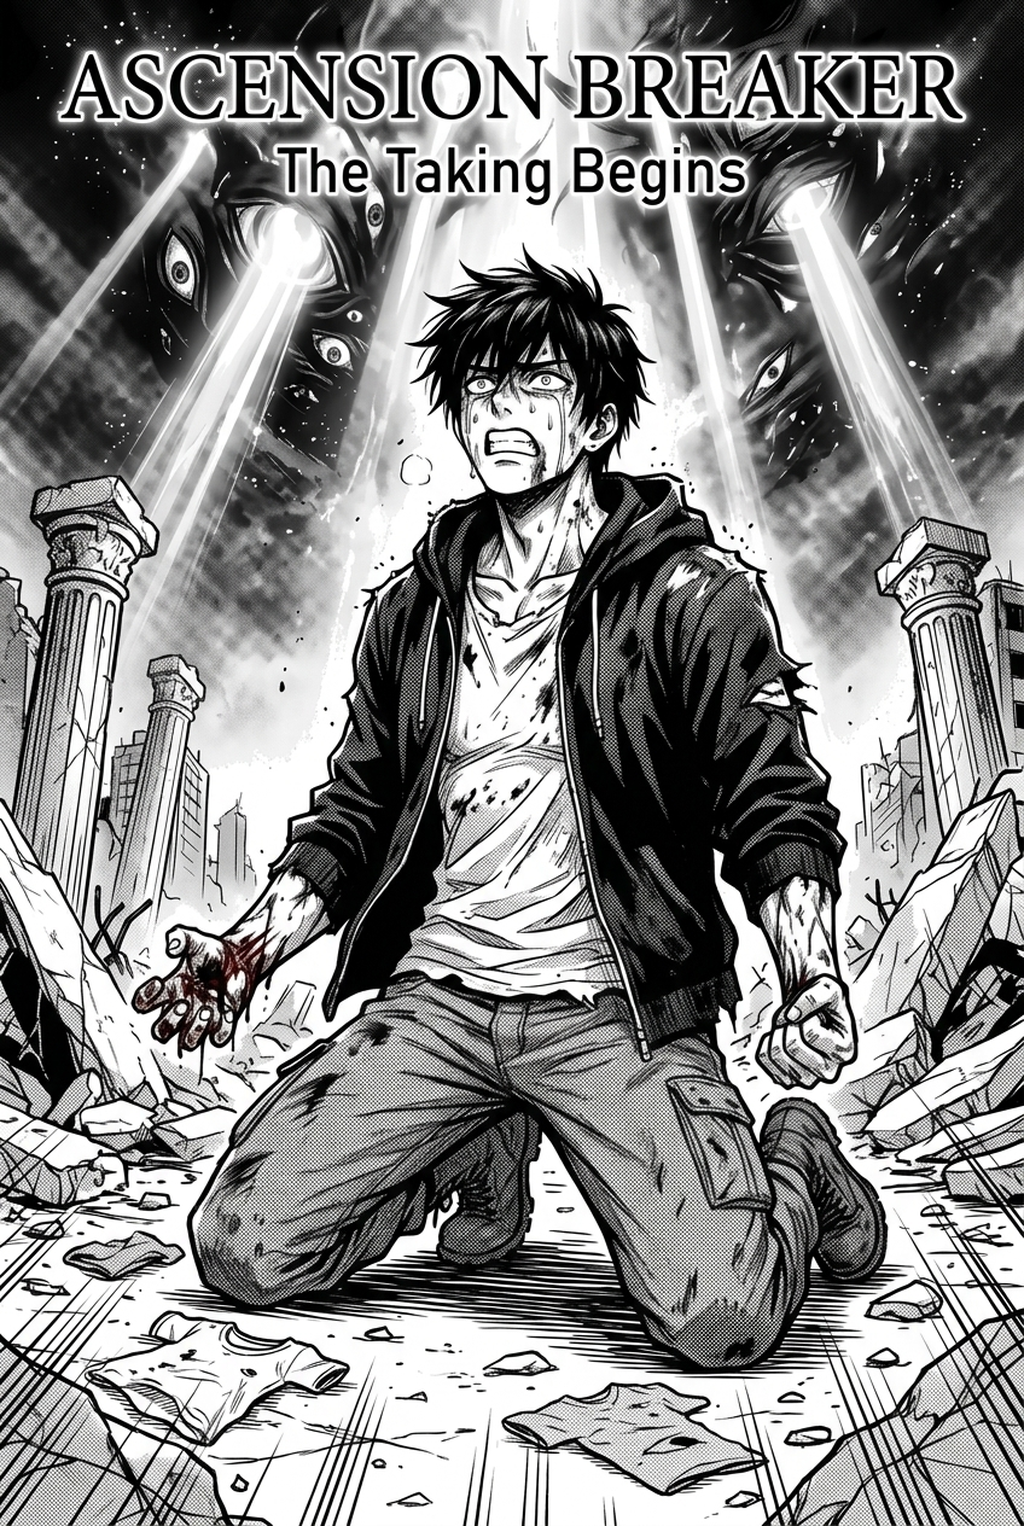
Defining the AI 4-Koma Strip Maker
The 4-koma layout functions as a strictly defined vertical or square grid designed for immediate narrative impact. Unlike long-form manga, this format forces the creator to prioritize visual shorthand and character readability over complex world-building.
- Ki (Introduction): Establishes the setting and character baseline within the first panel. * Sho (Development): Builds upon the premise, usually introducing a secondary action or a slight shift in character expression. * Ten (Twist/Climax): The crucial third panel where the situation shifts, providing the necessary friction for the joke. * Ketsu (Conclusion): The final payoff, which must be immediately legible to the reader to land the punchline.
Effective implementation requires precise control over page breaks and panel spacing. If your gutter widths are inconsistent, the reader’s eye will stumble, breaking the pacing before they reach the Ketsu panel. Many creators find that keeping the background minimal in the first two panels prevents the reader from getting lost, ensuring the character’s reaction in the climax remains the visual anchor.
Strategic Impact for Indie Creators
The 4-panel structure acts as a vital creative constraint that prevents exposition creep, forcing you to distill your humor into a high-impact, bite-sized format. Because these strips are frequently consumed on social platforms, the success of your project hinges on immediate readability.
By limiting your page to only four frames, you must rely on established character tropes and visual shorthand to build instant rapport with a new audience. A common mistake is attempting to tell a long-form story through 4-koma; instead, successful creators treat each strip as a standalone unit. This accessibility allows your work to go viral, as new readers can understand the context without needing to digest previous chapters of your manga.
Workflow Integration with Mangaka
Mangaka simplifies the technical burden of manga production by automating the placement of panels, gutters, and character framing. By using the 4-koma strip layout with Mangaka , you shift your focus from the tedious mechanics of alignment to the creative refinement of your punchline and twist.
- Panel Consistency: The tool maintains identical gutter widths and aspect ratios across your entire series, which is critical for a professional, cohesive look. * Character Stability: The AI preserves character proportions across all four panels, preventing the common issue of visual drift in your inking or color work. * Export Optimization: Automated export settings ensure your file dimensions meet the specific requirements of platforms like Twitter, Instagram, or mobile vertical comic platforms.
Consider a scenario where you are drafting a gag about a mage failing a spell. With the tool, you define the character mood for the Ten" panel—perhaps an expression of shock—and the system updates the character model while keeping the framing perfectly aligned with your grid. You then export a clean 1080x1920 PNG, ready for instant publication.
- Chapter cadence. Use the AI pass for pages where speed matters most, such as repeated action poses, transformation beats, or dense speed-line panels. Keep manual cleanup for hero panels where the line style defines the emotional peak.
- Character continuity. Compare the generated lines against the same model sheet, costume notes, and facial-expression range used during sketching. This prevents a fast inking pass from drifting away from the character identity readers recognize.
- Export readiness. Check whether the final manga output can move into lettering, coloring, or final layout without rebuilding panel borders or speech-bubble space. A good manga workflow should save time while keeping the next production step predictable.
Application and Use Cases
You should prioritize character expressions in the third and fourth panels to guide the reader’s emotional response. In your character sketches, maintain consistent color palettes or shading styles; even a minor shift in line weight between panel one and four can make the page feel disjointed to a seasoned manga reader.
| Feature | Manual Method | AI-Assisted Workflow |
|---|---|---|
| Panel Alignment | Time-consuming manual grids | Instant auto-grid generation |
| Character Consistency | High risk of proportion drift | Locked model consistency |
| Export Formatting | Manual crop/resize pass | Preset aspect ratio export |
Avoid the trap of adding too much dialogue in the final panel. The strongest strips allow the art to do 60% of the heavy lifting. If the reader has to pause to read a paragraph of text in the Ketsu" frame, you have already lost the timing of the joke.
Getting Started with Current Layouts
You may choose between the traditional vertical stack or the modern 2x2 square grid, depending on your target platform. Vertical layouts work best for mobile-first audiences, as they allow for a natural scroll-down motion, whereas the 2x2 grid offers a balanced aesthetic for static web feeds.
- Dialogue Strategy: Limit yourself to three to four speech bubbles per strip. * Orientation: Use vertical for vertical comic platforms and mobile; use 2x2 for desktop displays. * Mood Control: Input specific emotional triggers into your creative brief to influence character reactions.
Always verify your line density before finalizing the export. If your inking is too detailed in panel one, it will compete with the punchline for the reader’s attention. By keeping the background details sparse early on, you create a visual hierarchy that naturally pulls the viewer's eyes toward the climax.
Creators should compare the generated line art with the original sketch and confirm that facial expressions, props, speed lines, and speech-bubble space still support the scene. A repeatable review pass should cover character consistency, panel readability, background clarity, and whether the final file is ready for coloring, lettering, or editor feedback. For longer projects, creators should save approved examples of line weight, face detail, clothing folds, and background density. Those references keep later chapters closer to the intended style.
The Bottom Line
The AI 4-Koma Strip Maker workflow remains the most effective format for delivering high-impact, concise comedy within the manga medium. While the structure demands discipline, modern tools allow you to eliminate the technical friction of alignment and composition. If you are ready to produce professional-grade strips without the hours of manual drafting, 4-koma strip layout and see how AI can sharpen your narrative timing.
Related articles
Mastering Isekai Manga Character Design: A Creator's Guide
Manga Speech Bubble Placement: A 2026 Guide for Flow
Magical Girl Manga Character Design: A Guide for 2026