What Is Ninja Manga Art Style?
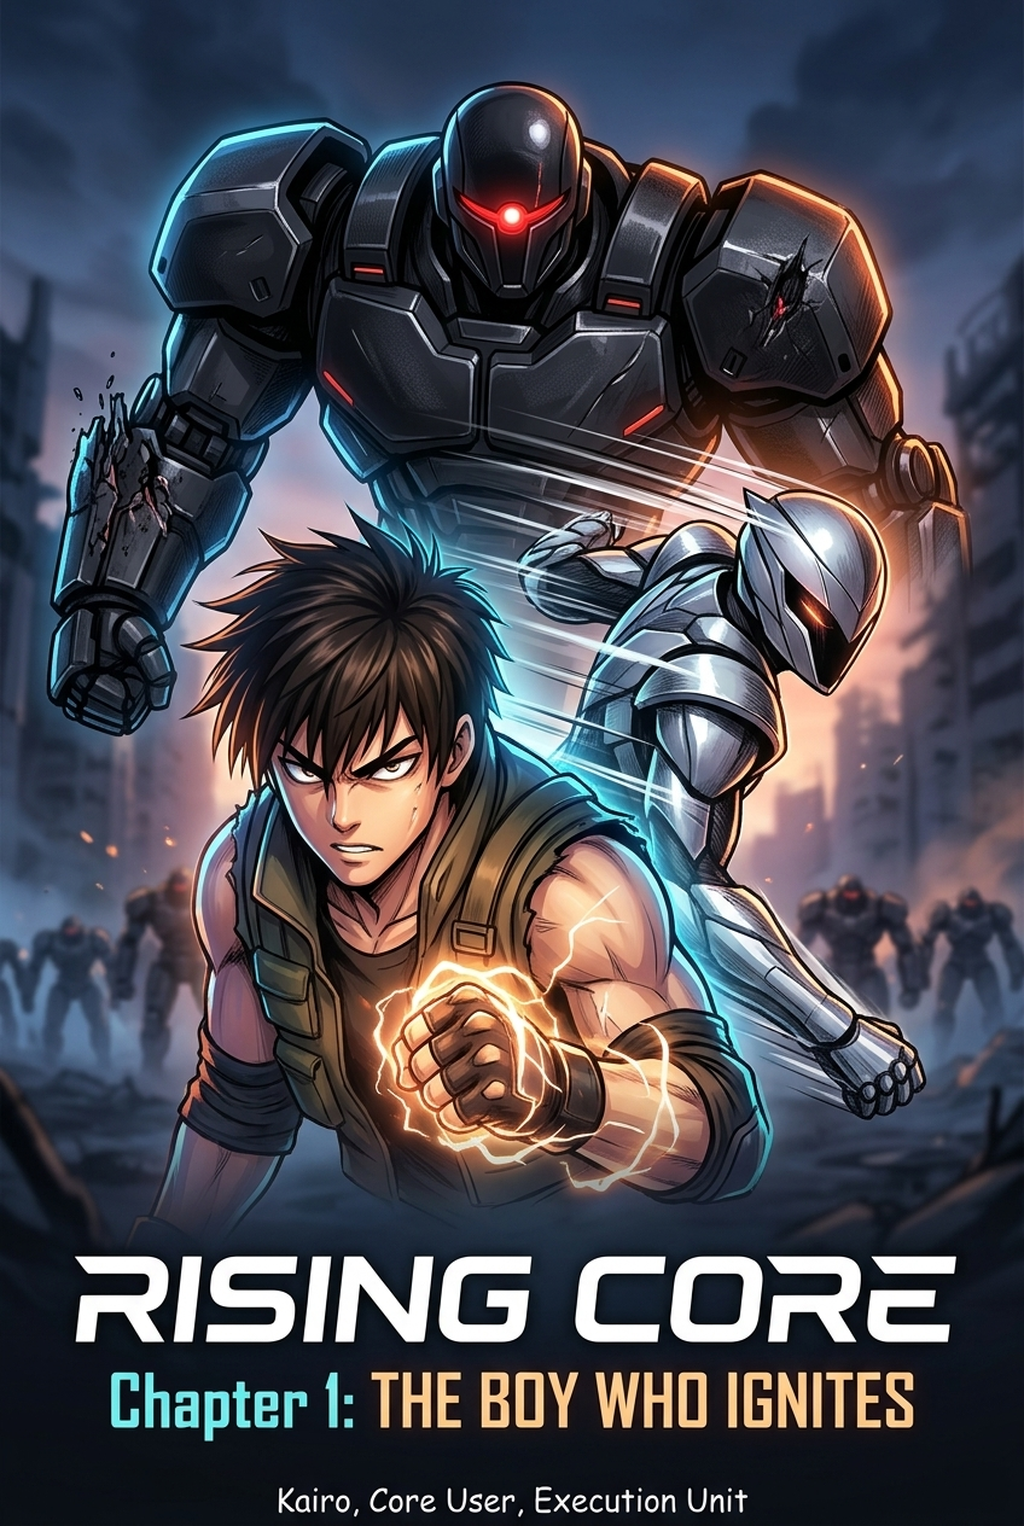
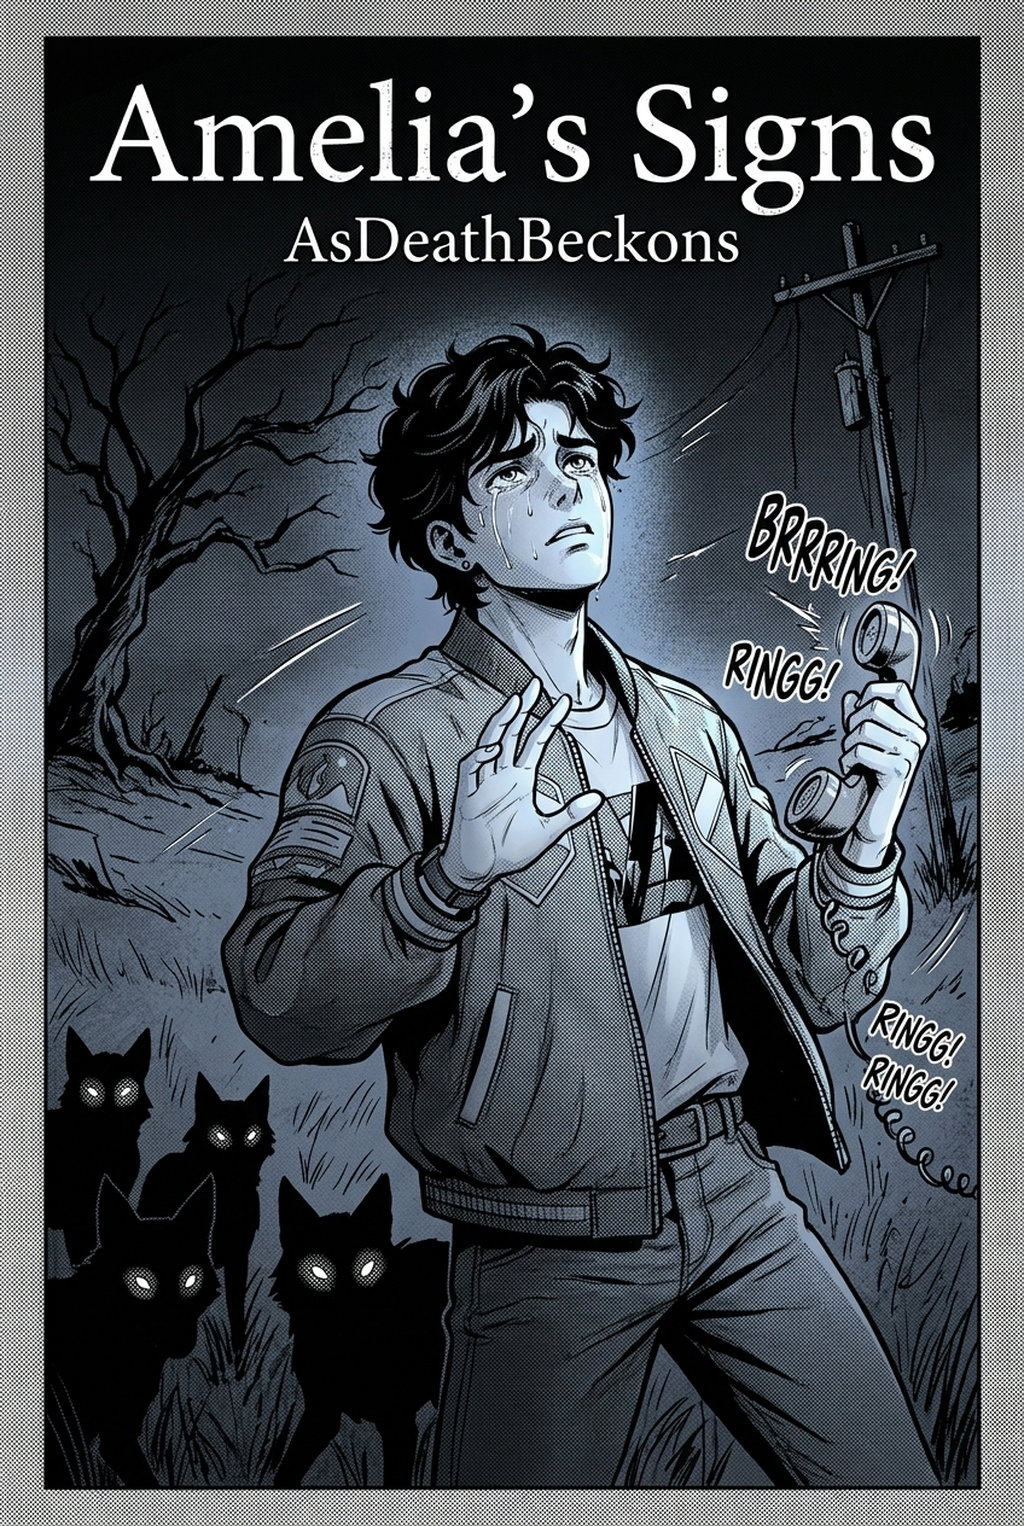
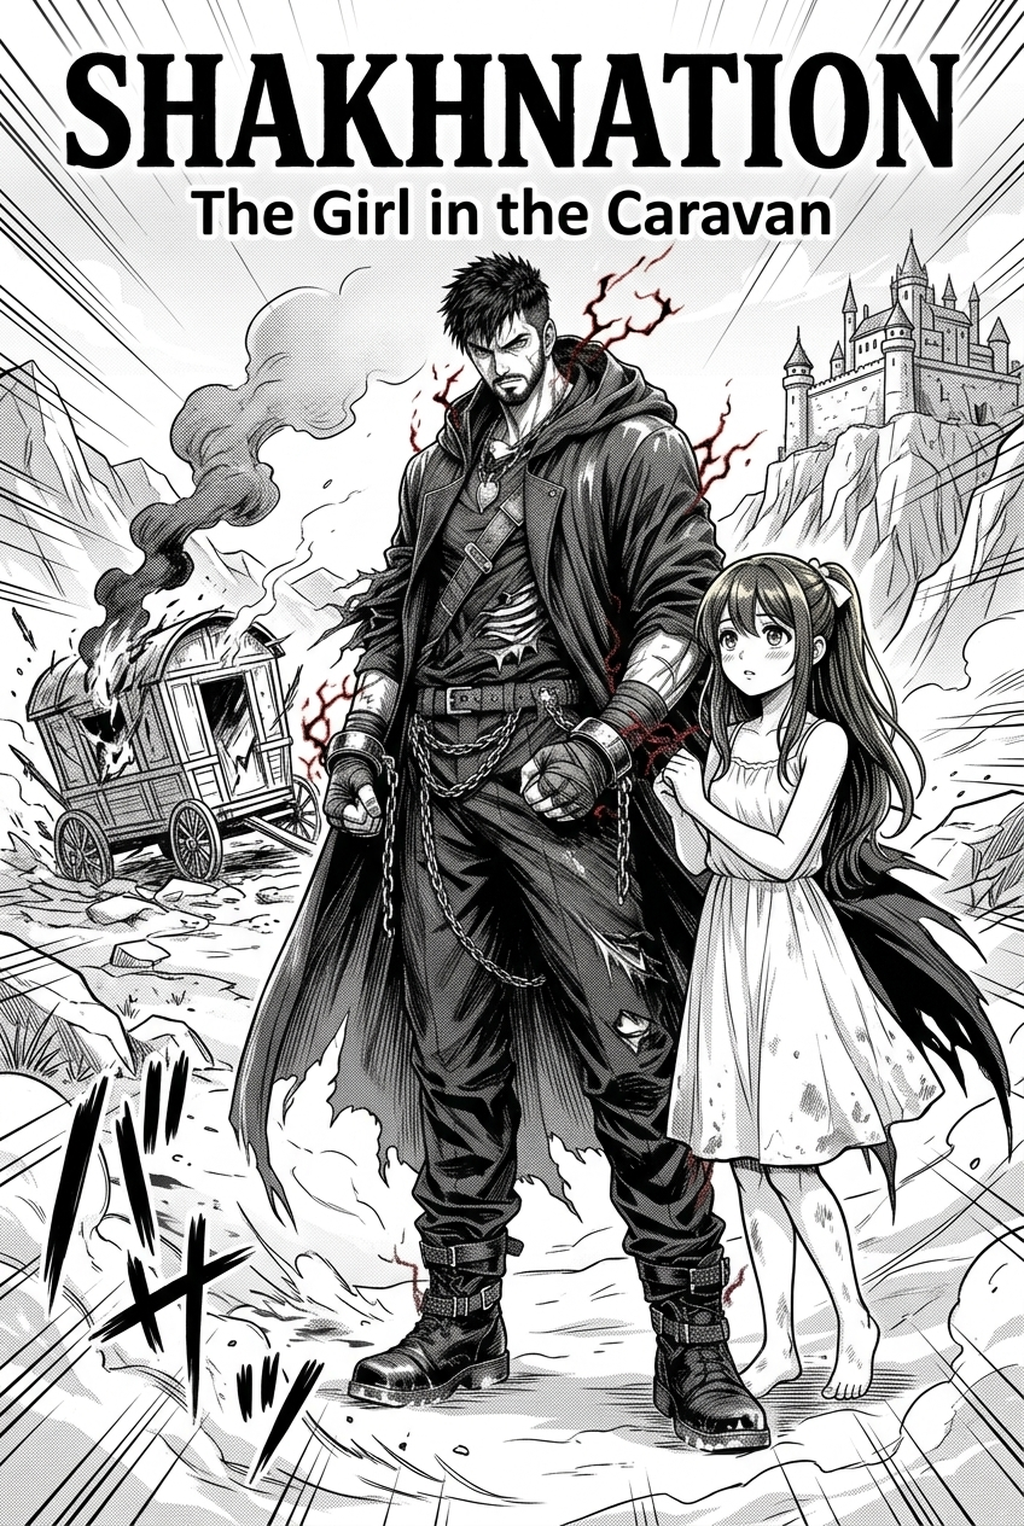
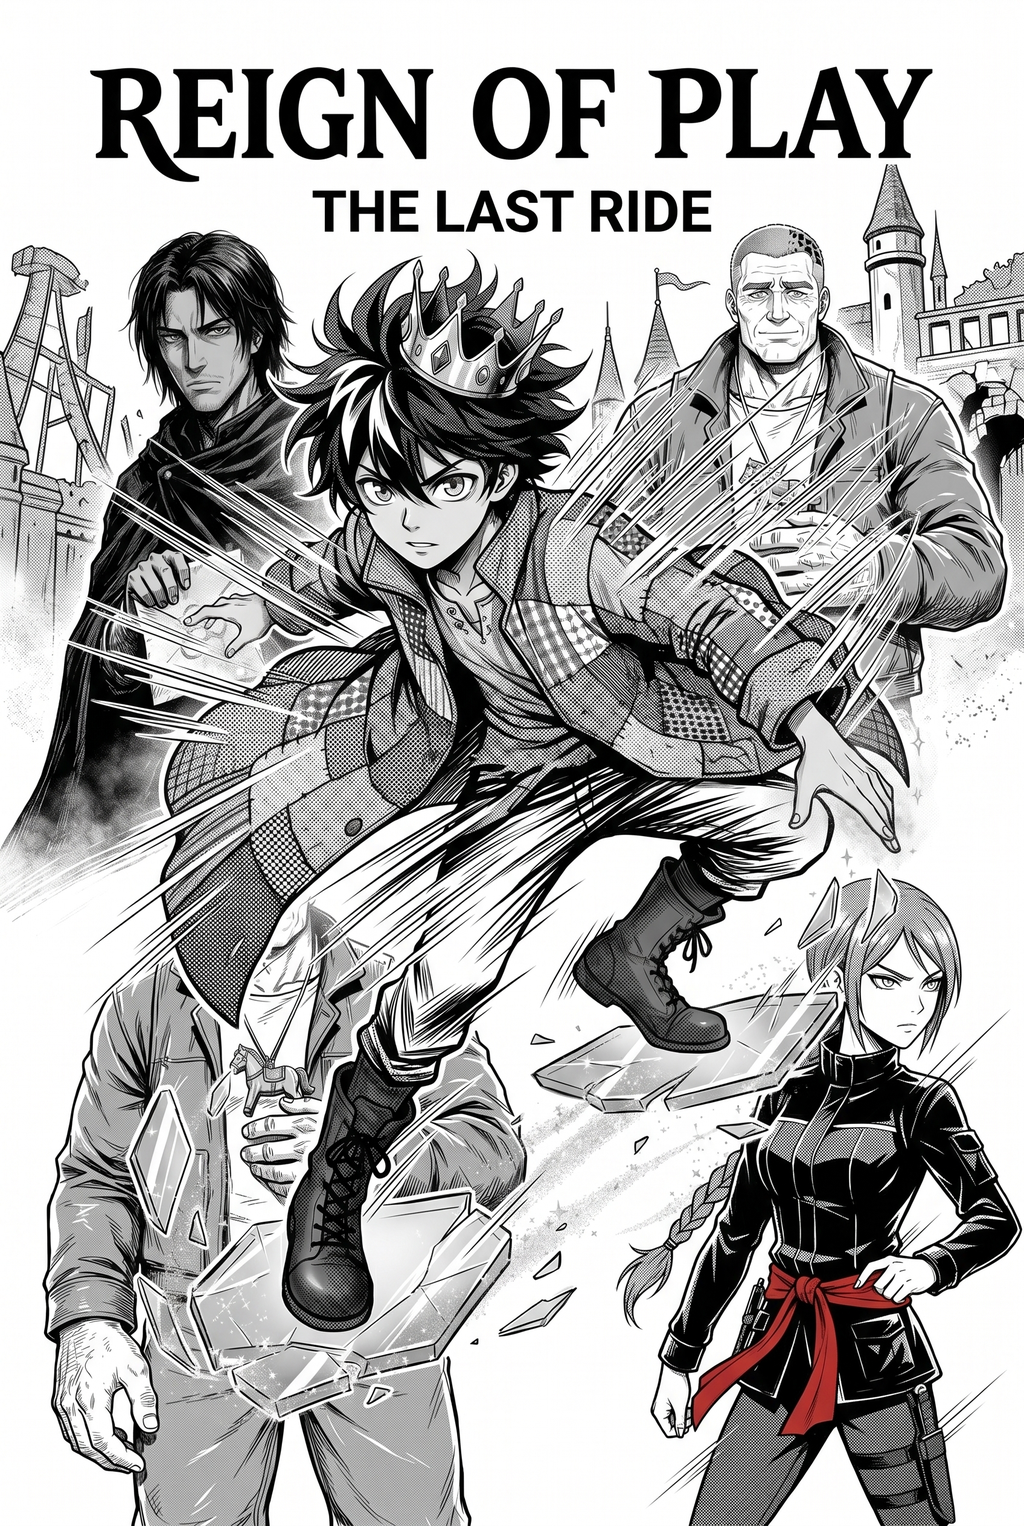
The ninja aesthetic relies on 'kage' (shadow) play to imply stealth and intensity, often utilizing thick, bold inking to define character silhouettes against sparse environments. Creators must treat the interplay of light and dark as a structural device that directs the reader’s eye precisely toward the point of contact in a fight.
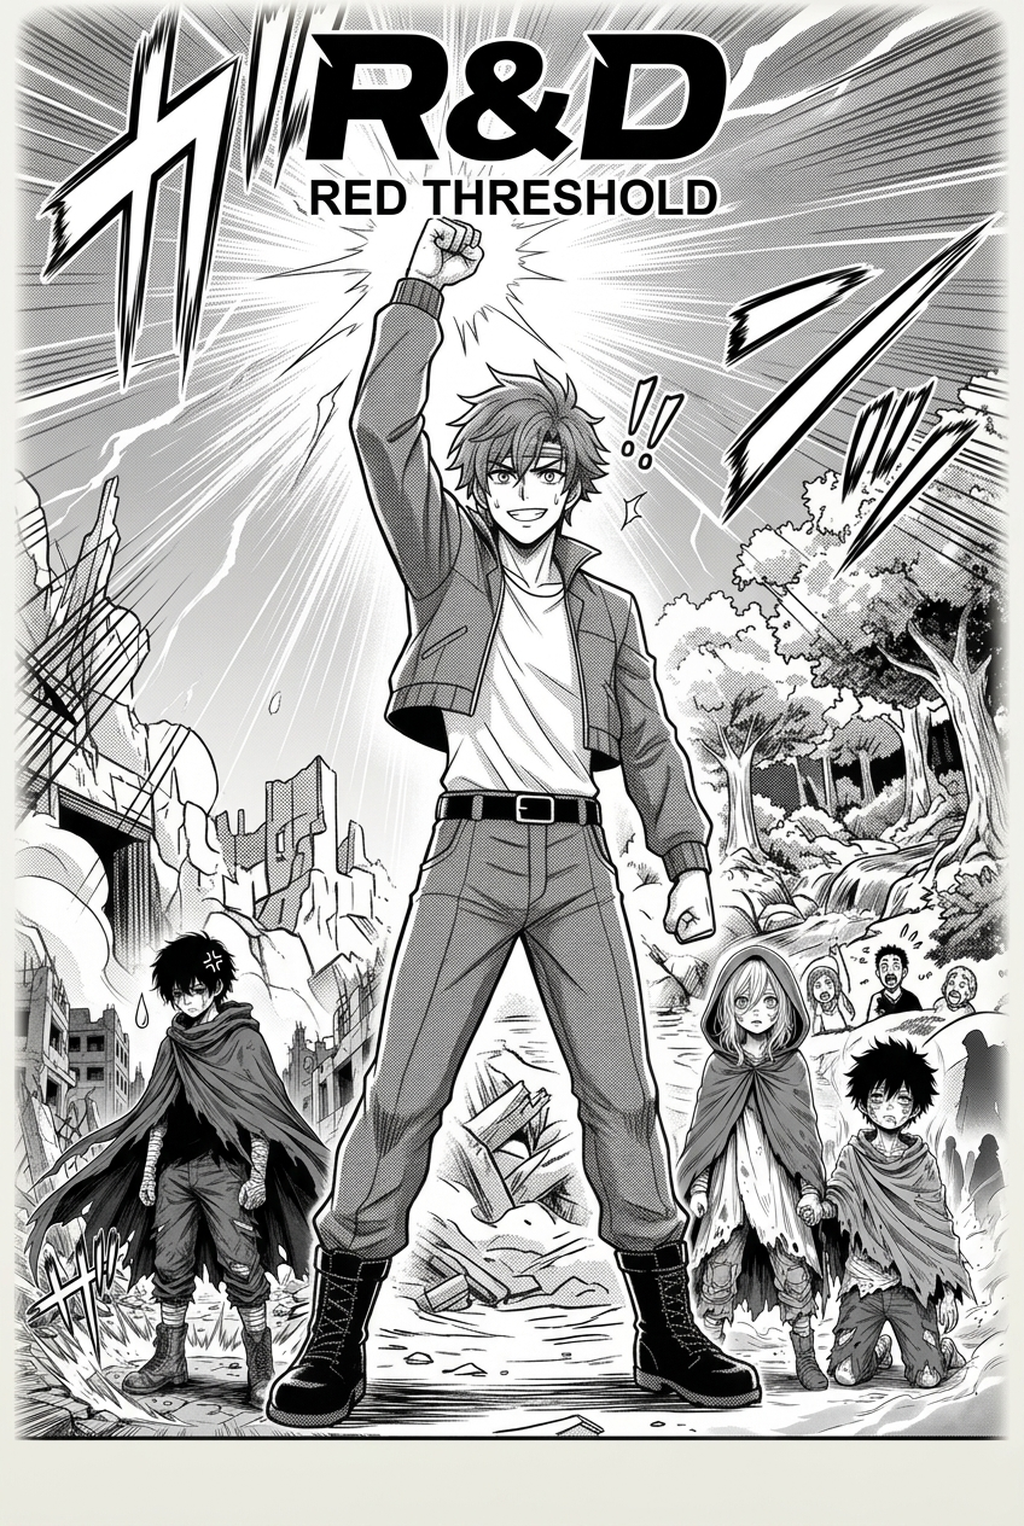
Visual momentum is achieved by deploying aggressive 'sakuga' patterns that pull focus toward the center of the action. These speed lines should never be uniform; varying the thickness and curvature mimics the raw kinetic energy required to convey a lethal strike. Failing to vary line weight here often results in static, flat panels that lack the visceral weight expected in modern shonen-style storytelling.
Backgrounds in the ninja aesthetic function as secondary elements, serving to frame the character’s movement rather than clutter the frame. You should reserve high-detail rendering for foreground combat moves, weapons, or key character facial expressions. This contrast is the most effective shorthand for distinguishing a master-tier assassin from the surrounding scenery.
Why AI Manga Style Transfer Matters for Manga Creators
Artistic consistency is the primary driver of audience retention in shonen-themed projects, where reader expectations for fast-paced, fluid movement remain significantly high. When your visual language fluctuates between chapters, you risk losing the immersion necessary to maintain a dedicated following in a saturated market.
Indie creators leverage high-contrast, stylized aesthetics to compete with massive industry studios without requiring inflated budgets or massive animation teams. By mastering the ninja aesthetic, you cultivate a distinct visual voice that acts as your project’s primary touchpoint for new fans scrolling through content.
Check character consistency, panel readability, line quality, and export readiness before publishing. Creators should also record why the page passed review, which panel details still need manual cleanup, and which export format the next collaborator will use. That makes the subsection useful instead of leaving a short checklist under a large heading.
The most common point of failure for indie artists is line-weight drift, where the character’s silhouette loses its impact across a ten-page fight sequence. 5mm minimum stroke width for key actions—prevents the professional-grade look of your project from degrading into amateurish sketches.
How Ninja Manga Art Style Works with Mangaka
Mangaka applies intelligent style transfer to your rough sketches, re-rendering them with the traditional ink weights and cross-hatching hallmarks of the ninja genre. The technology preserves the 'source context' of your original gestures, ensuring that your core anatomy and pose-work are never lost during the transformation to a final inked state.
The platform excels at mapping your specific inputs to stylized assets, which automates the tedious rendering of motion blur and shadow gradients. By offloading these time-consuming ink details to the system, you regain the creative bandwidth to focus on storyboard pacing, panel rhythm, and the overall flow of your fight sequences.
Instead of manual inking, creators now use the ninja manga art style to convert pencils into high-contrast panels. This process requires that you provide high-resolution input sketches, as the system maps your original anatomical intent directly onto the stylized output, maintaining the unique soul of your character designs while standardizing the aesthetic.
Use Cases for AI Manga Style Transfer
Artists frequently utilize style transfer to create high-fidelity 'mockups' that guide the composition of the final panel before committing to final line work. This approach allows for rapid iteration of layout ideas without the need for manual, time-consuming corrections to cross-hatching or shading density.
Consistency is often lost during the coloring phase or when switching between different inking techniques. By using style-locked generation presets, you can maintain identical costume proportions and facial features across dozens of action-heavy panels. This keeps the reader focused on the story and prevents the common "proportion drift" that occurs when an artist tires after finishing an intense action sequence.
Converting low-fidelity pencil sketches into professional, high-contrast inked pages is the primary utility for many creators today. A typical workflow involves:
- Sketch Input: Scanning your rough storyboard at 300 DPI to act as the base layer. * Style Application: Selecting the ninja-genre preset to force the tool to emphasize bold silhouette lines. * Export Verification: Checking the final output for proper shadow density before saving as a PSD or high-resolution PNG.
How to Get Started with Mangaka
You begin by uploading your initial rough storyboards or character pencil tests to the platform, ensuring your artistic intent serves as the foundational data. Once uploaded, you select the specific manga-inspired model to apply the necessary line weights and ink density that characterize the ninja look.
Adjusting the intensity parameters is essential to balance the original sketch's soul with the stylized output. You must monitor the output to ensure that the delivery format meets your specific page resolution, such as the standard 600 DPI for physical printing, which prevents pixelation or loss of detail during the final export pass. Before export, creators should compare the generated line art with the original sketch and confirm that facial expressions, props, speed lines, and speech-bubble space still support the scene.
The Bottom Line
The creator workflow is no longer restricted to traditional pen-and-ink masters, as contemporary tools now automate the most labor-intensive aspects of the process. By bridging the gap between rough sketches and polished panels, you can iterate significantly faster and dedicate your creative energy to impactful storytelling. ninja manga art style and see how professional-grade aesthetics improve your project's production value.
Related articles
Manga Background Art Styles: A 2026 Guide for Creators
Automate Your Manga Inking: Instant Line Art Guide 2026
Mastering Supernatural Manga Background Art for 2026