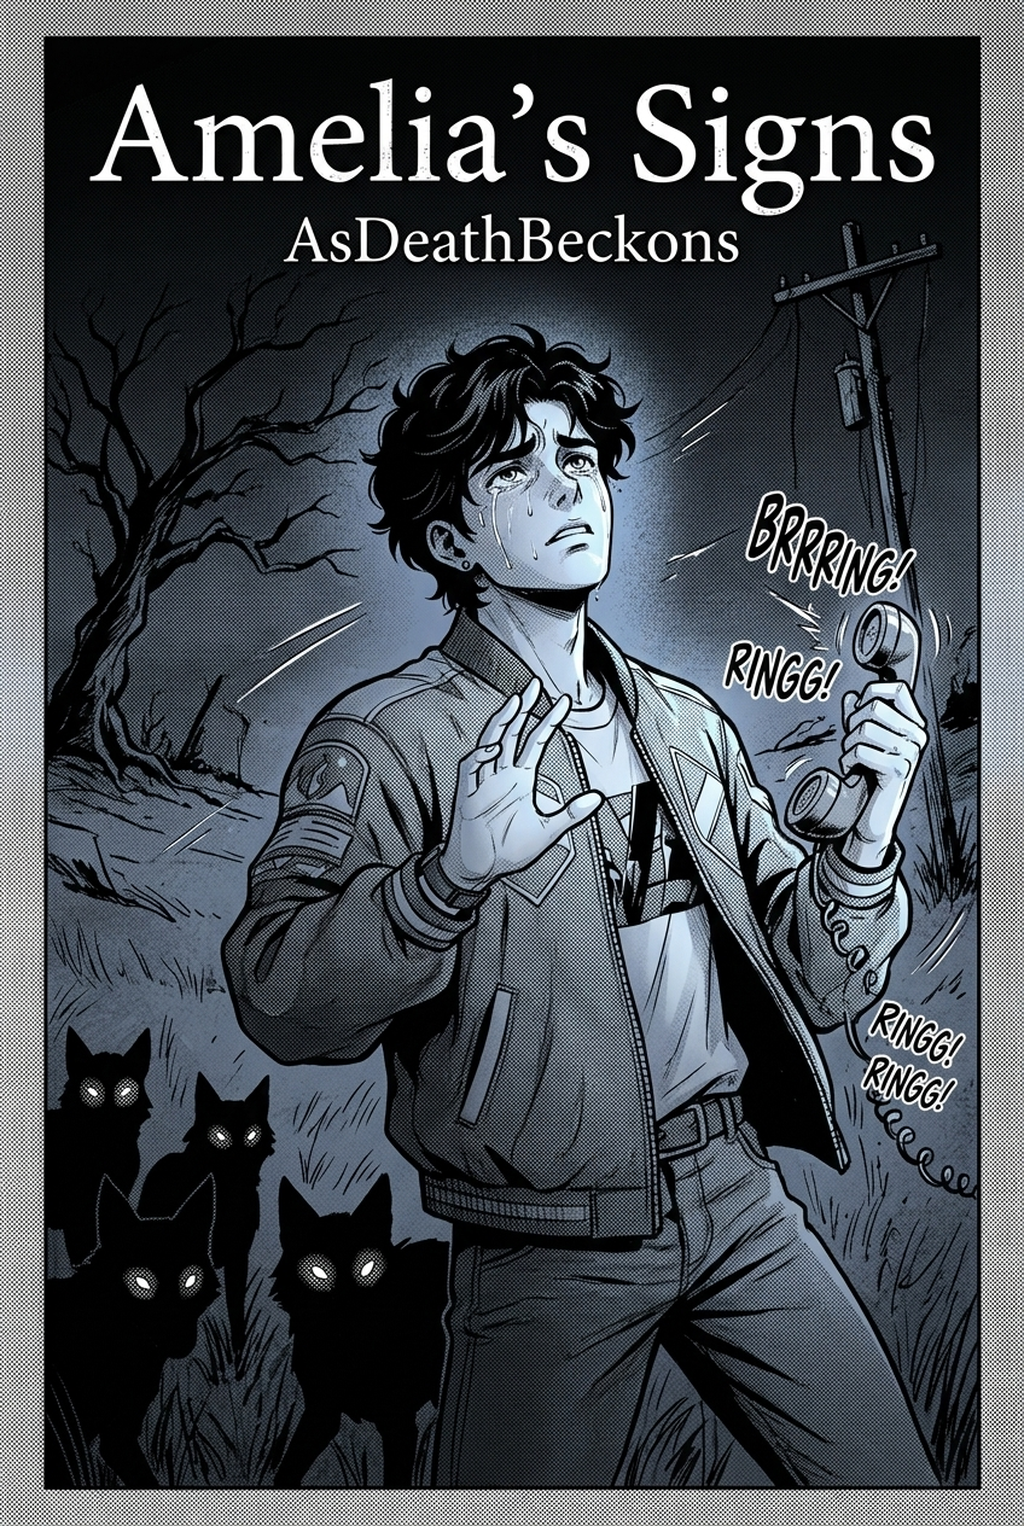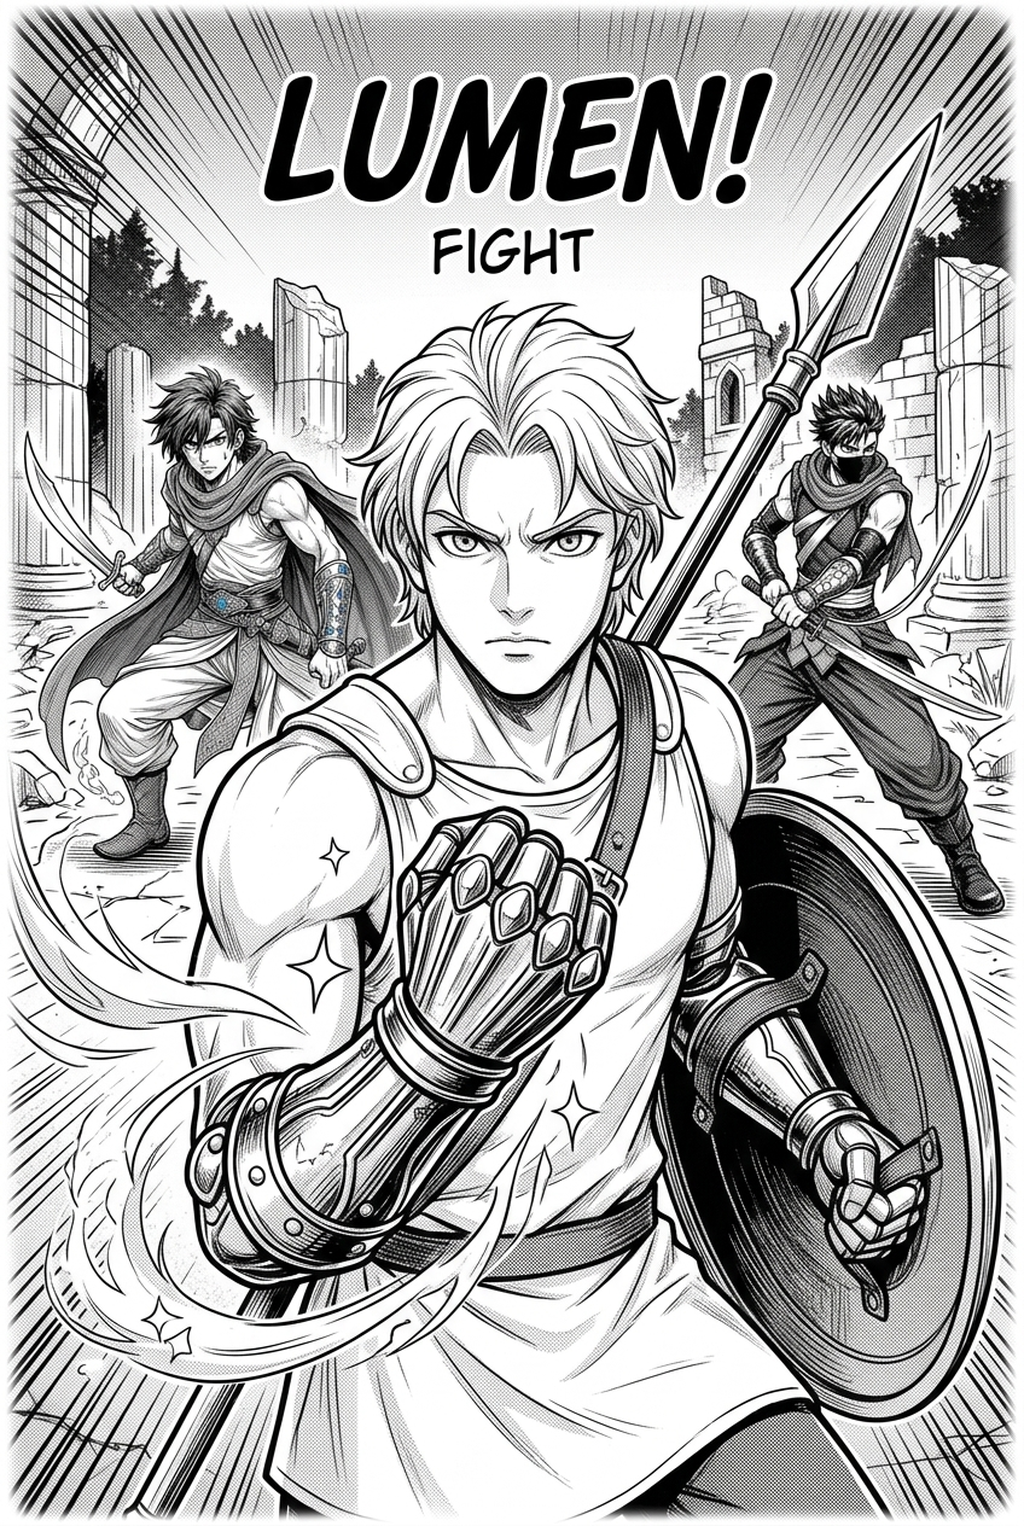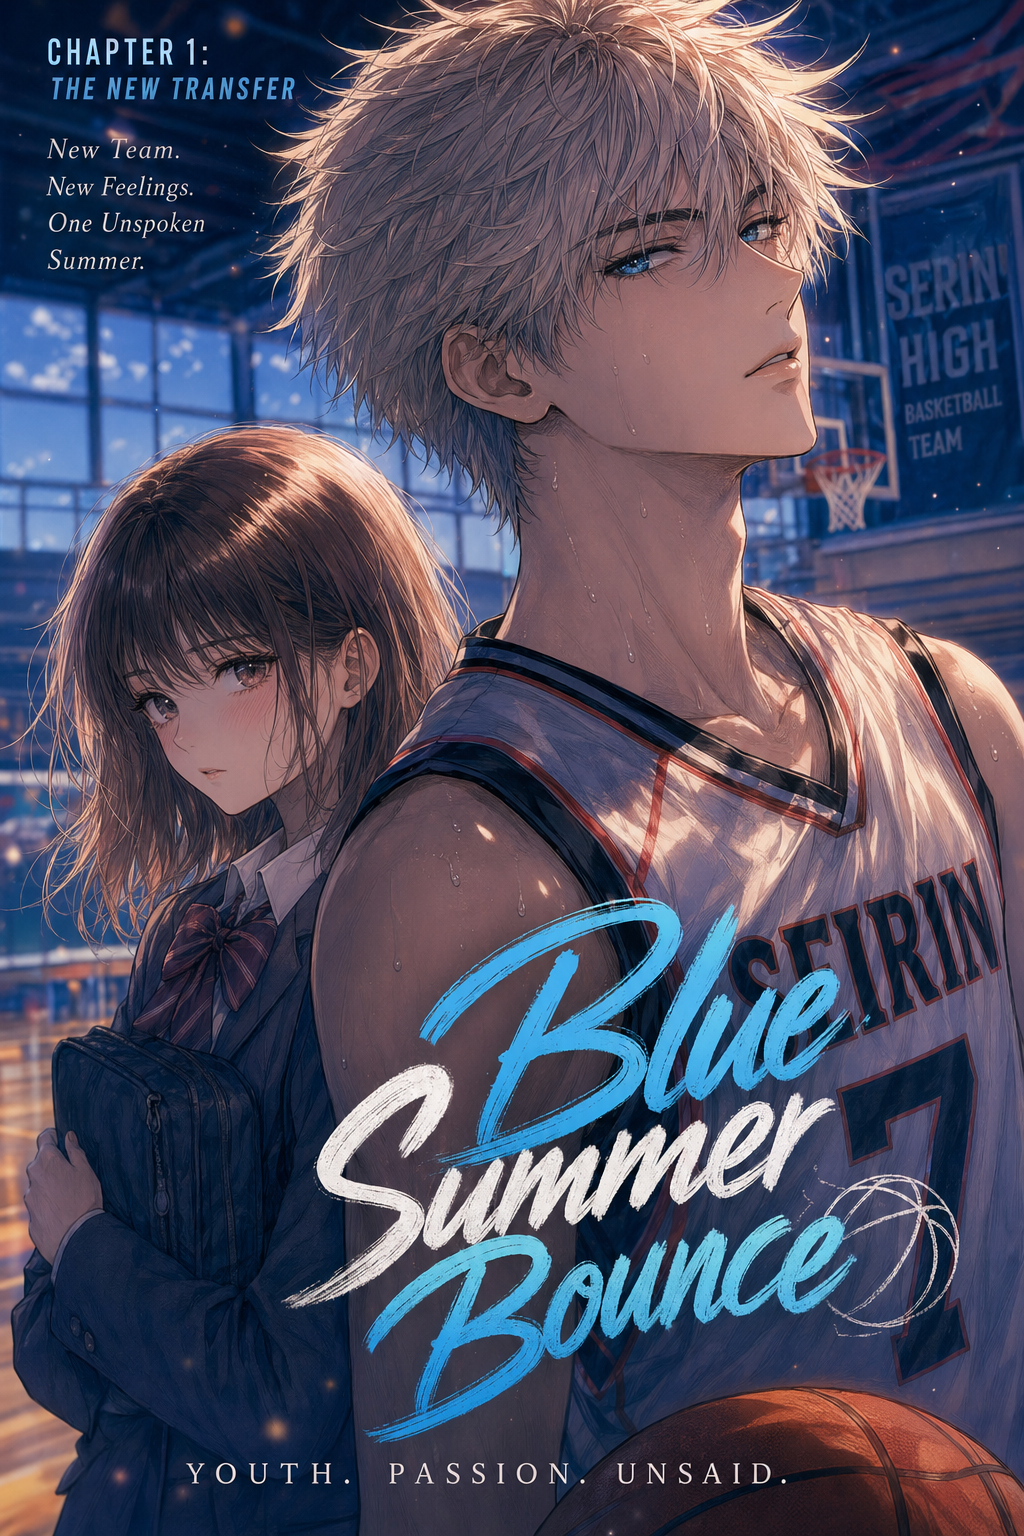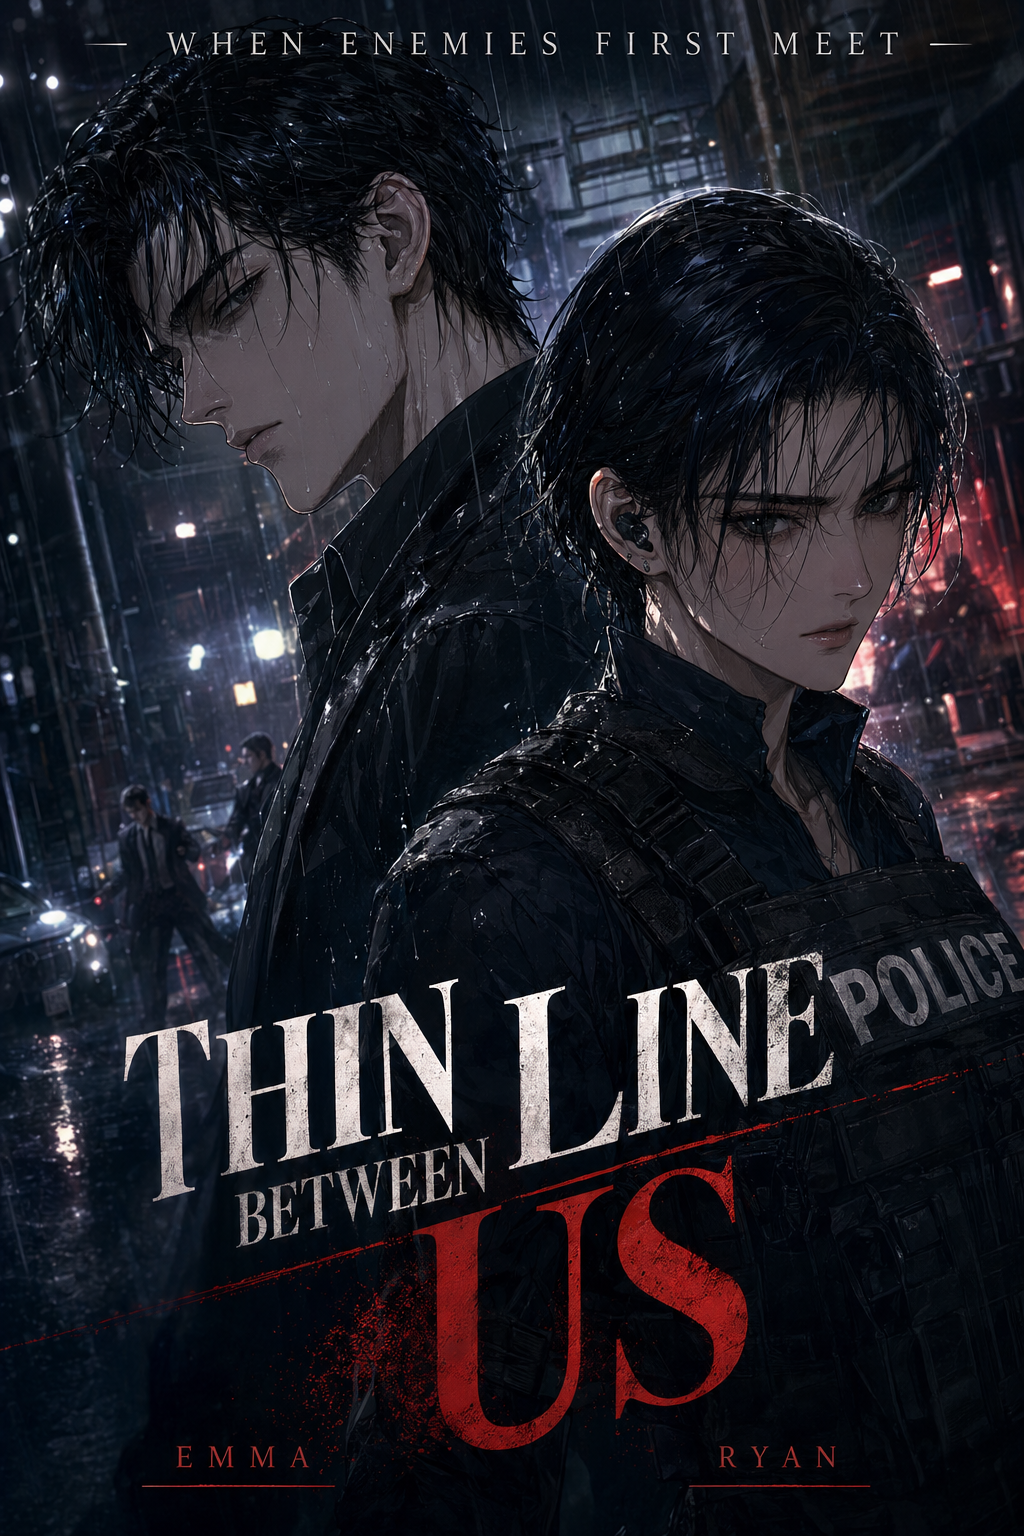
AI Manga Style Transfer: Why AI Manga Style Transfer Matters for Manga Creators
Maintaining a consistent aesthetic ensures the permanence of your world-built decay, preventing the setting from feeling like a transient, accidental background. For independent Seinen creators managing a workload of 20+ pages per chapter, the time required to manually draw high-density debris and complex structural weathering often becomes the primary bottleneck that forces erratic release schedules.
- The Fidelity Gap: Audience retention is directly tied to the delivery format matching the thematic weight of your script. - Efficiency Through Density: Readers expect high-fidelity visual finishes in dark narratives; if your background panels look sparse or overly simplified, the underlying themes of structural collapse fail to resonate. - The Burnout Factor: Attempting to hand-draw intricate, decaying surfaces for every panel leads to line-weight drift, where the style shifts significantly between the start and the end of a single chapter.
How Dystopian Manga Art Style Works with Mangaka
Mangaka functions as an automated digital inker that translates your raw, source context sketches into professional-grade panels by applying specific architectural and lighting modifiers. By converting rough charcoal or pencil-style layouts into print-ready line work, you avoid the common failure of having clean, modern lines clashing with a gritty, destroyed world setting.
- Targeted Style Mapping: The system re-renders sketches by recognizing depth cues in your layout and replacing them with high-density textures and industrial shading. - Background Asset Automation: Rather than spending three hours on a single ruined skyscraper, creators can input a low-fidelity draft and let the tool calculate the appropriate cross-hatching and weathering patterns. - Line-Weight Calibration: The tool ensures that your line thickness remains uniform, preventing the "sketchy" look from bleeding into the final, exported page structure.
You can begin dystopian manga art style into professional-grade dystopian art by mapping your initial layouts to a high-contrast, high-noise output preset. This keeps the review focused on story intent, line weight, panel readability, and the export quality behind the final AI Manga Style Transfer output.
Use Cases for AI Manga Style Transfer
The most effective way to utilize this aesthetic is by separating character silhouettes from the overwhelming detail of the environment. Creators can use each revision decision to clarify panel readability, character consistency, and export quality before publishing or sharing.
| Use Case | Benefit | Output Goal |
|---|---|---|
| Ruined Backgrounds | Adds depth without manual inking | 300+ DPI plate for spreads |
| Battle-Worn Gear | Maintains consistent damage texture | Character-focused overlays |
| Decaying Architecture | Standardizes weathering density | Full-page environmental shots |
Apply these filters to character portraits to ensure that scars, patches on clothing, and metallic armor components remain consistent across hundreds of panels. This prevents the "morphing" of character designs when switching from action sequences to dialogue-heavy, close-up frames.
How to Get Started with Mangaka
To begin, verify that your sketches contain the necessary structural data, such as clear panel borders and distinct foreground-to-background separation. Without this clear source context, the tool may struggle to identify where the "decay" should be applied relative to your characters. Navigate to the style interface and load the dystopian preset to establish your baseline line weight and noise profile.
Workflow Fit for Creator Output
Check that your speech-bubble placement does not overlap with the high-detail, textured areas, as the dense cross-hatching can hinder legibility. Focus your post-generation effort on emotional close-ups where the human touch—such as micro-expressions or specific, character-defining details—is most vital. Workflow Fit for Creator Output.
- Before Export. Creators should compare the generated line art with the original sketch and confirm that facial expressions, props, speed lines, and speech-bubble space still support the scene. A repeatable review pass should cover character consistency, panel readability, background clarity, and whether the final file is ready for coloring, lettering, or editor feedback. - For Longer Projects. Creators should save approved examples of line weight, face detail, clothing folds, and background density. Those references keep later chapters closer to the intended style. For collaboration, creators should mark which panels are final and which panels still need redraws. Clear status labels prevent an assistant, editor, or colorist from polishing the wrong version. - For Publishing. Creators should review the page at the actual reading size before export. Small screens expose crowded dialogue, weak silhouettes, and line details that looked fine while zoomed in. That extra context helps the reader connect the creative choice to character consistency, composition, speech-bubble space, and final file format.
Creators should compare the generated line art with the original sketch and confirm that facial expressions, props, speed lines, and speech-bubble space still support the scene. A repeatable review pass should cover character consistency, panel readability, background clarity, and whether the final file is ready for coloring, lettering, or editor feedback.
Review Controls Before Export
Creators should save approved examples of line weight, face detail, clothing folds, and background density. Those references keep later chapters closer to the intended style. For collaboration, creators should mark which panels are final and which panels still need redraws. Clear status labels prevent an assistant, editor, or colorist from polishing the wrong version.
Creators can evaluate dystopian manga art style with Mangaka mid-workflow when they need the product path tied directly to review, refinement, and export. A real test should use the same sketch, character goal, or panel sequence that would otherwise need manual cleanup after generation.
The Bottom Line
Mastering the creator workflow requires a transition from manual, time-consuming inking to a more efficient, technology-backed workflow that handles the high-density requirements of the genre. By offloading technical tasks like cross-hatching and environmental weathering to automated tools, creators can reclaim their time to focus on narrative pacing and emotional stakes.
Related articles
Professional Manga Colorist Workflow: Automate in 2026
Mastering the Samurai Manga Art Style: A Style Transfer
What Does a Manga Colorist Do? A 2026 Workflow Guide