AI Manga Character Designer: How Dr. Stone Character Design Works with Mangaka
Mangaka acts as a force multiplier for artists by allowing you to define character parameters once and apply them consistently across various poses, angles, and panel setups. This system bypasses the need for manual creative brief engineering every time you transition a character from a wide shot to a close-up.
- Consistent anatomical proportions: You can set the base muscle density and jaw-to-eye ratio, ensuring the character’s Dr. Stone" look is preserved across every page export. * Automated inking profiles: By applying the tool's high-contrast style controls to your base sketches, you maintain the signature Boichi-style line weight without losing the soul of your original concept. * Integrated panel management: The tool handles character placement within the layout, ensuring that the character’s silhouette is never obscured by complex background scientific diagrams.
Think of the tool as an extension of your own hand that manages the repetitive, low-creative-reward tasks of maintaining model sheet fidelity. By digitizing the core anatomical rules of your character, you ensure that your output—whether it is a 300 DPI PNG for digital distribution or a print-ready PDF—retains its professional intensity from page 1 to page 200.
Use Cases for High-Detail Shonen Styles
Creating a long-form series requires a robust infrastructure to manage the thousands of individual elements that make up your visual style. This keeps the review focused on story intent, line weight, panel readability, and the export quality behind the final AI Manga Character Designer output.
- Long-form consistency: Use a centralized character model database like Mangaka to store base character features and reference sheets. This avoids the common issue of losing character "feel" during long arcs.
- Hybrid style synthesis: You can blend different art influences by adjusting creative brief parameters within the tool to synthesize elements from multiple influences, creating a unique, consistent visual style.
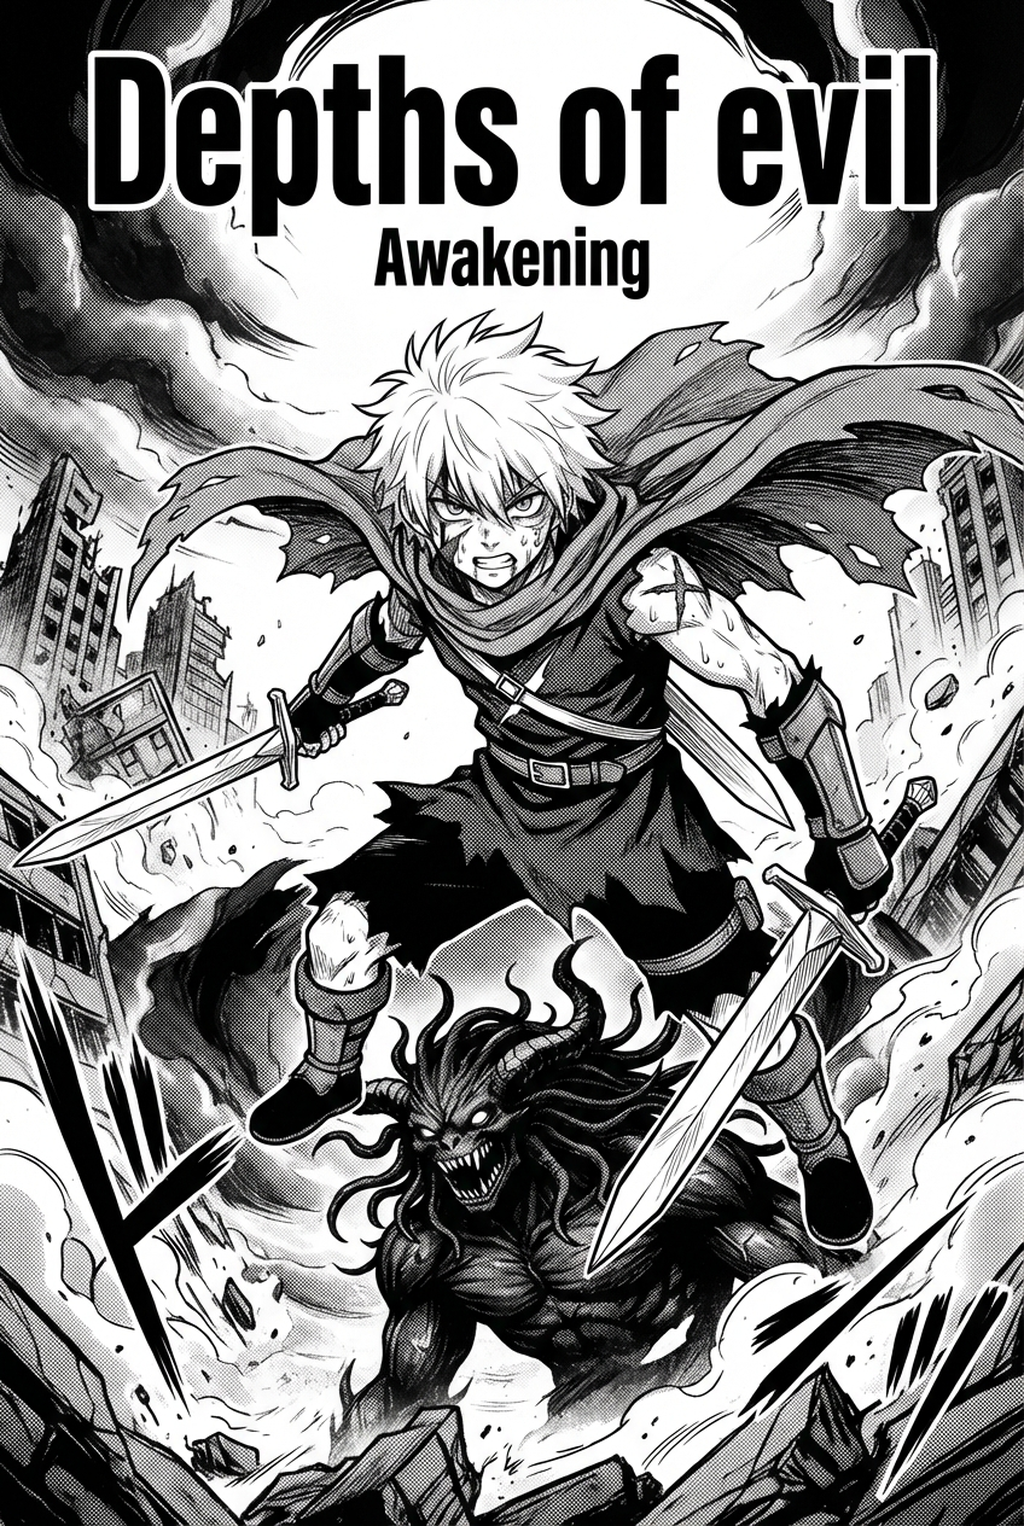
- Workflow optimization: For an independent team, using Dr Stone character design with Mangaka for base inking and background character placement reduces the time spent on clean-up by roughly 40%, allowing for more focus on complex action choreography.
When you are managing a 20-page chapter, the goal is to standardize the "ink weight" for every character. If you skip this step, your final export will look inconsistent, with some panels appearing flat compared to others.
- Chapter cadence. Use the AI pass for pages where speed matters most, such as repeated action poses, transformation beats, or dense speed-line panels. Keep manual cleanup for hero panels where the line style defines the emotional peak.
- Character continuity. Compare the generated lines against the same model sheet, costume notes, and facial-expression range used during sketching. This prevents a fast inking pass from drifting away from the character identity readers recognize.
- Export readiness. Check whether the final manga output can move into lettering, coloring, or final layout without rebuilding panel borders or speech-bubble space. A good manga workflow should save time while keeping the next production step predictable.
How to Get Started with Mangaka
Achieving the professional aesthetic seen in Dr. Stone requires a delicate balance of anatomical detail and stylized, repeatable character traits. For modern creators, leveraging AI-driven design tools is no longer a matter of preference but a fundamental requirement for scaling a complex, visually demanding series.
Workflow Fit for Creator Output
Workflow Fit for Creator Output. You must first define your character's "source" parameters—the hair, the jawline, and the specific muscle-definition style—before you begin your production phase. Once these are uploaded, you can iterate on poses and angles without the risk of the model drifting away from your established, high-contrast aesthetic.
Creators should compare the generated line art with the original sketch and confirm that facial expressions, props, speed lines, and speech-bubble space still support the scene. A repeatable review pass should cover character consistency, panel readability, background clarity, and whether the final file is ready for coloring, lettering, or editor feedback.
- Before Export. Creators should compare the generated line art with the original sketch and confirm that facial expressions, props, speed lines, and speech-bubble space still support the scene. A repeatable review pass should cover character consistency, panel readability, background clarity, and whether the final file is ready for coloring, lettering, or editor feedback. - For Longer Projects. Creators should save approved examples of line weight, face detail, clothing folds, and background density. Those references keep later chapters closer to the intended style. For collaboration, creators should mark which panels are final and which panels still need redraws. Clear status labels prevent an assistant, editor, or colorist from polishing the wrong version. - For Publishing. Creators should review the page at the actual reading size before export. Small screens expose crowded dialogue, weak silhouettes, and line details that looked fine while zoomed in. This keeps the review focused on story intent, line weight, panel readability, and the export quality behind the final AI Manga Character Designer output.
Review Controls Before Export
Creators should save approved examples of line weight, face detail, clothing folds, and background density. Those references keep later chapters closer to the intended style. Creators should mark which panels are final and which panels still need redraws.
Clear status labels prevent an assistant, editor, or colorist from polishing the wrong version. For publishing, creators should review the page at the actual reading size before export. Small screens expose crowded dialogue, weak silhouettes, and line details that looked fine while zoomed in.
The Bottom Line
Mastering the high-intensity, detailed aesthetic of contemporary shonen manga is achievable when you automate your consistency checks and focus your creative energy on narrative and panel pacing. By utilizing Dr Stone character design to maintain your character's anatomical integrity, you can sustain the visual impact of your series from start to finish.
Related articles
Mastering the Zombie Manga Art Style: A Creator's Guide 2026
What Is 4-Koma Manga? The Art of the Four-Panel Strip 2026
Half-Yokai Character Design: Creating Iconic Manga Hybrids